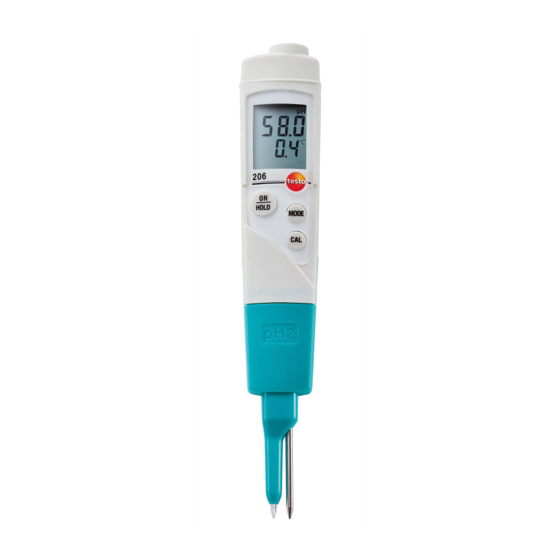
TESTO 206 Instruction Manual
Ph/temperature
Hide thumbs
Also See for 206:
- Instruction manual (56 pages) ,
- Instruction manual (74 pages) ,
- Instruction manual (32 pages)

Related Manuals for TESTO 206


Summary of Contents for TESTO 206
- Page 1 206 pH / Temperature Measuring Instrument Instruction Manual 99 Washington Street Melrose, MA 02176 Phone 781-665-1400 Toll Free 1-800-517-8431 Visit us at www.TestEquipmentDepot.com...
-
Page 2: General Information
General Information General Information Please read this document through carefully and familiarise yourself with the operation of the product before putting it to use. Keep this documentation to hand so that you can refer to it when necessary. Symbols and what they mean Symbol Meaning Remarks... -
Page 3: Table Of Contents
Contents 3 Contents General Information ............2 Contents ................3 1. Safety Information ............4 2. Intended Purpose ............5 3. Product Description ............6 3.1 Display and control elements ..............6 3.2 Probe/BNC modules ................6 3.3 Power....................7 3.4 TopSafe ....................7 3.5 Storage cap ..................7 3.5 Wall/Transport bracket ................7 4. -
Page 4: Safety Information
Only the maintenance and service work described in the documentation should be carried out. Please adhere to the steps specified. For safety reasons, only original spare parts from Testo should be used. Ensure correct disposal: Disposal of defective rechargeable batteries and spent batteries at the collection points provided. -
Page 5: Intended Purpose
The BNC socket is used to connect external pH probes. Ranges of application depend on the probe attached. testo 2 2 06 i i s n n ot s s uitable f f or d d iagnostic m m easurements i i n t t he medical s s ector. -
Page 6: Product Description
3. Product Description 3. Product Description 3.1 Display and control elements D D i i s s p p l l a a y y M M O O D D E E : : Changes function, O O N N / / H H O O L L D D : : calls up “manual temperature On/Off switch, compensation”... -
Page 7: Power
3. Product Description 7 3.3 Power Power is via a button cell (Typ CR2032, 3V; included with delivery). 3.4 TopSafe TopSafe protects the instrument from moisture and mechanical strain (impact). We recommend you always use TopSafe. The IP68 protection class is achieved if the instrument is placed inside the TopSafe and is closed. -
Page 8: Initial Operation
4. Initial Operation 4. Initial Operation 4.1 Insert battery 1 Open the TopSafe sealing cap and remove instrument. 2 Open battery compartment on rear of instrument. 3 Insert button cell (Type CR2032, 3V). The (+) sign must be visible. 4 Close battery compartment. 5 Remove protection strip on the storage cap. - Page 9 5. Operation 9 Function Description Setting options Auto Off (AUTO OFF) On (switched on) or Instrument switches off OFF (switched off) automatically after 10 minutes if no button has been pressed Beeper (bP) Warning sound (button pressed, On (switched on) or stable reading reached with OFF (switched off) Auto Hold function switched on)
-
Page 10: Measuring
5. Operation 5.3 Measuring Setting up the instrument If large quantities of the electrolyte gel are stuck to the probe when removed from the storage cap, it is a sign that the gel is spent. A new storage cap is needed. Clean off the pH probe before and after each measurement with low concentration soap water followed by tap water (water temperature should be below 40 °C). -
Page 11: Calibrating Instrument
The instrument is switched on and is in the measurement mode. 1 Open calibration mode: - testo 206-pH3 with pH probe without temperature sensor: The set temperature value for manual temperature compensation is displayed for 2s. The value must correspond to the temperature of the buffer solution. - Page 12 5. Operation 2 Skip calibration point: MODE -o o r- Immerse probe in the buffer solution and start calibration: - The instrument waites for a stable reading : AUTO flashes. - If a stable reading is available (change less than 0.02pH in 20s), the calibration point calibrates and the instrument changes to the next calibration point (if available) or to the gradient and offset value display.
-
Page 13: Service And Maintenance
6. Service and Maintenance 13 6. Service and Maintenance 6.1 Checking electrolyte gel Check the electrolyte gel in the storage cap regularly for contamination and ensure it is filled to the correct level. Replace storage cap if necessary. 6.2 Cleaning housing/TopSafe Clean housing with a damp cloth (soap water) if dirty. -
Page 14: Questions And Answers
7. Questions and Answers 7. Questions and Answers Question Possible causes Possible solution Readings instable. Static charge. Rinse off pH electrode with tap water or low concentration soap water. Air cushion from measurement Shake pH electrode in a electrode gets into measurement downward direction like tip. -
Page 15: Technical Data
Probe module/Penetration probe pH2 incl. storage cap with electrolyte gel 0650 2062 Probe type 1 incl. storage cap with electrolyte gel for testo 206 pH3 0554 2063 Probe type 14 incl. storage cap with electrolyte gel for testo 206 pH3... - Page 16 Test Equipment Depot - 800.517.8431 99 Washington Street, Melrose, MA 02176 TestEquipmentDepot.com 0973.2061/02/Sky/dr/13.08.2004...
Need help?
Do you have a question about the 206 and is the answer not in the manual?
Questions and answers