Advertisement
Advertisement
Table of Contents

Subscribe to Our Youtube Channel
Summary of Contents for Audiotec Fischer PP 62DSP
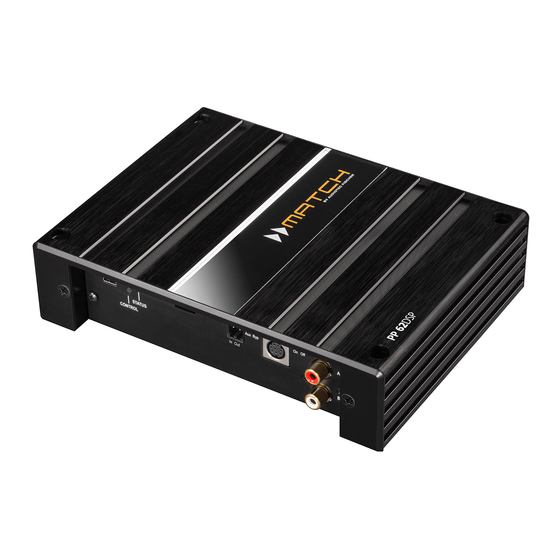
- Page 1 PP 62DSP P L U G & P L A Y 5/6-Kanal Verstärker mit integriertem DSP...
-
Page 2: General Instructions
MATCH dealer. Prior to installation, plan the wire routing to avoid Install your PP 62DSP in a dry location with suf- any possible damage to the wire harness. All cabling should be protected against possible crushing or pinching hazards. Also avoid routing... - Page 3 PP 62DSP. Line Output Rem In / Out The remote input can be used to switch on the PP 62DSP. The remote output has to be (Rem Out) is used to turn on these devices. connected to the RCA Line Output.
-
Page 4: Initial Start-Up And Functions
Setups with the When using a subwoofer, we strongly recommend to connect the PP 62DSP directly to a 12 Volt source. Refer to connection instructions in section 3b, page 21. -
Page 5: Control Input
Rem In: The remote input has to be used to turn remote control either by setting the RC Control on/off the PP 62DSP if the signal source which is switch to “On” position or by the appropriate com- connected to the highlevel inputs is not activating DSP PC-Tool software. -
Page 6: Line Output
Protection) avoids all these problems without load- car radio (and therefore the PP 62DSP as well) re- ing the speaker outputs of the OE radio during high mains “invisibly” turned on for up to 45 min. after volumes unnecessarily. -
Page 7: Microsd Card Reader
PP 62DSP, driver position and your vehicle make. MicroSD card 2. Transfer the downloaded setup onto your free memory space. MicroSD card reader 3. Finally insert the card into the MicroSD slot of the PP 62DSP. The Status LED will blink red for a should be removed. -
Page 8: Installation
3b. Direct power supply via the battery: page 15). If the power supply of the PP 62DSP cannot be pro- 1. After removing the car radio from the dash us- have to connect it directly to the car battery. To do... - Page 9 Installation The Input Sensitivity potentiometer (item 2 page 17) The PP 62DSP will be turned on automatically if the is used to adapt the input sensitivity to the output highlevel inputs are used or if a signal is applied voltage of the connected head unit/car radio. This to the Rem In terminal.
- Page 10 Fig. 3 Female connec- tor for original cable harness Male and female connector for original cable harness or The ISO female connector will either be plugged into the vehicle harness that has been dis- Optional:...
- Page 11 Installation Fig. 4 MATCH cable harness – switching of constant plus and switched plus terminal ISO female connector of the MATCH cable harness ISO male connector of the MATCH cable harness plus terminal of your car. Fig. 5 Possibility for direct power supply from the battery you have to separate the cable joints I and H.
- Page 12 Line Outputs until general settings in the DSP PC-Tool software have been made. Es- In the following the most important steps how to pecially if the PP 62DSP will be used to drive fully active speaker systems, a wrong setup can destroy 1. Download...
- Page 13 Bluetooth Audio Streaming module, an optical dig- ital input or an AUX input. to remove the side panel of the PP 62DSP and re- place it by the new side panel that comes with the MEC. Attention: Install the MEC module only in the...
-
Page 14: Technical Data
Note: ® “The Bluetooth word mark and logos are registered trademarks owned by Bluetooth SIG, Inc. and any use of such marks by Audiotec Fischer GmbH is under license. Other trademarks and trade names are those of their respective owners.”... - Page 15 Audiotec Fischer GmbH Hünegräben 26 · 57392 Schmallenberg · Germany...


Need help?
Do you have a question about the PP 62DSP and is the answer not in the manual?
Questions and answers