Advertisement
Quick Links
TORNADO INDUSTRIES, LLC
3101 WICHITA COURT
FORT WORTH, TX 76140
PHONE: 800-VACUUMS
FAX: 817-551-0719
WWW.TORNADOVAC.COM
Operations & Maintenance Manual
For Commercial Use Only
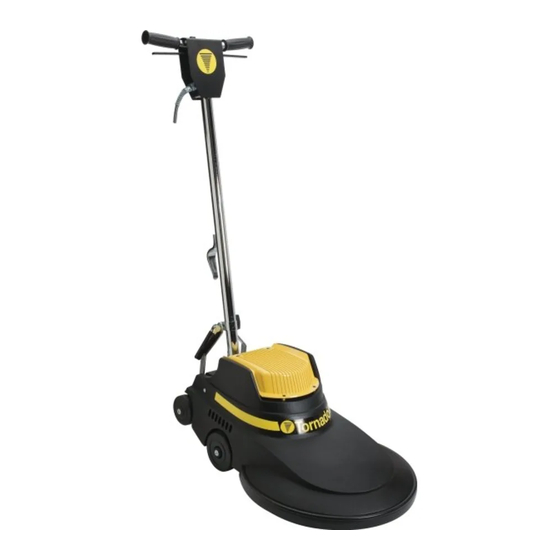
P SERIES 1600 and 2000 GLAZER
MODEL NO:
98458 (115V) & 98459 (230V)
98482 (115V) & 98487 (230V)
Form No. L9704FD 02/17 ©Tornado Industries, LLC. All rights reserved
1
Advertisement

Subscribe to Our Youtube Channel
Summary of Contents for Tornado GLAZER P 1600
- Page 1 PHONE: 800-VACUUMS FAX: 817-551-0719 WWW.TORNADOVAC.COM Operations & Maintenance Manual For Commercial Use Only P SERIES 1600 and 2000 GLAZER MODEL NO: 98458 (115V) & 98459 (230V) 98482 (115V) & 98487 (230V) Form No. L9704FD 02/17 ©Tornado Industries, LLC. All rights reserved...
- Page 2 2. All non-wear item parts purchased after warranty expiration are warranted for 90 days. 3. Warranty starts from the date of sale to the consumer or, at Tornado’s discretion, 6 months after the dealer purchased the unit from Tornado, whichever comes first.
- Page 3 NOTES...
- Page 4 Write your machine serial number here:_________________________________________________ This instruction book covers: MODEL NO. 98458 98492 98459 98487 VOLTS SERIES ALL SPECIFICATIONS SUBJECT TO CHANGE WITHOUT NOTICE. TABLE OF CONTENTS SAFETY INSTRUCTIONS PREPARE THE MACHINE OPERATE THE MACHINE TROUBLESHOOTING...
- Page 5 Your new Ultra High Speed Burnisher will afford you many years of trouble-free operating satisfaction provided it is given proper care. Prior to packaging, your Ultra High Speed Burnisher was inspected by a Quality Control Technician. WARNING: Keep all fasteners tight. Keep IMPORTANT SAFEGUARDS adjustments according to specification.
- Page 6 This appliance must be grounded If it should malfunction or breakdown, grounding provides a path of least re- sistance for electric current to reduce the risk of electric shock. This appliance is equipped with a cord having an equipment grounding conductor and grounding plug. The plug must be inserted into an appropriate outlet that is properly installed and grounded in accordance with all local codes and ordinances.
- Page 7 UNCRATING PREPARE THE MACHINE FOR OPERATION Your Ultra High Speed Burnisher was protectively .WARNING packed to prevent damage in shipment. We suggest that To prevent injury, always remove the electrical plug upon removing the unit from its carton you carefully from the electrical outlet before changing the polishing inspect it for any possible damage in transit.
- Page 8 figure 3 figure 2 HOW TO OPERATE THE MACHINE Plug the machine in as directed and lower the handle to the desired operating height. Push the safety switch forward (see figure 4) and squeeze the switch triggers beneath the handle grips. This activates the motor and stars the pad in operation.
- Page 9 MAINTENANCE Drive Belt Adjustment (see figure 7) Once a month remove the motor cover of the unplugged 1. Remove the three (30 Phillips head screws P1600 and P2000 Glazers by removing the motor cover holding the pad center grip screws. 2.
- Page 10 3101 Wichita Court may or may not apply based on your specific machine. If any defect occurs, the warranty is voided if service is Fort Worth, TX 76140 attempted by non-Authorized Tornado Service Centers. Fax: 817-551-0719 or online at ©2017 Tornado Industries. All rights reserved.


Need help?
Do you have a question about the GLAZER P 1600 and is the answer not in the manual?
Questions and answers