Table of Contents
Advertisement
Quick Links
Advertisement
Table of Contents

Summary of Contents for Robe pixelPATT
- Page 1 Version 1.2...
- Page 2 Table of contents 1. Safety instructions ......................3 2. Description of the fixture ....................4 3. Installation........................4 3.1 Mounting the pixelPATT .................... 4 3.2 Connecting the pixelPATT with the PATT Driver ............4 4. Technical specifications ....................6...
-
Page 3: Safety Instructions
The light source contains blue LEDs. When choosing the installation spot, please make sure that the pixelPATT are not exposed to extreme heat, moisture or dust. Operate the pixelPATT only after having familiarized with its functions. Do not permit operation by persons not qualified for operating the pixelPATT. -
Page 4: Description Of The Fixture
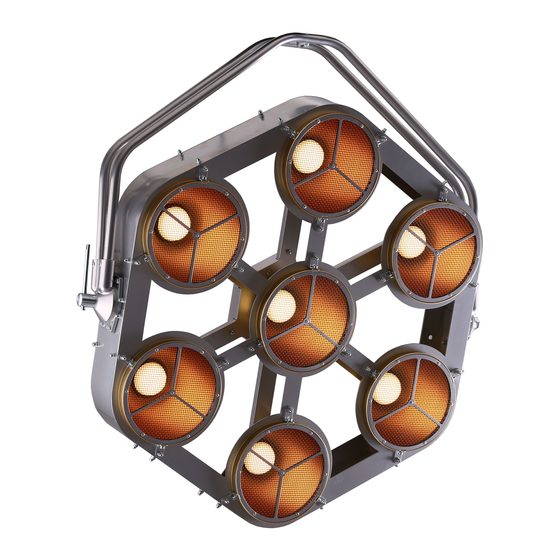
2. Description of the fixture 1 - Parabolic aluminium reflectors 2 - Mounting yoke 3 - Tilt lock 4 - Mounting hole 5 - Control Input (4-pin XLR) Pixel positions... - Page 5 3.2 Connecting the pixelPATT with the PATT Driver 1. Disconnect the PATT Driver from mains. 2. Connect the pixelPATT to the PATT Driver by means of the 4-pin data cable. 3. Connect the PATT Driver to mains and make desired setting.
-
Page 6: Technical Specifications
Wiring of control input: 1 - 0V 2 - Signal - 3- Signal + 4- +48V Optional accessories Tripod for PATT 2013/2017, pixelPATT (P/N 10980374) Floor Stand for PATT 2013 (P/N 1098 0259) Spigot for PATT 2013 (P/N 1098 0260) - Page 7 Beam distribution October 5, 2017 Specifications are subject to change without notice. Made in ROBE Lighting s.r.o., Palackého 416, 757 01 Valašské Meziříčí, Czech Republic...


Need help?
Do you have a question about the pixelPATT and is the answer not in the manual?
Questions and answers