Blackmagicdesign ATEM Studio Converter Nstallation And Operations Manual
Hide thumbs
Also See for ATEM Studio Converter:
- Installation and operation manual (225 pages) ,
- Installation and operation manual (20 pages) ,
- Installation and operation manual (17 pages)
Table of Contents
Advertisement
Quick Links
Advertisement
Table of Contents

Related Manuals for Blackmagicdesign ATEM Studio Converter


Summary of Contents for Blackmagicdesign ATEM Studio Converter
- Page 1 Installation and Operation Manual ATEM Camera Converter ATEM Studio Converter...
- Page 2 You can place cameras in multiple lo switcher while keeping full broadcast HD video qu ATEM Studio Converter is the perfect partner for y internally distributed program output and talkback Converters can be looped to allow talkback suppo Blackmagic Converter Utility is used to change sett software in your ATEM converter.
-
Page 3: Table Of Contents
Connecting ATEM Converters via Optical Fiber Cables Setting Tally Border and Camera Confirming Your Video Signal Converter Utility Getting Started with ATEM Studio Converter Connecting Up to 4 Cameras to a Plugging in Power Connecting to an ATEM Sw Plugging in your Headset... -
Page 4: Getting Started
ATEM Studio Converter When multiple cameras are being used, ATEM Camera Converters can b Converter. Each ATEM Studio Converter supports connections to 4 switcher operator needs to communicate with more than 4 cameras, ad can be looped together and connected to more ATEM Camera Convert... -
Page 5: Getting Started With Atem Camera Converter
Getting Started Getting Started with ATEM Camera Convert OPTICAL VIDEO The first thing you’ll want to do is power your ATEM Camera Converter, p monitor. You can also plug in an external audio source, such as a mixing Plugging in your Power ATEM Camera Converter features both an internal rechargeable batte field, and a connector for plugging in the power adaptor supplied with OPTICAL... -
Page 6: Plugging In Your Audio
Step 2. Plug the other end of your patch cord to the SFP module on the If you are connecting multiple cameras to an ATEM Studio Converter, ch for each camera. For example, when connecting camera 1, connect to A module. -
Page 7: Getting Started With Atem Studio Converter
PRESS TO TALK PUSH LOCK TO TALK Getting Started Getting Started with ATEM Studio Converte The first thing to do is supply power to your ATEM Studio Converter, pl SDI OUT SDI OUT SDI OUT SDI OUT switcher. You can also plug in an external microphone, such as a goosen talkback without using a headset. -
Page 8: Connecting To A Switcher
SDI OUT SDI OUT Step 1. Connect each of ATEM Studio Converter’s SDI camera outpu inputs on your switcher using a BNC connector and cable. AES/EBU TALKBACK LOOPS... -
Page 9: Confirming Your Atem Converter Set Up
Getting Started Confirming your ATEM Converter Set Up After you have connected your ATEM Converters to a live production s everything is working. The first thing to check is your talkback. Have the switcher operator each other using their PTT buttons and headsets. If the camera operat communicate with each other you'll know the talkback is working. -
Page 10: Using Atem Camera Converter
Using ATEM Camera Converter Using ATEM Camera Converter Using ATEM Camera Converter OPTICAL VIDEO ATEM Camera Converter’s control panel features buttons for adju volume, activating talkback, program/camera monitoring, powerin camera number. There are also 5 status indicators for battery level, o ATEM Camera Converter’s control panel. -
Page 11: Control Panel Buttons
Using ATEM Camera Converter Control Panel Buttons OPTICAL VIDEO Pressing the program (PGM) button selects program video output or ca output will be displayed on the attached monitor. Microphone Volume Down/Up OPTICAL VIDEO The microphone volume buttons provide a quick way to adjust extern microphone volume buttons provide a smooth increase or decrease maximum or minimum microphone volume is reached, or if at maximum the relevant button will illuminate for 3 seconds. -
Page 12: Setting The Camera Number
Using ATEM Camera Converter Setting the Camera Number If you want your ATEM Camera Converter to receive tally signals from an the camera number on your ATEM Camera Converter. This ensures the sw correct ATEM Camera Converter. The camera number can be set to a val be connected to a series of looped ATEM Studio Converters. -
Page 13: Using Atem Studio Converter
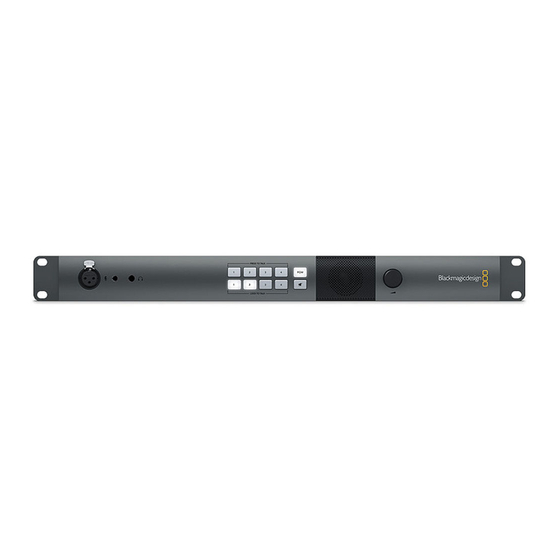
Using ATEM Studio Converter Using ATEM Studio Converter PRESS TO TALK ATEM Studio Converter's control panel features two rows of talkback bu and Lock to Talk (LTT) for each of the four camera inputs. Next to the ta Mute buttons. All buttons are illuminated white and change to gree... -
Page 14: Using Blackmagic Converter Utility
Using Blackmagic Converter Utility Using Blackmagic Converter Utility Blackmagic Converter Utility Blackmagic Converter Utility is used to configure settings and update t Camera and Studio Converters. Installing Blackmagic Converter Utility on Ma After downloading the Converter Utility software and unzipping the do disk image to reveal its contents. -
Page 15: Setting Tally Border And Camera
Using Blackmagic Converter Utility Setting Tally Border and Camera Number Us Converter Utility In addition to tally lights, you can also display a tally border on an SDI or ATEM Camera Converter. This option is set using Blackmagic Converter camera number. Step 1. -
Page 16: Connecting Up To 4 Cameras To A Switcher
This example shows four cameras connected to an ATEM 1 M/E Production Switcher via four ATEM PRESS TO TALK PUSH Camera Converters partnered with an ATEM Studio Converter. You can use ATEM Studio Converter's XLR analog outputs to send each camera's audio to a mixing desk. PRESS TO TALK... -
Page 17: Connecting More Than 4 Cameras To A Switcher
Connecting to an ATEM Switcher PRESS TO TALK LOCK TO TALK Connecting More than 4 Cameras to a Switcher If you have over four cameras that need to be connected to your switcher, you can expand the number of camera connections by linking ATEM Studio Converters together. This example shows three ATEM Studio Converters connected together so up to 12 cameras can be used. -
Page 18: Help
How To Get the Latest Updates After checking the version of Converter Utility software installed on Blackmagic Support Center at www.blackmagicdesign.com/support to c it is usually a good idea to run the latest updates, it is a wise practice to... - Page 19 Warnings Caution: Risk of Electric Shock On the ATEM Studio Converter enclosure you will see a yellow warnin Electric Shock’. This is intended to warn users that there may be the pres voltage within the ATEM Studio Converter enclosure which may be of su risk of electric shock to the user.
-
Page 20: Warranty
Warranty Warranty 12 Month Limited Warranty Blackmagic Design warrants that this product will be free from defects a period of 12 months from the date of purchase. If a product proves to period, Blackmagic Design, at its option, either will repair the defective pr labor, or will provide a replacement in exchange for the defective produc In order to obtain service under this warranty, you the Customer, mus defect before the expiration of the warranty period and make suitable a... - Page 21 Click below to find more Mipaper at www.lcis.com.tw Mipaper at www.lcis.com.tw...
Need help?
Do you have a question about the ATEM Studio Converter and is the answer not in the manual?
Questions and answers