OWC MERCURY RACK PRO Assembly Manual & User Manual
Hide thumbs
Also See for MERCURY RACK PRO:
- User manual ,
- User manual & owners manual (24 pages) ,
- Assembly manual & user manual (12 pages)
Table of Contents
Advertisement
Quick Links
Download this manual
See also:
Owner's Manual
Advertisement
Table of Contents

Subscribe to Our Youtube Channel
Related Manuals for OWC MERCURY RACK PRO


Summary of Contents for OWC MERCURY RACK PRO
- Page 1 M E R C U R Y R A C K P R O Assembly Manual & User Guide...
-
Page 2: Table Of Contents
3.1 Rack / Desktop Conversion ............8 3.2 Formatting .................. 8 3.3 Unmounting Drives ..............8 3.4 About Data Backup ..............8 3.5 Troubleshooting ................9 3.6 Online Resources ............... 9 3.7 Contacting Technical Support ............ 9 OWC Mercury Rack Pro Table of Contents... -
Page 3: Minimum System Requirements
» Up to four 3.5” SATA drives (1.5Gb/s, 3.0Gb/s, or 6.0Gb/s) » Identical model drives are required for all RAID modes. Clear RAID (Independent) and Combine (SPAN) do not require identical drives. 1.2 Package Contents OWC Mercury Rack Pro Power cable USB 3.1 Gen 1 FireWire 800... -
Page 4: About This Manual
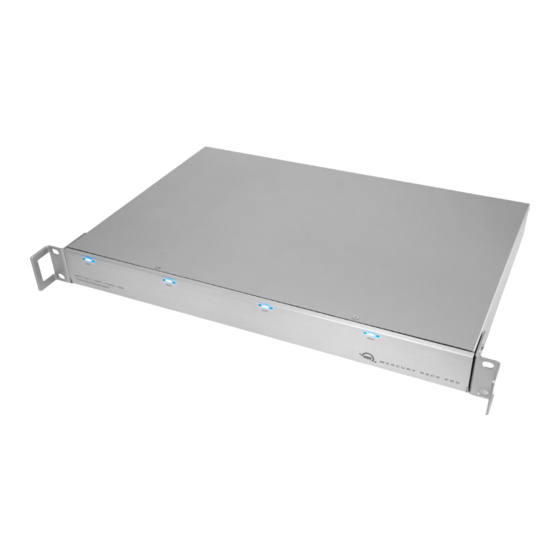
The images and descriptions may vary slightly between this manual and the unit shipped. Functions and features may change depending on the firmware version. Please visit the product web page for the most current information. OWC’s Limited Warranty is not transferable and subject to limitations. 1.4 Front View 1.4.1 Buttons... -
Page 5: Connection
(i.e. Windows Vista and later or Mac OS X 10.4 and later). » If one of the fans in the Mercury Rack Pro fails, an alarm will sound. The “Fan Alarm Mute” button located on the rear panel (highlighted below in green) will mute the alarm. -
Page 6: Pre-Configured Solutions
1.6 Pre-configured Solutions If your Mercury Rack Pro included hard drives, they have been pre-configured as a RAID 5 volume — that volume has been pre-formatted. If you need drive installation tips, please see Section 2.1. Formatting tips for Mac and PC can be found in Section 3.2. - Page 7 RAID 5 uses block-level striping with parity data distributed across all disks. It provides a good balance between performance and data integrity. If one drive fails, it can be replaced and the data rebuilt. OWC Mercury Rack Pro Introduction...
-
Page 8: Device Setup
Blue - Green - Yellow - Red - Drive Installation Steps: 1. Open the front cover on the OWC Mercury Rack Pro. 2. Install the first drive as shown at right, with the SATA connector facing away from you. 3. Slide the drive all the way into the drive bay. -
Page 9: Replacing Drives
» We recommend not turning the power off during the rebuild process. However, if power is interrupted the data should continue rebuilding as soon as the power is restored. The OWC Mercury Rack Pro does not need to be connected to a computer for the rebuild process to take place. -
Page 10: Support Resources
Rack Pro and a second copy on either your internal drive or another storage medium, such as an optical backup, or on another external storage unit. Any data loss or corruption while using the OWC Mercury Rack Pro is the sole responsibility of the user, and under no circumstances may OWC, its parent, partners, affiliates, officers, employees, or agents be held liable for loss of the use of data including compensation of any kind or recovery of the data. -
Page 11: Troubleshooting
Begin your troubleshooting by verifying that the power cable is connected to the Mercury Rack Pro and to a power source. If the power cable is connected to a power strip, make sure that the power switch on the strip is turned on. - Page 12 OWC and its officers and employees assume no liability resulting from errors or omissions in this document, or from the use of the information contained herein. OWC reserves the right to make changes or revisions in the product design or the product manual without reservation and without obligation to notify any person of such revisions and changes.
Need help?
Do you have a question about the MERCURY RACK PRO and is the answer not in the manual?
Questions and answers