Table of Contents
Advertisement
Quick Links
Advertisement
Table of Contents

Related Manuals for DUDOFF IH-F4B


Summary of Contents for DUDOFF IH-F4B
-
Page 1: User Instructions
INDUCTION IH-F4B IH-F4W IH-F4G User Instructions... -
Page 3: Table Of Contents
Dear customer, Thank you for having chosen our induction ceramic hob. In order to make the best use of your appliance, we would advise you to read carefully the following notes and to keep them for a later consulting. Summary Precautions before using ...................... -
Page 4: Precautions Before Using
SAFETY Precautions before using • Unpack all the materials. • The installation and connecting of the appliance have to be done by approved specialists. • The manufacturer can not be responsible for damage caused by building-in or connecting errors. • To be used, the appliance must be well-equipped and installed in a kitchen unit and an adapted and approved work surface. -
Page 5: Description Of The Appliance
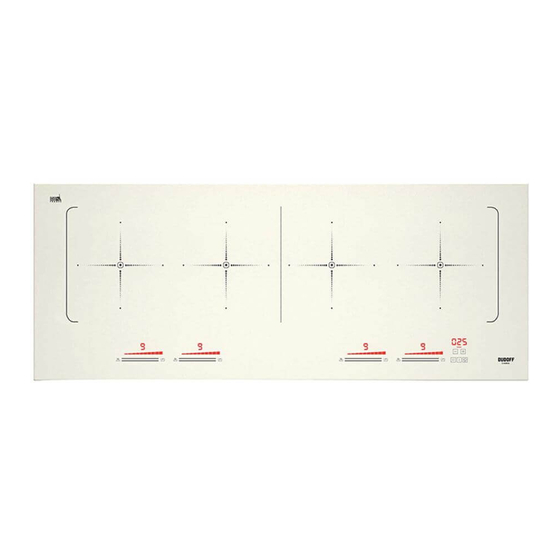
DESCRIPTION OF THE APPLIANCE Technical characteristics Total Power Position Diameter Nominal Booster Minimum Power diameter detection 7400 W 4 zones in line 180 x 220 mm 2100 W 3700 W 100 mm * The given power may change according to the dimensions and material of the pan. Control panel USE OF THE APPLIANCE Display... -
Page 6: Sensitive Touch
The induction heating zone adapts automatically the size of the pan. With a too small diameter the pan doesn’t work. This diameter is varying in function of the heating zone diameter. If the pan is not adapted to the induction hob the display will show U. Sensitive touch Your ceramic hob is equipped with electronic controls with sensitive touch keys. -
Page 7: Booster Function
Booster function Booster P grant a boost of Power to the selected heating zone. If this function is activated the heating zones work during 10 minutes with an ultra high Power. This is foreseen for example to heat up rapidly big quantities of water, like noodles •... -
Page 8: Automatic Cooking
• Automatic stop at the end of the cooking time: As soon as the selected cooking time is finished the timer displays blinking 000 and sound rings. To stop the sound and the blinking, press the key - and +. Automatic cooking All the cooking zones are equipped with an automatic cooking device. -
Page 9: Control Panel Locking
Control panel locking To avoid modification of the setting of the cooking zones, in particular during cleaning, the control panel can be locked (with exception to the On/Off key. Action Control panel Display Locking the hob Press On / Off, Press simultaneously L on all cooking zones display and ti- key II and chef cook , Press key chef cook... -
Page 10: Examples Of Cooking Power Setting
Examples of cooking power setting (the values below are indicative) 1 to 2 Melting, Reheating Sauces, butter, chocolate, gelatine, Dishes prepared beforehand 2 to 3 Simmering, Defrosting Rice, puddind, sugar syrup, dried ve- getables, fish, frozen products 3 to 4 Steam Vegetables, fish, meat 4 to 5... -
Page 11: What To Do In Case Of A Problem
WHAT TO DO IN CASE OF A PROBLEM The hob or the cooking zone doesn’t start-up: • The hob is badly connected on the electrical network. • The protection fuse cut-off. • The looking function is activated. • The sensitive keys are covered of grease or water. •... -
Page 12: Installation Instructions
INSTALLATION INSTRUCTIONS The installation comes under the exclusive responsibility of specialists. The installer is held to respect the legislation and the standards enforce in his home country. How to stick the gasket: The gasket supplied with the hob avoids all infiltration of liquids in the cabinet. His installation has to be done carefully, in conformity of the following drawing. -
Page 13: Electrical Connection
• Ensure that there is a distance of 50 mm between the hob and the wall or sides. • The hobs are classified as “Y” class for heat protection. Ideally the hob should be installed with plenty of space on either side. - Page 14 CONNECTION OF THE HOB BLACK BROWN BLUE EARTH BLACK BROWN BLUE EARTH Before making the connection, we strongly advise you to locate the phase(s), neutral and earth on the mains. If you have any doubts, call your electrician. Caution! Be careful that the cables are correctly engaged and tightened. We cannot be held responsible for any incident resulting from incorrect connection or which could arise from the use of an appliance which has not been earthed or has been equipped with a faulty earth connection.
- Page 16 3PCLIOBIU940STDD 8 novembre, 2016 4:56 p.
Need help?
Do you have a question about the IH-F4B and is the answer not in the manual?
Questions and answers