Table of Contents
Advertisement
Quick Links
Advertisement
Table of Contents

Related Manuals for montpellier MICL88


Summary of Contents for montpellier MICL88
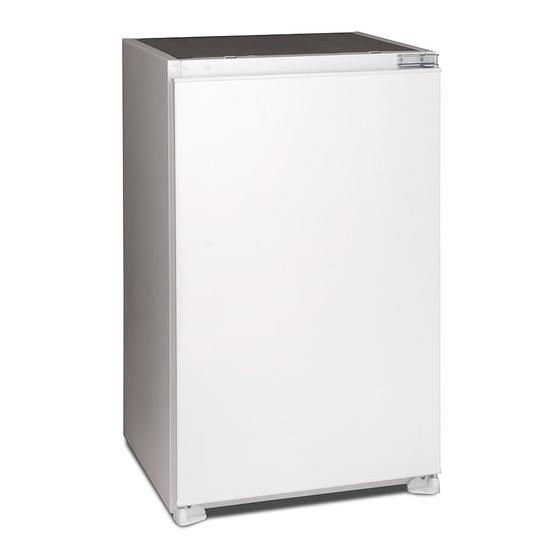
- Page 1 BUILT IN LARDER User manual MICL88...
-
Page 3: Table Of Contents
Index BEFORE USING THE APPLIANCE ..........4 General warnings ..............4 Old and out-of-order fridges ............6 Safety warnings ...............6 Installing and operating your fridge .........7 Electrical connection (For UK type plug) .........8 Before using your fridge ............8 HOW TO OPERATE THE APPLIANCE ........9 Thermostat setting ..............9 Warnings about temperature adjustments ......9 FOOD STORAGE IN THE APPLIANCE ........10... -
Page 4: Before Using The Appliance
PART 1. BEFORE USING THE APPLIANCE General warnings WARNING: Keep ventilation openings, in the appliance enclosure or in the built-in structure, clear of obstruction. WARNING: Do not use mechanical devices or other means to accelerate the defrosting process, other than those recommended by the manufacturer. - Page 5 - bed and breakfast type environments; - catering and similar non-retail applications. • If the socket does not match the refrigerator plug, it must be replaced by the manufacturer, a service agent or similarly qualified persons in order to avoid a hazard. •...
-
Page 6: Old And Out-Of-Order Fridges
Old and out-of-order fridges • If your old fridge has a lock, break or remove the lock before discarding it, because children may get trapped inside it and may cause an accident. • •Old fridges and freezers may contain isolation material and refrigerant with CFC or HFC. -
Page 7: Installing And Operating Your Fridge
Installing and operating your fridge Before starting to use your fridge, you should pay attention to the following points: • The operating voltage for your fridge is 220-240 V at 50Hz. • The plug must be accessible after installation. • Your fridge may have a smell when it is operated for the first time. This is normal and the smell will fade away when your fridge starts to cool. -
Page 8: Electrical Connection (For Uk Type Plug)
Electrical connection (For UK type plug) For your safety please read the following information Warning: This appliance must be earthed. This appliance operates from 220-240 volts and should be protected by a 13 amp fuse in the plug. The appliance is supplied with a standard 13 amp 3-pin mains plug fitted with a 13-amp fuse. Should the fuse require replacement, it must be replaced with a fuse rated at 13 amp and approved to BS1362. -
Page 9: How To Operate The Appliance
PART 2. HOW TO OPERATE THE APPLIANCE Thermostat setting • The thermostat automatically regulates the inside temperature of the fridge. By rotating the knob from position 1 to 5, colder temperatures can be obtained. • The “ • “ position shows thermostat is closed and no cooling will take place. -
Page 10: Food Storage In The Appliance
PART 3. FOOD STORAGE IN THE APPLIANCE The fridge is used for storing fresh food for few days. • Do not place food in direct contact with the rear wall of the refrigerator. Leave some space around food to allow the circulation of air. •... -
Page 11: Defrosting
Defrosting • Defrosting occurs automatically in the fridge during operation; the water is collected by the evaporation tray and evaporates automatically. • The evaporation tray and the water drain hole should be cleaned periodically with the defrost drain plug to prevent the water from collecting at the bottom of the fridge instead of flowing out. -
Page 12: Before Calling Your After Sales Service
PART 6. BEFORE CALLING YOUR AFTER SALES SERVICE If your fridge is not working properly, it may be a minor problem, therefore check the following. The appliance does not operate, Check if: • There is a power failure. • The mains plug is not plugged in properly, or is loose. •... -
Page 13: Tips For Saving Energy
• The appliance you have purchased is designed for domestic use and can only be used at home and for the stated purposes. It is not suitable for commercial or common use. If the consumer uses the appliance in a way that does not comply with this, we emphasise that the manufacturer and the dealer will not be responsible for any repair and failure within the guarantee period. -
Page 14: The Parts Of The Appliance And The Compartments
THE PARTS OF THE APPLIANCE AND THE PART 7. COMPARTMENTS This presentation is only for information about the parts of the appliance. Parts may vary according to the appliance model. 1. Thermostat knob 2. Fridge shelves 3. Crisper cover 4. Crisper 5. -
Page 15: Installation Instructions And Door Reversibility
Installation instructions and door reversibility Installation ! Before installation, read the instructions carefully. ! Fit the refrigerator/freezer in stable kitchen units only. ! If necessary, reverse the door according to instructions. 1. See fig.A for the necessary attachment components. 2. Insert trim flap into slot and screw by screws . - Page 16 875 - 895 Figure A Figure C Figure B Figure E Figure D EN -16-...
- Page 17 Figure F Figure G Figure H EN -17-...
- Page 18 Figure J Figure K Door reversing 1. Open appliance door . (fig.J) 2. Disassemble door hinge and take appliance door to safe place. (fig.K) 3. Unscrew door hinge pin and screw it to opposite side firmly and take to safe place. (fig.K.a) 4.
- Page 20 Repairtech Service Helpline: 01527-888133 DOMESTIC APPLIANCE DISTRIBUTORS; HENRY JOHN HOUSE NORTHWAY LANE ASHCHURCH TEWKESBURY GLOUCESTERSHIRE 52206300 GL20 8JH...
Need help?
Do you have a question about the MICL88 and is the answer not in the manual?
Questions and answers