Table of Contents
Advertisement
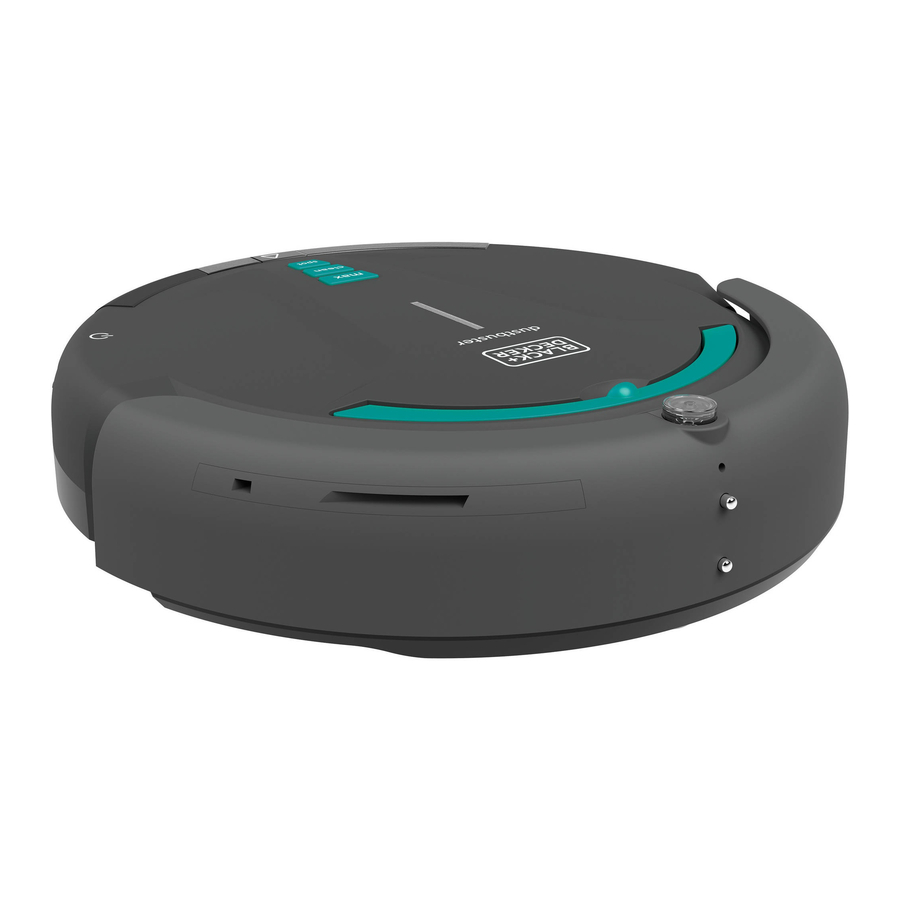
ROBOTIC VACUUM
INSTRUCTION MANUAL
CATALOG NUMBER
BDH5000
Thank you for choosing BLACK+DECKER!
PLEASE READ BEFORE RETURNING THIS PRODUCT FOR
ANY REASON.
If you have a question or experience a problem with your BLACK+DECKER
purchase, go to http://www.blackanddecker.com/instantanswers
If you can't find the answer or do not have access to the Internet, call
1-800-544-6986 from 8 a.m. to 5 p.m. EST Mon. - Fri. to speak with an agent.
Please have the catalog number available when you call.
SAVE THIS MANUAL FOR FUTURE REFERENCE.
VEA EL ESPANOL EN LA CONTRAPORTADA.
INSTRUCTIVO DE OPERACIÓN, CENTROS DE SERVICIO Y PÓLIZA DE GARANTÍA.
ADVERTENCIA: LÉASE ESTE INSTRUCTIVO ANTES DE USAR EL PRODUCTO.
To register your new product, call 1-800-544-6986
or visit www.BlackandDecker.com/NewOwner
Advertisement
Table of Contents

Related Manuals for Black & Decker bdh5000


Summary of Contents for Black & Decker bdh5000
-
Page 1: Instruction Manual
ROBOTIC VACUUM INSTRUCTION MANUAL CATALOG NUMBER BDH5000 Thank you for choosing BLACK+DECKER! PLEASE READ BEFORE RETURNING THIS PRODUCT FOR ANY REASON. If you have a question or experience a problem with your BLACK+DECKER purchase, go to http://www.blackanddecker.com/instantanswers If you can’t find the answer or do not have access to the Internet, call 1-800-544-6986 from 8 a.m. -
Page 2: Table Of Contents
Fig. A Spot button Main brush Clean button Rubber brush Max button Brush cover Power indicator Side brushes Handle Rechargeable battery Infrared receiver Sensors Charging electrodes Front wheel Front Cover Charging dock Dust bin LED screen Fan cover Battery Charger Power switch Remote control Charging socket... -
Page 3: Important Safety
IMPORTANT SAFETY • Do not use without dust bin and/or filter in place. INSTRUCTIONS • Do not charge the unit outdoors. WARNING: • Use only the charger supplied by the Read all safety manufacturer to recharge. warnings and all instructions. Failure to •... -
Page 4: Spot Button
LED INDICATORS 4. Place the vacuum against the charging The power indicator (4) has various dock so that the charging electrodes settings that show the charging status. (7) contact the two charging plates (29) NOTE: If the power switch (11) is turned as shown in Figure D. -
Page 5: Max Button
objects around it. If the battery runs low, the vacuum will automatically search for the charging dock (21). This mode is ideal for small rooms with less than 215 sqft (20m Su Mo We Th Fr Sa 09:24 Max mode - Press the max button (3) to select this mode. -
Page 6: Handle
Su Mo Tu We Th Fr Sa 09:24 NOTE: In order for the vacuum to start cleaning at the set time, it must be charged via the charging dock (21) and turned on. CLEANING THE INLET AND FAN COVER NOTE: During auto cleaning and schedule (FIGURE A, J) setting, the vacuum needs to be turned on 1. -
Page 7: Power Switch
(45) and lower the other end into the support slot near the release tab. 7. Close the brush cover. Ensure the cover has fully latched. NOTE: Large debris such as hair and big dust can be removed from the brushes by using the comb end of the maintenance brush (26). -
Page 8: Filter
luggage) UNLESS they are properly The RBRC Seal protected from short circuits. So when ® transporting individual batteries, make The RBRC (Rechargeable ® sure that the battery terminals are Battery Recycling Corp oration) protected and well insulated individual Seal on the nickel metal hydride batteries, make sure that the battery (or battery packs) indicates that the costs terminals are protected and well... -
Page 9: Troubleshooting
FREE WARNING LABEL REPLACEMENT: If your warning labels become illegible or are missing, call 1‑800‑544‑6986 for a free replacement. TROUBLESHOOTING Problem Possible Cause Possible Solution • Vacuum stops • Main brush is blocked • Clean brush or removed cleaning. or jammed. debris using the maintenance •...
Need help?
Do you have a question about the bdh5000 and is the answer not in the manual?
Questions and answers