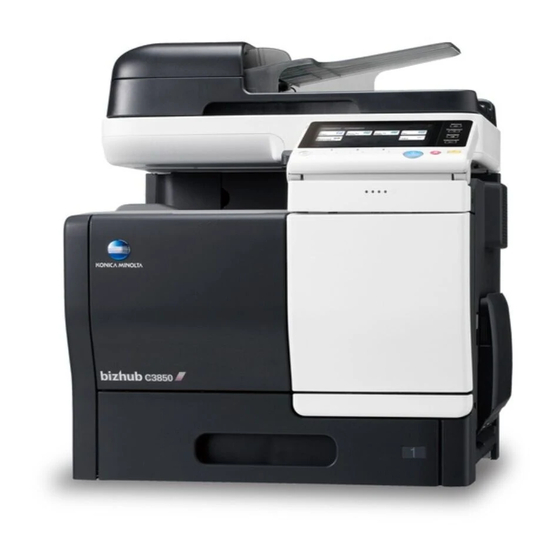
Konica Minolta bizhub C3850 Installation Manual
Hide thumbs
Also See for bizhub C3850:
- User manual (162 pages) ,
- User's manual print functions (118 pages) ,
- Safety information manual (66 pages)
Table of Contents
Advertisement
<Important>
Be sure to correctly follow the procedures in order as explained in this Installation Manual.
If you do not follow the procedure in order, the image trouble may occur.
I. Outline of installation procedures
When installing the machine and associated options as a system, follow the order shown on the upper.
Note:
• For the detailed installation procedures for each option, follow the instructions given in the corresponding
installation manual and perform the procedures correctly. (Optional devices must be installed after com-
pleting the main unit installation.)
• Once the Power Switch is turned ON, do not turn OFF it until the installation work has been completed.
Caution:
• Lifting the machine in an awkward position or transporting it in a poorly balanced position could result in
personal injury. When transporting the machine, assign an adequate number of persons to the job and
ensure that each person can take a good position of not being excessively loaded (mass: approx. 47.5 kg
(104-11/16 lb))
INSTALLATION MANUAL
PF-P13
WT-P02
FS-P03
*: Varies depending on the model and applicable marketing area.
/
Applied Machines:
DK-P03*
KP-101
Machine
AU-201
FK-512*
MK-738*
E-1
/
MK-P02
A3GN-9581-00
Advertisement
Table of Contents

Related Manuals for Konica Minolta bizhub C3850


Summary of Contents for Konica Minolta bizhub C3850
- Page 1 INSTALLATION MANUAL Applied Machines: <Important> Be sure to correctly follow the procedures in order as explained in this Installation Manual. If you do not follow the procedure in order, the image trouble may occur. I. Outline of installation procedures PF-P13 DK-P03* WT-P02 KP-101...
- Page 2 II. Installation space (unit: mm (inch)) III. Pre-installation check items bizhub C3850 + PF-P13 + DK-P03 1. Select a level and stable place for installing the machine. 2. Be sure to use a power source of the voltage and 809 (31-7/8) frequency indicated in the product specifications.
-
Page 3: Accessory Parts
V. Accessory parts Note: This manual provides the illustrations of the acces- Name Q’ty sory parts and machine that may be slightly differ- ent in shape from yours. In that case, instead of 1. Safety Information Guide the illustrations, use the appearance of your 2. -
Page 4: Removing Protective Tape, Packing And Other Shipping Materials
VII. Removing protective tape, packing 4. Slide the scanner lock lever to the unlock side and close the ADF. and other shipping materials 1. Remove tapes for protective sheet and get rid of the protective sheet. 2. Remove all protective tapes and protective mate- rials used for fixing the machine housing. - Page 5 7. Hold the handle of the toner cartridge, then pull it 9. Check that the color of the toner cartridge out. matches that of the insertion slot in the main unit, then push the toner cartridge to the back. Note: Make sure that the toner cartridge is pushed all the way in.
- Page 6 12. Remove protective films for the imaging units of 16. Remove the protective materials from the fusing each color. section. 13. Close the front door. 14. Open the right door. 17. Push down the two levers of the fusing unit cover in step 15.
-
Page 7: Loading The Tray
20. Slide out the tray 1 and remove the protective 3. Set paper with the printing side upward and slide materials from the inside of the tray. the paper width guide to the paper size. Note: Note: Take care not to touch the surface of the paper Make sure that the top level of the paper stack does not exceed the ▼... -
Page 8: Connecting The Power Cord
X. Connecting the power cord 4. Plug the power cord into the power outlet. 1. Remove the screw of the main unit shown in the illustration. Note: Execute this step only if the cord clamp is supplied with your machine. XI. -
Page 9: Connecting The Modular Cable
XII. Connecting the modular cable XIV. Notes when performing dial transfer Note: Note: This step may not be performed depending on the Refer to this chapter only if your machine comes applicable marketing area. with the FAX function as standard. Connect the supplied modular cable to the LINE After setting the fax target, dialing operations may port. -
Page 10: Affixing The Labels
XV. Affixing the labels 4. Affix the supplied panel sheet to the surface of the operation panel. 1. Affix the label (Legal restrictions on copying) to Note: the position shown below. • The panel sheet is affixed on customer request. Note: •...
Need help?
Do you have a question about the bizhub C3850 and is the answer not in the manual?
Questions and answers