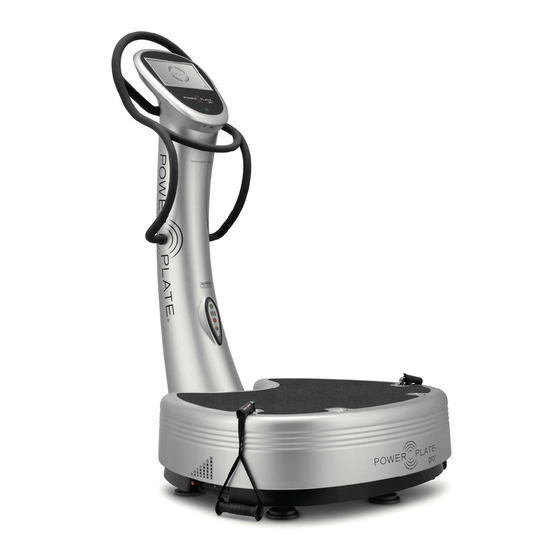
Power Plate PRO7 Assembly Instructions Manual
Hide thumbs
Also See for PRO7:
- Instructions for use manual (17 pages) ,
- Instructions for use and service manual (12 pages) ,
- Manual (11 pages)
Advertisement
Quick Links
Carton Contents:
Column Carton:
1 – Column Assembly
1 – Column Dust Cover
Platform / Iron Base Carton:
1 – Platform Assembly
1 – Platform Dust Cover
1 – Line Cord
1 – User Manual
1 – Rubber / Foam Mat
2 – Straps
2 – proMOTION Handles
3 – Column Securing Bolts
with Washers
PRO7 Assembly Instructions
Advertisement

Subscribe to Our Youtube Channel
Related Manuals for Power Plate PRO7


Summary of Contents for Power Plate PRO7
- Page 1 PRO7 Assembly Instructions Carton Contents: Column Carton: 1 – Column Assembly 1 – Column Dust Cover Platform / Iron Base Carton: 1 – Platform Assembly 1 – Platform Dust Cover 1 – Line Cord 1 – User Manual 1 – Rubber / Foam Mat 2 – Straps 2 – proMOTION Handles 3 – Column Securing Bolts with Washers ...
- Page 2 Tools Needed: 1 ‐ 16mm or 5/8 Wrench or Socket Set 1 ‐ Riser 4‐5” in height STEP 1: Remove Platform / Iron Base from Carton and set on top of riser 4‐5” clearance is recommended. ...
- Page 3 STEP 2: Set the column next to the Platform / Iron Base and make wire connections; 2 – Yellow/green to Ground (Earth), 1 – Brown and 1 – Blue to remaining terminal (Not polarity sensitive) and finally the Multi Colored cable from the column attached to the Multi Colored cable on the platform. ...
- Page 4 ...
- Page 5 ① ② ③ ④ ⑤ ① Multi‐Colored cable: Control Panel signal cable ② Blue cable: Filter power cable ③ Brown cable: Filter power cable ④ Yellow/green cable I: Filter ground cable ⑤ Yellow/green cable II: Control Panel ground cable ...
- Page 6 STEP 3: Attach the column to the platform using the supplied 3 – 16mm Platform Bolts including spring and flat washers. ...
- Page 7 STEP 4: Remove completed PRO7 from riser and plug in to nearest power outlet and turn ON and test. Place all accessories on top of PRO7 platform or give to customer. ...
Need help?
Do you have a question about the PRO7 and is the answer not in the manual?
Questions and answers