
Related Manuals for King Industrial KC-1433FXR


Summary of Contents for King Industrial KC-1433FXR
-
Page 1: Instruction Manual
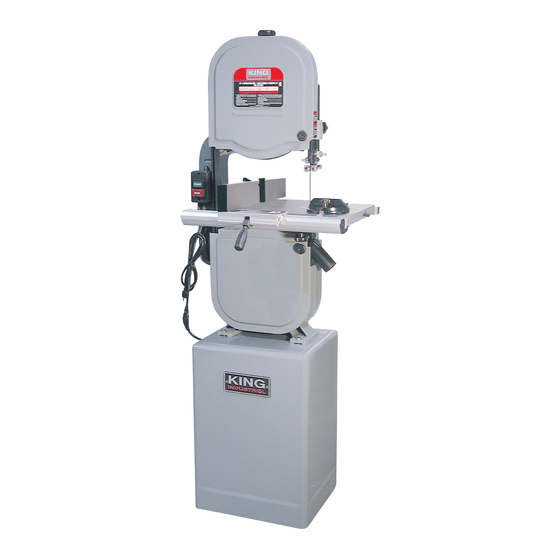
14” -3 SPEED BAND SAW KC-1433FXR SEE PAGE 12 NEW & IMPROVED “TRU-RIP” RIP FENCE SYSTEM MODEL: KC-1433FX & KC-1433FXR INSTRUCTION MANUAL COPYRIGHT © 2002 ALL RIGHTS RESERVED BY KING CANADA TOOLS INC. -
Page 2: Replacement Parts
IMPORTANT INFORMATION 2-YEAR KING CANADA TOOLS LIMITED WARRANTY OFFERS A 2-YEAR LIMITED WARANTY FOR THIS 14” BAND SAW FOR INDUSTRIAL USE. PROOF OF PURCHASE Please keep your dated proof of purchase for warranty and servicing purposes. REPLACEMENT PARTS Replacement parts for this tool are available at our authorized KING CANADA service centers across Canada. For servicing, contact or return to the retailer where you purchased your product along with your proof of purchase. -
Page 3: General Safety Instructions For Power Tools
GENERAL SAFETY INSTRUCTIONS FOR POWER TOOLS 1. KNOW YOUR TOOL 12. ALWAYS WEAR SAFETY GLASSES. Read and understand the owners manual and labels affixed to Always wear safety glasses (ANSI Z87.1). Everyday the tool. Learn its application and limitations as well as its eyeglasses only have impact resistant lenses, they are NOT specific potential hazards. -
Page 4: Before Each Use
SPECIFIC SAFETY INSTRUCTIONS FOR BAND SAWS Safety is a combination of common sense, staying alert and the upper blade guide and blade guard to just clear the knowing how your band saw works. Read and understand the workpiece. following safety rules before operating. •... - Page 5 MOTOR SPECIFICATION AND GROUNDING WARNING: replace it before operating. If repair or replacement of the cord is To reduce the risk of electrical hazards, fire hazards necessary, make sure the ground wire is NEVER connected to a live or damage to the tool, use proper circuit protection. Your tool is terminal.
-
Page 6: Contents Of Boxes
UNPACKING WARNING! Do not plug the machine into the wall or try to operate until the band saw is completely assembled, wired, all belts are aligned and tightened, and the blade is tensioned and tracking properly. Carefully unpack the contents of the box and check that all items in Fig.2 are included. Do not discard any packing material until the band saw is fully assembled and operational. - Page 7 ASSEMBLY ASSEMBLING BANDSAW TO CABINET STAND 1. Set bandsaw on top of stand matching the holes of the bandsaw base and those of the cabinet stand. 2. Secure bandsaw to cabinet stand using 4 hex. bolts, 8 washers, 4 lock washers and 4 hex. nuts. ASSEMBLING TABLE 1.
-
Page 8: Installing V-Belts
ASSEMBLY INSTALLING V-BELTS 1. Slip shorter of the two V-belts between pulleys A & B Fig.7 & 8. Slip longer of the two V-belts between pulleys B & C. If too much tension exists between the pulleys and the installation of V-belts is impossible, raise the motor plate to decrease the spacing between the pulleys. -
Page 9: Tilting Table
ADJUSTMENTS & OPERATION TABLE ADJUSTMENT Your bandsaw is equipped with an adjustable stop (bolt-A- Fig.12) assembled to the table trunnion (C) to insure that the table is perfectly set at 90 to the table. To adjust; 1. Slightly tilt the table to the right. Make sure the stop (bolt) is lowered to avoid any interference with the table. - Page 10 ADJUSTMENTS & OPERATION ADJUSTING UPPER BLADE GUIDE ASSEMBLY 1. Set upper blade guide assembly as closely as possible to the top of stock. To do so, loosen lock knob (A-Fig.14), raise or lower the upper blade guide assembly to the desired height. ADJUSTING UPPER BLADE GUIDES AND BLADE SUPPORT BEARING 1.
-
Page 11: Maintenance And Troubleshooting
MAINTENANCE & TROUBLESHOOTING WARNING: For your own safety, turn the switch “OFF” and Note: Do not immerse the back-up bearings in the gum and pitch remove the plug from the power source before maintaining your remover. Put a thin coat of paste wax on the table so that the wood slides easily while cutting. - Page 12 14” WOOD BANDSAW WITH RESAW GUIDE INSTRUCTIONS FOR KC-1433FXR 2-YEAR LIMITED WARRANTY FOR KING INDUSTRIAL MACHINERY PROOF OF PURCHASE Please keep your dated proof of purchase for warranty and servicing purposes. REPLACEMENT PARTS Replacement parts for this improved product are available at our authorized King Canada service centers across Canada.
Need help?
Do you have a question about the KC-1433FXR and is the answer not in the manual?
Questions and answers