Sign In
Upload
Download
Table of Contents
Contents
Add to my manuals
Delete from my manuals
Share
URL of this page:
HTML Link:
Bookmark this page
Add
Manual will be automatically added to "My Manuals"
Print this page
×
Bookmark added
×
Added to my manuals
Manuals
Brands
Oki Manuals
Printer
C612
User manual
Oki C612 User Manual
Hide thumbs
Also See for C612
:
User manual
(194 pages)
1
2
3
Table Of Contents
4
5
6
7
8
9
10
11
12
13
14
15
16
17
18
19
20
21
22
23
24
25
26
27
28
29
30
31
32
33
34
35
36
37
38
39
40
41
42
43
44
45
46
47
48
49
50
51
52
53
54
55
56
57
58
59
60
61
62
63
64
65
66
67
68
69
70
71
72
73
74
75
76
77
78
79
80
81
82
83
84
85
86
87
88
89
90
91
92
93
page
of
93
Go
/
93
Contents
Table of Contents
Troubleshooting
Bookmarks
Table of Contents
Preface
Emergency First Aid
Manufacturer
Importer to the Eu/Authorised Representative
Environmental Information
Table of Contents
Contents
Notes, Cautions and Warnings
About this Guide
Documentation Suite
On-Line Usage
Printing
Introduction
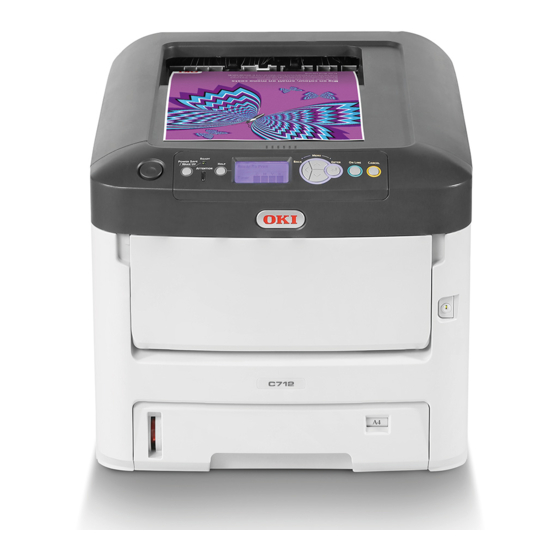
Printer Overview
Front View
Rear View
Changing the Display Language
Getting Started
Turning on the Power
Turning off the Power
Power Saving Mode
Paper Recommendations
Cassette Trays
Multi Purpose Tray
Output Tray (Face Down)
Rear Output Tray (Face Up)
Duplex Unit
Loading Paper
Cassette Trays
Multi Purpose Tray
Operation
Menu Functions
Operator Panel
How to Change the Settings - User
How to Change the Settings - Administrator
Print from USB Memory
Print
Configuration Menu
Print Information Menu
Menus
Admin Setup
Print Statistics
Calibration
Google Cloud Print
Wireless(Infrastructure) Setting
Wireless(Ap Mode) Setting
Boot Menu
Maintenance
Replacing Consumable Items
Toner Cartridge Replacement
Image Drum Replacement
Replacing the Transfer Belt Unit
Fuser Replacement
Cleaning
The Unit Casing
The LED Head
The Paper Feed Rollers
Installing Upgrades
Duplex Unit
Memory Upgrade
SD Card
Wireless LAN Module
Connecting in Wireless LAN(Infrastructure Mode)
Connecting in Wireless LAN(AP Mode)
Additional Paper Tray(S)
Setting the Driver Device Options
Storage Cabinet
Troubleshooting
Major Printer Components and Paper Path
Paper Sensor Error Codes
Clearing Paper Jams
Before Machine Disposal
Specifications
Index
Oki Contact Details
Advertisement
Quick Links
Download this manual
C612/C712/ES6412/ES7412
User's Guide
Table of
Contents
Previous
Page
Next
Page
1
2
3
4
5
Advertisement
Table of Contents
Need help?
Do you have a question about the C612 and is the answer not in the manual?
Ask a question
Questions and answers
Related Manuals for Oki C612
All in One Printer Oki ES5473 User Manual
(194 pages)
Printer Oki C712dn-b Setup Manual
Ballot printer (6 pages)
Printer Oki C6100 Series User Manual
Oki printer user's guide (350 pages)
Printer Oki C6150 User Manual
Oki c6150: user guide (286 pages)
Printer Oki C5650 Maintenance Instructions Manual
(249 pages)
Printer Oki C6150 Reference Manual
Oki c6150: reference guide (104 pages)
Printer Oki C6000dn Network User's Manual
Okilan 8300e network user's guide for c6000n and c6100 series printers (portuguese brazilian) (139 pages)
Printer Oki C610dn Setup Manual
C610/c711 software setup guide (english, fran栩s, espa?ol, portugu鱩 (25 pages)
Printer Oki C610dn Handy Reference
C610 handy reference (english, fran栩s, espa?ol, portugu鱩 (87 pages)
Printer Oki C610dn Manual Do Usuário
C610, c711 manual do usu౩o (portugu鱩 (125 pages)
Printer Oki C610dn Manual De L'utilisateur
C610, c711 guide de l'utilisateur (fran栩s) (116 pages)
Printer Oki C610dn Material Safety Data Sheet
C610 series safety warranty regulatory guide (52 pages)
Printer Oki C610dn Guías Del Usuario Manual
C610, c711 gu쟠del usuario (espa?ol) (112 pages)
Printer Oki C610n Maintenance Manual
(217 pages)
Printer Oki C610 User Manual
(78 pages)
Printer Oki C610 How To Remove Jammed Paper
(10 pages)
This manual is also suitable for:
Es7412
C712
Es6412
Table of Contents
Save PDF
Print
Rename the bookmark
Delete bookmark?
Delete from my manuals?
Login
Sign In
OR
Sign in with Facebook
Sign in with Google
Upload manual
Upload from disk
Upload from URL


Need help?
Do you have a question about the C612 and is the answer not in the manual?
Questions and answers