Table of Contents
Advertisement
Advertisement
Table of Contents

Related Manuals for FAAC 844R


Summary of Contents for FAAC 844R
- Page 1 844R 844R Reversibile Reversibile...
- Page 2 Le descrizioni e le illustrazioni del presente manuale non sono impegnative. La FAAC si riserva il diritto, lasciando inalterate le caratteristiche essenziali dell’apparecchiatura, di apportare in qualunque momento e senza impegnarsi ad aggiornare la presente pubblicazione, le modifiche che essa ritiene convenienti per miglioramenti tecnici o per qualsiasi altra esigenza di carattere costruttivo o commerciale.
-
Page 3: Ec Declaration Of Conformity For Machines
19) Do not in any way modify the components of the automated system. 6) FAAC declines all liability caused by improper use or use other than that for which the automated system was intended. 20) The installer shall supply all information concerning manual operation of... -
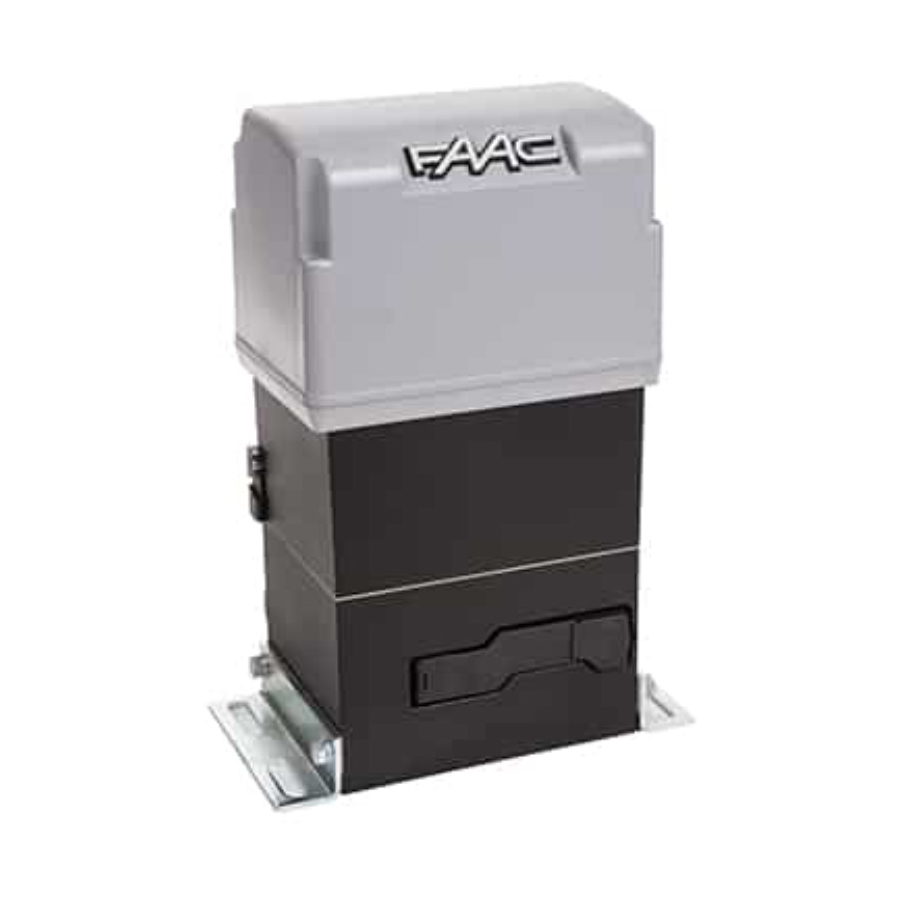
Page 4: Description And Technical Specifications
The curve makes it possible to establish maximum work time (T) 1000 according to use frequency (F). Gate speed (m/min) 11.6 E.g.: The 844R Rev. gearmotor can operate non-stop at a use Gate max. length (m) (time-out) frequency of 70%. Clutch twin-disk in oil bath... -
Page 5: Masonry For Foundation Plate
3) Make a foundation plinth as shown in Fig. 7 and wall the foundation plate, providing one or more sheaths for routing The 844R Rev. operator can be installed using a remote or on- the electric cables. Using a spirit level, check if the plate is board unit. -
Page 6: Installing The Rack
Fig. 10 Fig. 7 4.3. MECHANICAL INSTALLATION Fig. 11 1) Assemble, on the operator, the securing corners and the anti- vibration spacers as shown in Fig. 8. 2) Open the cover, unscrewing the securing screws. 3) Fit the operator on the plate, using the supplied washers and nuts as shown in Fig. - Page 7 N.B.: The indicated measurements strictly refer to lock FAAC Mark the drilling point on the gate. Drill Ø 6.5 mm and thread with V 75 code 712654 and to counter-strike FAAC code 720329. a Ø 8 mm tap. Screw the bolt. Manually move the gate,...
- Page 8 CONNECTIONS FOR THE UNIT 5.3. ASSEMBLY OF 462DF BOARD If you prefer to install the unit on board the operator, you must 5.1. ASSEMBLY OF REMOTE BOARD 578D or 562DF use the 462DF board, and the adaptor kit (Fig. 21). To install, consult the specific instructions.
-
Page 9: Electric Connections
The magnets must be fitted on the rack but never on the START-UP securing screws. If necessary, fit the magnet in contact with the screw and adjust the decelerations to obtain the 6.1. ELECTRIC CONNECTIONS correct stop point, as shown in the instruction for the unit. Make all the electric connections on the board as shown in chapter 5, including earthing the operator (Fig. -
Page 10: Final Operations
6.6. ADJUSTING THE MECHANICAL CLUTCH FINAL OPERATIONS The 844R Rev operator is equipped with a mechanical clutch. After completing installation, remove the breather screw (see Procedure for adjusting the action threshold of the mechanical fig. 27) and apply the danger signal tape on the top of the clutch (we advise you to set it in compliance with current cover (Fig. -
Page 11: Maintenance
CN 60E conductive safety edge. Cut the 13. REPAIRS DIN bar to measure and secure it to the operator with two screws For repairs, contact FAAC authorised Repair Centres. in the two appropriate holes, and hook on the CN 60E control unit (Fig.31). -
Page 12: General Safety Regulations
GENERAL SAFETY REGULATIONS automated system, use the release device as follows: If correctly installed and used, the 844R Reversible automated system will ensure a high degree of safety. 1) Open the electric lock with the key, checking if the gate is Some simple rules on behaviour can prevent accidental trouble: free to move.
Need help?
Do you have a question about the 844R and is the answer not in the manual?
Questions and answers