Table of Contents
Advertisement
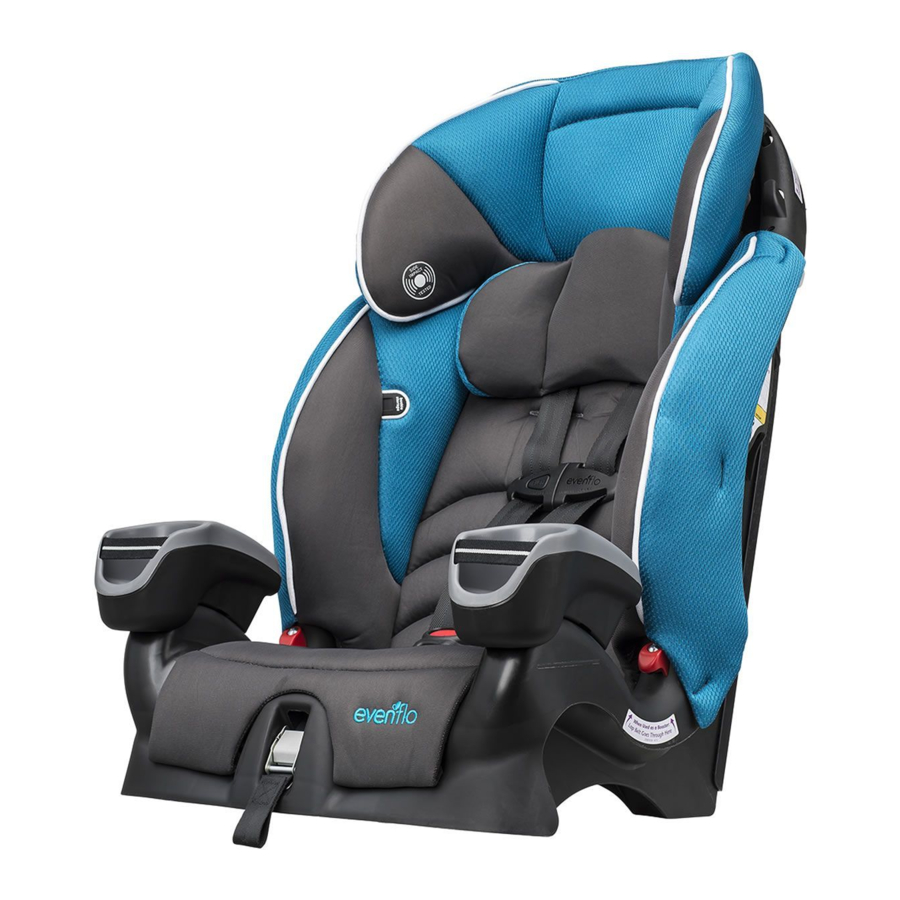
Maestro™
Child Restraint System
Owner's Manual
Keep for future use
Exclusive RightFit™
Belt Path
Child Requirements
5-point Harness*
10 to 22.6 kg
(22 to 50 lbs)
71 to 127 cm
(28 to 50 in)
At least 2 years old
Booster*
18 to 49.8 kg
(40 to 110 lbs)
110 to 145 cm
(43.3 to 57 in)
At least 4 years old
* See page 2 for complete requirements.
Para instrucciones en Español,
llamar al: 1-800-233-5921
WARNING:
To reduce the risk of serious injury
or death, read this owner's manual prior
to installing and using this child restraint.
© 2016 Evenflo Company, Inc.
25701059
12/16
Advertisement
Table of Contents

Related Manuals for Evenflo Maestro


Summary of Contents for Evenflo Maestro
- Page 1 Maestro™ Child Restraint System Owner’s Manual Keep for future use Exclusive RightFit™ Belt Path Child Requirements 5-point Harness* 10 to 22.6 kg (22 to 50 lbs) 71 to 127 cm (28 to 50 in) At least 2 years old Booster* 18 to 49.8 kg...
-
Page 2: Table Of Contents
More children are killed every year as passengers in Table of Contents car crashes than by any other type of injury. Important Information To reduce the risk of SERIOUS INJURY or DEATH, read Child Requirements ........... 2 this owner’s manual and your vehicle owner’s manual Warnings .............. -
Page 3: Child Requirements
WARNING CHILD REQUIREMENTS Warning: Failure to follow these Child Requirements could result in serious injury or death. Air Bag Warnings This child restraint is designed for use by children in forward- • DO NOT use this restraint in the front seat of a vehicle facing orientation only. -
Page 4: Warnings
WARNING WARNING General Warnings MUST use this child restraint as a booster (p. 28). • Adjust, or remove, the vehicle headrest, in the seat • Failure to follow the Child Requirements for forward- where the child restraint is to be fastened, so that facing and belt-positioning use of this child the back of the child restraint rests against the vehicle restraint could result in serious injury or death. -
Page 5: Latch Warnings
WARNING WARNING • DO NOT use this booster seat if the child’s ears are Tether Strap Warnings above the back of the booster seat headrest. • To avoid a strangulation hazard, you MUST tightly roll • The shoulder belt MUST NOT cross the child’s neck or fold excess or unused tether strap and secure with or fall off the child’s shoulder. -
Page 6: Safe Practices
Safe Practices Recall Information for U.S. Customers • Everyone rides buckled up or the vehicle does • Child restraints could be recalled for safety reasons. not go. Make no exceptions for adults or children. You must register this restraint to be reached in a If someone unbuckles, stop the vehicle. -
Page 7: Visual Glossary
Visual Glossary Visual Glossary Your vehicle components may be significantly different than pictured. Consult your owner’s manual to help you identify your vehicle components. Front Seat Lap and Shoulder Belts Rear Fold-down Armrest Consult your vehicle’s Headrests Front owners manual. Headrests Tether Anchors Forward-facing... -
Page 8: Child Restraint Features
Child Restraint Features Child Restraint Features Front Description Shoulder Belt Guide Harness Straps Harness Adjust Strap Headrest Chest Clip Buckle Harness Release Button Model Number & Date of Manufacture Instructions Lower Anchor Connector Assembly Splitter Plate Tether Strap and Hook (Shown fastened to storage clip) Vehicle Seat Belt Path * Not all features are available on all models. -
Page 9: Using The Internal 5-Pt Harness
Using the Internal Installation Checklist 5-pt Harness 1. Secure child restraint to the vehicle seat. Child Requirements Locking clip is installed, if necessary (p. 20). • Weight: 10 – 22.6 kg (22 – 50 lbs) Child restraint is securely installed with lower •... -
Page 10: Installation With Lower Anchor Connector Assembly
Installation with lower anchor Installation with lower anchor connector assembly connector assembly WARNING Near Side Far side •To avoid a strangulation hazard, you MUST store the unused lower anchor connector assembly, with all slack removed, in storage area on the back of the seat. Roll or fold excess lower anchor connector strap and secure with a rubber band to prevent serious injury to vehicle occupants. -
Page 11: Installation With Seat Belt
Installation with lower anchor Installation with Seat Belt connector assembly IMPORTANT: If you are using the vehicle seat belt to secure the child restraint, use the lower anchor DO NOT The Tether Strap that comes with your child restraint connector assembly. will be one of the two types below. - Page 12 Installation with Seat Belt Installation with Seat Belt 6. Ensure child 4. Remove all slack restraint is secure. from the seat belt. Try to move the child Push downward on child restraint in all directions. restraint while tightening IMPORTANT: To properly seat belt to remove protect the child, the child excess slack.
-
Page 13: Securing The Child
Securing the Child Securing the Child 1. Loosen harness. 4. Fasten and adjust chest clip. Press the harness release button on the front of the Snap the two halves of the chest clip together, seat while pulling the as shown, and slide to harness straps. -
Page 14: Removing The Child
Removing the Child Positioning the Harness Strap 1. Loosen harness 1. Loosen harness straps. straps. Press the harness release Press the harness release button on the front of button on the front of the seat while pulling the the seat while pulling harness strap outward the harness straps. -
Page 15: Positioning The Crotch Strap
Positioning the Harness Strap Positioning the Crotch Strap As your child grows, you will need to change the crotch strap position so that it is in the slot closest to your child. The crotch strap should ALWAYS be as close as possible to, but NEVER under, the child’s bottom. - Page 16 When to Put Your Child How can you tell if your child is ready to transition to a booster seat? in a Booster Seat You should consider using a booster seat if the following conditions apply: • The child is mature enough to sit in the booster seat and Booster seats raise the child up and help to position the not put the belts under their arm or behind their back.
-
Page 17: Using A Booster Seat
Using a Booster Seat Booster Installation Checklist Child Requirements 1. Convert child restraint to booster seat. • Weight: 18 – 49.8 kg (40 – 110 lbs) See “Converting into a Booster Seat,” p. 32. • Height: 110 – 145 cm (43.3 – 57 in) 2. -
Page 18: Converting Into A Booster Seat
Converting into a Booster Seat Converting into a Booster Seat 4. Route the Harness Loosen harness Straps through Press the harness release Adjustment Slots, button while pulling then attach to outward on the harness Splitter Plate straps, as shown. Disconnect the chest clip. IMPORTANT: Make sure both harness straps are installed completely on... - Page 19 Converting into a Booster Seat Converting into a Booster Seat Remove the Crotch Strap Locate the crotch strap anchor on the bottom. Turn the anchor sideways and push it through the seat shell to remove, as shown. Insert the crotch strap 7.
-
Page 20: General Information
Shoulder belt routing while in booster General Information mode While the seat is used in booster Installing the Cup Holders mode the shoulder belt must be routed over the child’s shoulder. The belt must pass under the head rest, between the head rest and the seat as long as the child’s shoulders are at or below the Locking... -
Page 21: Securing Your Child Restraint In Aircraft
Securing Your Child Restraint in Aircraft Installing Child Restraint in Aircraft The Federal Aviation Administration (FAA) recommends that you secure your child for air travel in an appropriate child restraint based on your child’s weight and size. Turbulence can happen with little or no warning. When turbulence occurs, the safest place for your child is in a properly installed child restraint, not in an Belt Path... -
Page 22: Care And Cleaning
Care and Cleaning Replacement Parts Not available on all models. • DO NOT lubricate or immerse in water the LATCH You can order replacement parts on-line at www.evenflo.com connectors, the buckle, or any other part of this child or contact Evenflo. When you contact us, please have the restraint, unless rinsing is permitted, as stated on the back product model number and date of manufacture (found on of the buckle for your restraint. -
Page 23: Limited Warranty
EXCEPT TO THE EXTENT PROHIBITED BY APPLICABLE LAW, ANY IMPLIED WARRANTY OF MERCHANTABILITY OR FITNESS FOR A PARTICULAR PURPOSE ON THIS PRODUCT IS HEREBY DISCLAIMED. EVENFLO SHALL NOT BE LIABLE FOR ANY INCIDENTAL, CONSEQUENTIAL, SPECIAL OR Manufactured in Fabriqué en year-month-day) (année-mois-jour) - Page 25 Store these instructions in the slots on either side of the child restraint. www.evenflo.com USA: 1-800-233-5921, 8 AM to 5 PM E.T. Canada: 1-937-773-3971 Mexico: 01-800-706-12-00...
Need help?
Do you have a question about the Maestro and is the answer not in the manual?
Questions and answers