Table of Contents
Advertisement
OWNER'S MANUAL
Keep for future use.
Express, Vision,
™
™
Chase, Traditions
™
™
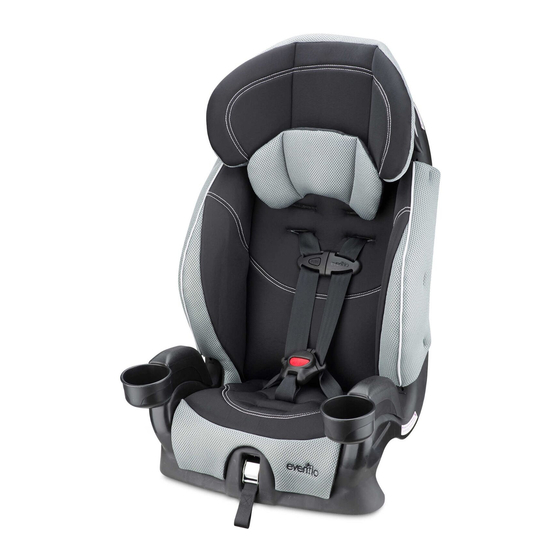
Booster Child Restraint
Child Requirements
Weight: 9 – 45.3 kg (20 – 100 lbs)
Height: 74 – 137 cm (29 – 54 inches)
WARNING
To reduce the risk
of SERIOUS INJURY or
DEATH, read this owner's
manual prior to installing
and using this child
restraint.
25700274 6/08
© Evenflo Company, Inc. 2008
Advertisement
Table of Contents


Need help?
Do you have a question about the Express and is the answer not in the manual?
Questions and answers