
Related Manuals for THOMSON THT740


Summary of Contents for THOMSON THT740
- Page 1 THT740 Empfänger für hochauflösendes Antennenfernsehen Inhaltsverzeichnis www.thomsonstb.net User Manual...
- Page 4 Dieses Produkt wurde unter der Zuständigkeit der STRONG Group hergestellt und verkauft. THOMSON und das THOMSON Logo sind Warenzeichen von Technicolor (S.A.) oder seinen Vertretern, welche unter lizenzierter Nutzung der STRONG Group geführt werden. Vertreten durch STRONG Ges.m.b.H. Franz-Josefs-Kai 1 1010 Wien, Österreich...
- Page 5 73/23/EC, RoHS 2002/95/EC This product has been manufactured and sold under the responsibility of STRONG Group. THOMSON and the THOMSON logo are trademarks of Technicolor (S.A.) or its affiliates and are used under license by STRONG Group. Any other product, service, company, trade name and logo referenced herein are neither endorsed nor sponsored by Technicolor (S.A.) or its affiliates.
-
Page 6: Table Of Contents
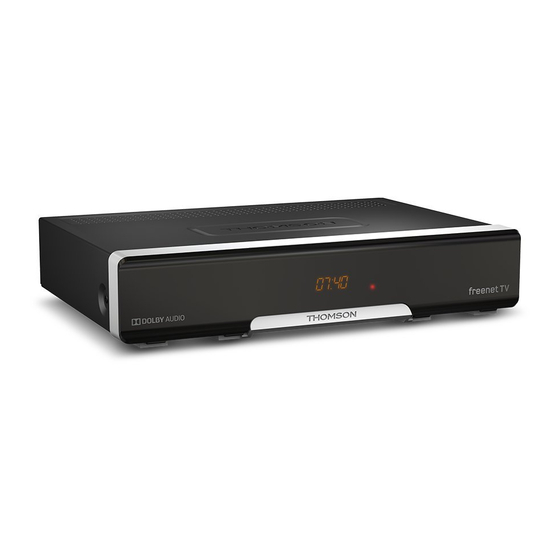
TabLE Of CONTENT 1.0 INTROduCTION 1.1 Safety Instructions 1.2 Storage 1.3 Equipment Set-up 1.4 Accessories 1.5 Usage of external USB devices 2.0 YOuR RECEIvER 2.1 DEFAULT PIN: 0000 2.2 Front Panel 2.3 Rear Panel 2.4 Remote control 2.5 Installing the batteries 2.6 Using the remote control 3.0 CONNECTION 3.1 Connecting to a terrestrial antenna... -
Page 7: Introduction
1.0 INTROduCTION 1.1 Safety Instructions dO NOT INSTaLL YOuR RECEIvER: • In a closed or poorly ventilated cabinet; directly on top of or under any other equipment; on a surface which might obstruct the ventilation slots. dO NOT EXPOSE THE RECEIvER OR ITS aCCESSORIES: •... -
Page 8: Accessories
Warning: Indicates warning information. Indicates any other additional important or helpful information. Tips Represents a button on the remote control or the receiver. mENu (bold characters) Move to Represents a menu item within a window. (Italic characters) 1.4 accessories • Installation instructions •... -
Page 9: Remote Control
4. uSb To connect your USB storage device. 5. HdmI To connect your receiver with your TV-set using an HDMI cable. 6. S/PdIf Coaxial To connect your receiver to a digital home cinema set, AV receiver or digital audio amplifier. 7. -
Page 10: Using The Remote Control
1. Remove the cover. 2. Insert the batteries. 3. Place the cover. 2.6 using the remote control Fig. 5 To use the remote control, point it towards the front of your receiver. The remote control supports a range of up to5 meters distance to the receiver at an angle of up to approx. 30 degrees. Managing the receiver will be limited or not possible if there are obstacles between the remote NOTE: control sensor (at the front panel of the receiver) and the remote control. -
Page 11: Extended Connections For Your Home Entertainment
3.7 Extended connections for your home entertainment Fig. 8. Connecting to a digital audio amplifier with S/PdIf By connecting your receiver to a digital amplifier or home theatre system, you can enjoy the best possible sound quality and multi-channel audio (depending on broadcast). Connect your Digital Audio Amplifier or home theatre system with a suitable cinch cable to the S/PDIF connector on the back of the receiver Connecting to a digital audio amplifier and Tv using HdmI By connecting your receiver to the latest digital amplifiers or Home Cinema systems you will enjoy the best... -
Page 12: Quick Guide To Using Your Receiver
Channel No.: Select a channel which is known to carry a broadcast signal in your region. The Signal Strength and Signal Quality bars give a visual indication of the reception. Adjust your antenna to achieve the maximum signal strength and quality. When all settings have been made, press the GREEN Next button to start the channel scan. -
Page 13: Info Banner
6.2 Info banner While watching TV, you can press at any time to access information about the current channel and event*. In this mode it is possible to use t u to display programme information of other channels without the necessity to switch. Press twice for extended EPG details about the current channel. Within the program information use pq or P + / P to scroll. -
Page 14: Channels
Use pq to select Scan mode, and select between Free which will only install Free-to-Air channels or All. This means that channels that are Free-to-Air or scrambled will be searched and stored. Use pq to select Channel No and select the channel number of the frequency you’d like to search. Press Ok to open a list to make selection faster. - Page 15 7.2.1 Tv manager This menu allows you to create favourite lists, move channels in order, lock channels with PIN protection and delete channels from the TV list. 7.2.1.1 adding channels to favourite lists Channels from the TV list can be added to up to4 different favourite groups. Select Favourite and press Ok, select the wanted favourite group and press Ok.
-
Page 16: Settings
difference is that in the Radio manager there is no video information, so it will always display the radio background on the preview screen. 7.2.3 Programme Information This menu item opens the Electronic Programme Guide (EPG), for details please see chapter 6.6. 7.3 Settings Use t u to select Settings in the main menu. - Page 17 Audio Description: AD. Set this option to On if you like to have support of an audio track that describes the content on screen. Useful for the visual impaired. Audio Description Volume offset: Select the volume from the AD audio track. * Dolby Digital Plus, Dolby Digital and the double-D symbol are registered trademarks of Dolby Laboratories 7.3.3 General Settings This menu allows you to manage the basic system settings of your receiver.
-
Page 18: Multimedia
Use pq to move the highlight to the setting of choice. Values can be changed with t u. Press to leave. GMT Usage: Set to Auto for broadcaster defined time depending of country selection you made in the First Installation Wizard. Normally, the clock/time will be correct and also follow up the summer time changes automatically. - Page 19 WaRNING: backups of data on your USB storage device before using it with this receiver. THOMSON will not take responsibility for any loss of information or circumstances caused by loss of information. It is possible to use USB storage devices already formatted in NTFS.
-
Page 20: Network
7.5 Network This menu consists of the following submenus: RSS, Weather and IP Settings. First connect a CAT5E (or higher quality) cable to the RJ-45 (ETHERNET) port of your receiver and ensure the other end is connected to the internet accordingly. If there are questions or problems with the internet connection, we recommend you to check details via the support or helpline of your internet provider. -
Page 21: Troubleshooting
found USB device. In case the receiver has successfully detected the USB device after a short time you will see another message about the availability of new software. Select Ok to start the download and update. After the update the receiver will reboot automatically on the last watched channel. If the receiver should behave in an unexpected way after a software update, please perform a NOTE: factory reset. -
Page 22: Technical Specifications
Problem Possible cause What to do The receiver switches off The Auto Standby function is enabled Disable Auto Standby. See section automatically 7.3.3.1 for details. Playback of video The read speed of your USB device Make sure to use a USB storage causes picture freeze/ could be too low device with sufficient speed and... - Page 23 3.5 mm Audio L/R USB 2.0 port: 5 V/800 mA (peak) supported Power adapter (DC12 V, 1.5 A, 18 W) General data Power supply: AC100 – 240 V ~ 50/60 Hz Input voltage: DC12 V, 1.5 A Power consumption: 7 W (typ.), 18 W (max) Power consumption in standby: max.
Need help?
Do you have a question about the THT740 and is the answer not in the manual?
Questions and answers