Table of Contents
Advertisement
Advertisement
Table of Contents

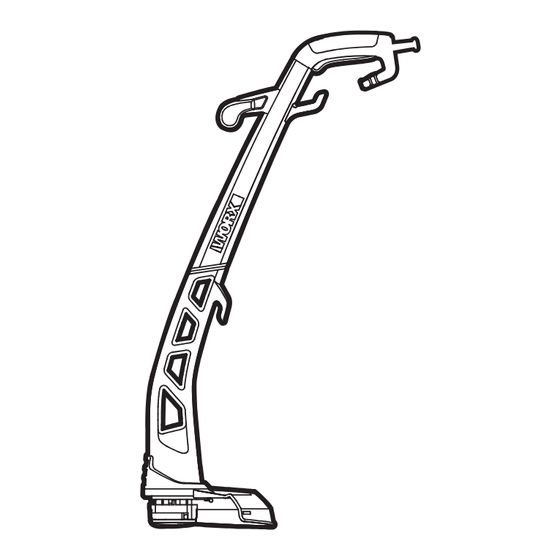
Summary of Contents for Worx WG115E
- Page 1 SAFETY AND OPERATING MANUAL ORIGINAL INSTRUCTIONS WG1 15E Electric Grass Trimmer...
- Page 2 WG1 15E...
- Page 3 PRODUCT SAFETY 3. Operation a) Keep supply and extension cords away GENERAL SAFETY from cutting means. WARNINGS b) Wear eye protection, long trousers and stout shoes at all times while operating the WARNING! Read all safety warnings machine. and all instructions. Failure to follow c) Avoid using the machine in bad weather the warnings and instructions may result in conditions especially when there is a risk of...
- Page 4 SYMBOLS Read operator’s manual Double insulation Wear eye and ear protection Wear dust mask Do not expose to moisture. Keep bystanders away Disconnect the mains plug if the cord becomes damaged or entangled. Waste electrical products must not be disposed of with household waste.
- Page 5 WG1 15E Electric Grass Trimmer...
-
Page 6: Technical Data
12. SPOOL (See Fig. F) 13. EYELET (See Fig. F) 14. CUTTING HEAD (See Fig. F) Not all the accessories illustrated or described are included in standard delivery. TECHNICAL DATA Type WG115E(1-designation of machinery, representative of Lawn Trimmer) 220-240V~50Hz Voltage 320W Power input... -
Page 7: Noise And Vibration Data
NOISE AND VIBRATION DATA A weighted sound pressure =84dB(A) 3.0dB(A) A weighted sound power =96dB(A) Wear ear protection when sound pressure is over 80 dB (A) <2.5 m/s Typical weighted vibration uncertainty K= 1.5m/s WARNING: The vibration emission value during actual use of the power tool can differ from the declared value depending on the ways in which the tool is used dependant on the following examples and other variations on how the tool is used: How the tool is used and the materials being cut or drilled. -
Page 8: Operating Instructions
OPERATING INSTRUCTIONS NOTE: Before using the tool, read the instruction book carefully. Click INTENDED USE The machine is intended for the cutting of grass and weeds under bushes, as well as on slopes and edges that can not be reached with the lawn mower. ASSEMBLY WARNING! The guard must always be on the tool to protect the user. -
Page 9: Operation
3. ELECTRICAL SUPPLY CABLE STRAIN RELIEF (See Fig. C1, C2) For strain relief of the cable, form a loop at the end of the extension cable. Locate the cable through the handle and secure by placing the loop over the Cable Hook (1) and pull the cable back. - Page 10 AUTOMATIC LINE FEED SYSTEM When you first switch on the trimmer, a small length of line is fed out. A ‘clattering’ noise will be heard for a short time. This is normal and is caused by the line bumping up against and being cut by the line cutter.
- Page 11 REMOVING THE CAP (See Fig. G1) Press and hold in the two Cap Release Latches (11). Pull the Cutting Head Cover (10) off of the Cutting Head (14). Keep the Cutting Head Cover, Spool (12), and inside of the Cutting Head clean from debris. To replace the cap, align the Cap Release Latches and press it firmly back onto the Cutting Head.
-
Page 12: Maintenance
TO MANUALLY WIND LINE (See Fig. H, I, J, K) IMPORTANT! Your trimmer is designed to use only line with a maximum diameter of 1.65mm. Take approximately 5m of line and insert 15mm of line into one of the holes in the upper section of the Spool (12) (See Fig. -
Page 13: Troubleshooting
The following table gives checks and actions that you can perform if your machine does not operate correctly. If these do not identify/remedy the problem, contact WORX Customer Service. WARNING: First switch off and remove plug from electrical outlet. Symptom... - Page 14 PO Box 6242, Newbury, RG14 9LT, UK follow the instructions below. Declare that the product Description Electric Grass Trimmer IMPORTANT Type WG115E (1-designation of The wires in the mains lead are colored in machinery, representative of Lawn accordance with the following code: Trimmer)
- Page 16 Copyright © 2016, Positec. All Rights Reserved. AR01171801...


Need help?
Do you have a question about the WG115E and is the answer not in the manual?
Questions and answers