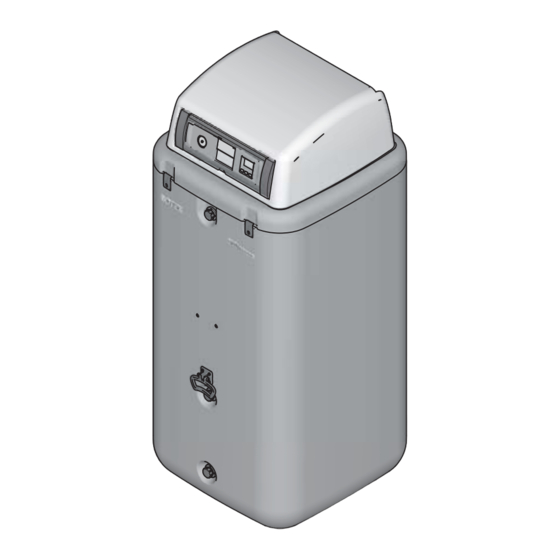
Rotex HPSU compact 508 Instruction Manual
Solar tank with integrated interior heat
pump unit hpsu compact series
Hide thumbs
Also See for HPSU compact 508:
- Installation and maintenance manual (84 pages) ,
- Instruction manual (56 pages) ,
- System instructions (40 pages)


Need help?
Do you have a question about the HPSU compact 508 and is the answer not in the manual?
Questions and answers