Advertisement
Quick Links
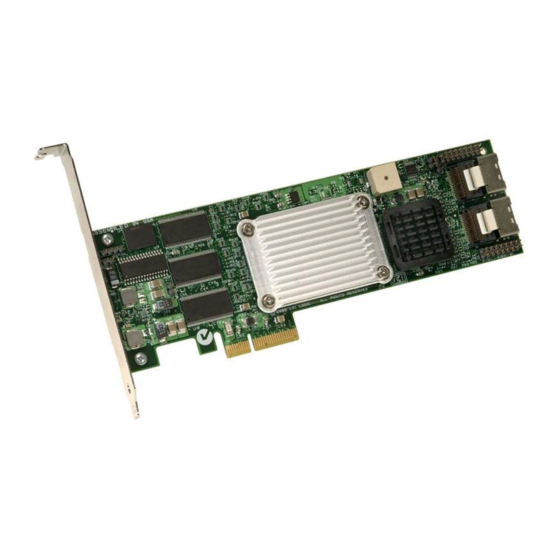
MegaRAID
RAID Controller
Quick Installation Guide
Thank you for purchasing the MegaRAID
Attached SCSI/Serial ATA II) 8308ELP (PCI Express low-
profile) RAID Controller. Please take a few minutes to read
this quick installation guide before you install the controller.
Note:
This is a PCI Express x4 card, so it fits only in a
PCI Express x4 or greater slot.
Note:
SATA II is the only type of SATA supported by the
8308ELP.
You can use the intelligent Battery Backup Unit 01
(LSIiBBU01) with the 8308ELP.
M e g a R A I D S A T A 8 3 0 8 E L P RAID
C O N T R O L L E R I N S T A L L A T I O N
Make a backup of your data before you change
!
your system configuration. Otherwise, you may
CAUTION
lose data.
Step 1
Unpack the MegaRAID SATA 8308ELP RAID
Controller
Unpack the controller in a static-free environment.
Remove it from the antistatic bag and inspect it
for damage.
If the controller appears to be damaged contact
LSI Logic or your MegaRAID OEM support
representative.
®
SATA 8308ELP
®
SATA (Serial
Step 2
Prepare the Computer
Turn off the computer and unplug the power
cord(s) from the back of the power supply.
Remove the cover from the computer.
Make sure the computer is disconnected from the
!
power and from any networks before installing
CAUTION
the controller.
Step 3
Review the Jumpers and Connectors
Figure 1
shows the location of the jumpers and
connectors on the 8308ELP. The jumpers are set
at the factory and you usually do not need to
change them.
Figure 1 MegaRAID SATA 8308ELP RAID
Controller Card Layout
J4
U13
J3
J5
P1
Note:
J11, the battery backup connector, is located on
the back side of the 8308ELP.
J11
Connector Located
on Back of Board
J1
J6
J2
J9
U14
J10
J8
J7
®
Port
4–7
Port
0–3
Advertisement

Related Manuals for LSI MegaRAID SATA 8308ELP


Summary of Contents for LSI MegaRAID SATA 8308ELP
- Page 1 SATA (Serial change them. Attached SCSI/Serial ATA II) 8308ELP (PCI Express low- profile) RAID Controller. Please take a few minutes to read Figure 1 MegaRAID SATA 8308ELP RAID this quick installation guide before you install the controller. Controller Card Layout Note: This is a PCI Express x4 card, so it fits only in a PCI Express x4 or greater slot.
- Page 2 PCI-E slot. Individual Activity 16-pin (8x2) header. LED header for all Provides LED interface individually eight ports Figure 2 Installing the MegaRAID SATA 8308ELP to eight SATA ports. The LED indi- cates activity on particular ports. RAID Controller Debugger 2-pin jumper.
- Page 3 LSI Logic; nor http://www.lsilogic.com/contacts/index.html does the purchase, lease, or use of a product or service from LSI Logic convey a LSI Logic, the LSI Logic logo design, and MegaRAID are registered trademarks of license under any patent rights, copyrights, trademark rights, or any other of the LSI Logic Corporation.
- Page 4 Information on this document On April 1, 2009, Fujitsu became the sole owner of Fujitsu Siemens Compu- ters. This new subsidiary of Fujitsu has been renamed Fujitsu Technology So- lutions. This document from the document archive refers to a product version which was released a considerable time ago or which is no longer marketed.
Need help?
Do you have a question about the MegaRAID SATA 8308ELP and is the answer not in the manual?
Questions and answers