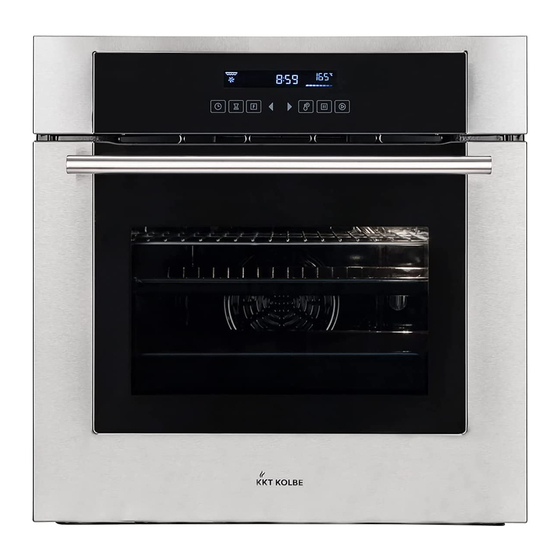
KKT KOLBE EB8015ED User Manual
Hide thumbs
Also See for EB8015ED:
- Service manual (25 pages) ,
- User manual (40 pages) ,
- User manual (52 pages)

Related Manuals for KKT KOLBE EB8015ED


Summary of Contents for KKT KOLBE EB8015ED
- Page 1 User’s manual for your built-in electric oven Model: EB8015ED Version: 1.0 / 140626...
-
Page 2: Safety Instructions
Safety instructions This icon indicates a hazardous situation. Dispose of the dishwasher packaging material cor- rectly. You‘ll find it especially with all descriptions of the steps that All packaging materials can be recycled. might cause danger to persons arising. Observe these safety instructions and behave accordingly ca- Plastic parts are marked with the standard international reful. -
Page 3: Safety Precautions
Safety precautions Warning • When the oven is first switched on, it may give off an • Care should be taken to avoid touching heating ele- unpleasant smell. This is due to the bonding agent ments inside the oven. used for the insulating panels within the oven. This is •... -
Page 4: Dear Customer
Thank you! Dear customer, thank you for the trust placed in us and for the purchase of this KKT KOLBE device. Your new ap- pliance is designed for the requirements in your- household. Please read this user’s and instruction manual ca- refully, which describes the capabilities and opera- tion of your KKT KOLBE-mounted device. -
Page 5: Table Of Contents
Table of content 1. Using the device 1.1 Control panel 1.2 Oven knobs 1.3 Types of heating / functions 2. The oven interior 2.1 Construction 2.2 Telescopic runner 2.3 Device fan 3. Application 3.1 Roast 3.2 Grilling & baking 3.3 Baking 3.4 Boiling down 3.5 Unfreezing 3.6 Application table... -
Page 6: Using The Device
Using the device Control panel Icon „heating type“ Features Daytime Interior temperature Back Forward Time setting Alarm Set function Pause / Continue / clock Set time/ temperature Energy saving tips • If possible, use dark black finished or silicone-coated ena- melled tins, because they absorb the oven heat particularly well. -
Page 7: Types Of Heating / Functions
Types of heating Types of heating Oven light The oven light may be turned on with no further function. Defrost In this mode only air circulation without heating is turned on. You can use it for gentle defrosting of frozen food. Bottom heat A concealed element in the bottom of the oven provides a more concentrative heat to the base of... - Page 8 Types of heating Grillling The inner grill element switches on and off to main- tain temperature. The temperature can be set within the range of 180 – 240 °C. The default temperature is 210 °C. Full-width grill The inside radiant element and top element are wor- king.
-
Page 9: The Oven Interior
Inside the oven Inside the oven 1 Hook-in racks with rack levels 2 Lighting 3 Fan with ring heater 4 Grill heating element 5 Top element 6 Bottom heat radiator (under the oven floor) Shelf levels for shelf unit, baking tray or roasting pan. Ple- ase note that the numbering of the rack levels from bottom to top. -
Page 10: Application
Application Roasting Baking For roasting the top and bottom heat or hot air can be For baking, the top and bottom or the hot air may be used. used. If in the baking table no special pastries types are specified, select the information to a similar pastry or •... -
Page 11: Application Table
Application Defrost By air circulation at room temperature, thawing of food gets accelerated. Use the defrost function. • To thaw, cream and butter cream cakes, pies and pastries, bread and rolls, frozen fruits are suitable. • For a uniform thawing, rotate or stir defrosted in between. Application table Food Insertion... -
Page 12: Programming
Programming Clock setting Turn on oven lamps After connecting the unit to the power, the symbols 00:00 • Press to select the function, then the correspon- will be visible on the display. ding icon will be on. • Press button to start cooking. Lamp icon will flash. Clock setting •... -
Page 13: Start / Pause / Cancel
Programming Delay function General operating notes Only when the clock has been set, the delay function can • The oven light is turned on in all heating modes. be used. In stand-by mode: • When you have selected a heating function, but the button •... -
Page 14: Care And Cleaning
Care and cleaning Care and cleaning Oven • The oven is easier to clean when it is still slightly warm. Simple remove grease splashes with rinse water. • For cleaning, don’t use steam cleaners. • Use conventional oven cleaner for stubborn or severe •... -
Page 15: Telescopic Runners
Care and cleaning Remove the hook in racks Remove accessories such as rust and baking sheet. Hook in racks at the clamping point slightly push down (2 in figure) and the oven wall down. Swivel hook in racks inside and unhook at the top (1 in figure) Insert hook in racks Insert the siderails up in the holes and swing it down. -
Page 16: Troubleshooting
Device fuse tripped in the house installation? Temperature controller and the function selector switch set correctly? The device fuse keeps blowing. Call the KKT KOLBE Customer Service or a licensed electrici- Lighting has failed. The replacement of lighting is described in the previous chap- ter. -
Page 17: Installation And Connection Of The Device
Installation and connection of the device Power connector Before connecting, check if the voltage indicated on the type plate corresponds to the mains voltage. The length of the connection cable must be sized so that the device can be connected prior to insertion. The protective conductor must be sized so that it is loaded onto train at the strain relief fails after the live wires of the connection cable. - Page 19 Installation and connection of the device Installing the device • The stability of the furniture must comply with DIN 68930. • On the built-in niche no back wall may be present, so that the ventilation is ensured. • Push the device all the way into the niche. •...
- Page 20 Thank you for reading. We wish you much success and joy with your device. Version: 1.0 / 140626...
Need help?
Do you have a question about the EB8015ED and is the answer not in the manual?
Questions and answers