Table of Contents
Advertisement
Quick Links
Advertisement
Table of Contents

Related Manuals for Telex Air 3500


Summary of Contents for Telex Air 3500
- Page 1 User Instructions Air 3500 Noise Reduction Headset 38110-012 Rev C 10/2010...
- Page 2 Air 3500 Noise Reduction Headset ROPRIETARY OTICE The product information and design disclosed herein were originated by and are the property of Bosch Security Sys- tems, Inc. Bosch reserves all patent, proprietary design, manufacturing, reproduction, use and sales rights thereto, and to any article disclosed therein, except to the extent rights are expressly granted to others.
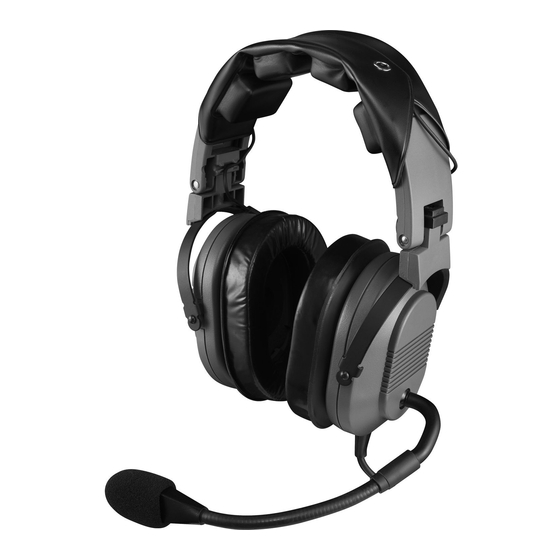
- Page 3 Air 3500 Noise Reduction Headset FIGURE 1. Air 3500 Noise Reduction Headset...
- Page 4 Air 3500 Noise Reduction Headset...
-
Page 5: Table Of Contents
Table Contents Headband Size Adjustment ............3 Headband Pressure Adjustment ...........4 Left or Right Side Microphone Placement ........5 Permanently Changing Microphone Side ........5 Connection ...................6 Stereo Mono Switch (fixed-wing version only) ......7 Volume Adjustment ..............7 Microphone Gain Adjustment .............8 Ear Cushion Replacement ............8 Head Pad Replacement ..............9 Mic Element Removal ..............9 Specifications ................10... -
Page 7: Headband Size Adjustment
Headband Size Adjustment To adjust the headband size, do the following: Move the earcup sliders up or down on the headband. > Size is properly adjusted when the earcups are centered over the ears. IMPORTANT: It is important to adjust both sides of the headband the same to keep the headband and pad properly centered over the head. -
Page 8: Headband Pressure Adjustment
Headband Pressure Adjustment There are three (3) pressure settings. Increasing the pressure improves the seal between the earcup and the head for greater noise reduction. To change the pressure setting, do the following: Fold the earcup in as shown in Figure 2. Rotate the Comfort Cam adjust knob to the desired setting. -
Page 9: Left Or Right Side Microphone Placement
Left or Right Side Microphone Placement To place the microphone, do the following: Rotate the boom, as shown in Figure 3. Rotating and Reshaping the Boom FIGURE 3. Reshape the boom so the microphone is at the corner of the mouth. Permanently Changing Microphone Side To permanently change the side of the headset the microphone is on, do the following:... -
Page 10: Connection
Using Figure 5, connect the headset to the aircraft radio or intercom system. To Radio Receiver "OUT" Jack AIR 3500 FIXED WING VERSION Mono/Stereo To Radio Microphone "IN" Jack Headphone Switch To Radio Headset Jack AIR 3500 HELICOPTER VERSION Air 3500 Connectors FIGURE 5. -
Page 11: Stereo Mono Switch (Fixed-Wing Version Only)
Stereo Mono Switch (fixed-wing version only) This switch is located on the y-cord (Figure 5). To set the stereo mono switch, do the following: Set the switch to stereo for aircraft with stereo intercom systems. Set the switch to mono for monaural intercom system or for direct connection to the aircraft radio. -
Page 12: Microphone Gain Adjustment
Insert a small flatblade screwdriver in the mic element. (Figure 6) MIC GAIN ADJUSTMENT ACCESS Air 3500 Mic Gain Adjustment FIGURE 6. Rotate the trimmer clockwise to increase the gain. Ear Cushion Replacement To remove an old ear cushion, do the following: Grasp the old ear cushion and pull it off the earcup. -
Page 13: Head Pad Replacement
Head Pad Replacement To replace the head pad, do the following: Unsnap the old head pad. Pry the head pad off the headband (it is held in place with adhesive). Peel off the adhesive backing on the new head pad. Attach the new pad to the headband. -
Page 14: Specifications
Frequency Response: 100Hz – 3.5kHz Sensitivity: -53 +2/-1dB (ref: 1V/μbar) Operating Voltage: 8-16 Vdc Cords and Plugs Air 3500, general aviation version: Cord: 5.5ft (1.7m) “Y” cord with stereo/mono selector switch Receiver Plug: 1/4” stereo phone plug Microphone Plug: PJ-068 equivalent Air 3500HE, Helicopter version: Cord: 5.5ft (1.7m) coiled cord... -
Page 15: Exploded View Parts List
Exploded View Parts List Item Part No. Description 800198-001 Replacement Head Pad 19652-057 Coiled Cord (helicopter version only) 545015-000 Stereo/Mono Switch (fixed wing-version only) 800138-000 Y-cord, Complete W/Switch (fixed-wing version only) 590060-000 Cord Clip (fixed-wing version only) 800136-000 Microphone Element Assembly 800147-001 Foam Ear Pads (set of 2) 800027-002... - Page 16 Exploded View for Parts Replacement FIGURE 8.
- Page 17 RECEIVERS Non-Boom Side Boom Side STEREO/MONO SWITCH OVERHEAD MICROPHONE Wiring Diagram for Fixed-Wing Version FIGURE 9. RECEIVERS Non-Boom Side Boom Side OVERHEAD MICROPHONE Wiring Diagram for Helicopter Version FIGURE 10.
- Page 18 Bosch Security Systems, Inc. 12000 Portland Ave South Burnsville, MN 55337 U.S.A. www.boschcommunications.com...
Need help?
Do you have a question about the Air 3500 and is the answer not in the manual?
Questions and answers