Miele HM 21-100 Operating Instructions Manual
Rotary ironer
Hide thumbs
Also See for HM 21-100:
- Operating instructions manual (26 pages) ,
- Installations plan (6 pages)
Table of Contents

Related Manuals for Miele HM 21-100


Summary of Contents for Miele HM 21-100
- Page 1 Operating instructions Rotary ironer HM 21-100 en - GB To avoid the risk of accidents or damage to the machine it is essential to read these instructions before installing, M.-Nr. 07 799 370 commissioning and using it for the first time.
-
Page 3: Table Of Contents
Contents Warning and Safety instructions ..........4 Caring for the environment . -
Page 4: Warning And Safety Instructions
A damaged ironer could be dangerous. If the connection cable is damaged, it must be replaced by a Miele approved To avoid the risk of accidents and service technician. damage to the ironer please read these... - Page 5 Accessory parts may only be fitted when carried out by a suitably qualified engineer. expressly approved by Miele. If spare parts or accessories from other Correct use manufacturers are used, this will invalidate...
-
Page 6: Caring For The Environment
Please do not therefore dispose of it with your general waste. Please dispose of it at your local community waste collection / recycling centre, or contact Miele for advice. Please ensure that it presents no danger to children whilst awaiting disposal. M.-Nr. 07 799 370... -
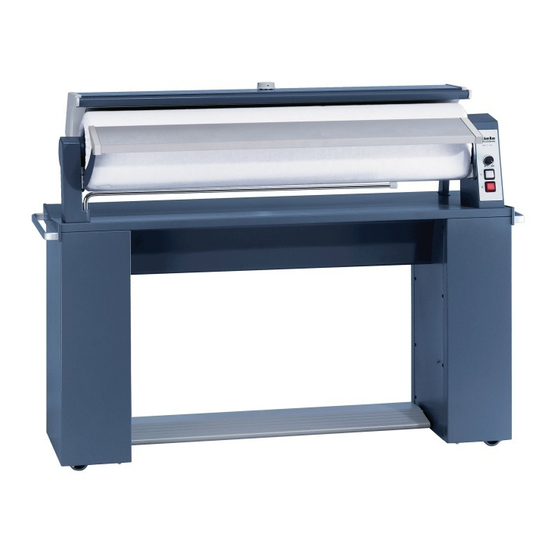
Page 7: Description Of The Machine
Description of the machine a Electronic roller speed selector b ON Rocker switch with indicator light c OFF Rocker switch with indicator light 1 Control panel 7 Laundry feed board 2 Handles 8 Swing out bar for hanging laundry on 3 Heater plate 9 Ironing table 4 Temperature regulator... -
Page 8: Operation
Operation Switching on and off Check that the finger guard is functioning properly. The finger guard is a safety feature and should always be checked before using the ironer. Warning! Do not reach between the heater plate and the rotating roller. Danger of injury and burning. -
Page 9: Temperature Selection
Operation Temperature selection Foot control bar Choose the temperature according to fabric The ironing process is controlled by the foot type and care label. Iron items that a require pedal which has three positions: a low temperature first. 1 - raised ^ Turn the temperature selector to the 2 - press temperature you wish to use. -
Page 10: Feed-In Table
Operation Feed-in table Ironing ^ Arrange the item to be ironed along the The feed-in table enables large flat items to be fed into the ironer smoothly without feed-in table so that it is straight and creasing. smooth. It can be removed for ironing shaped ^ Then carefully turn the roller by hand until garments, e.g. -
Page 11: Hanging Bar
Operation Useful tips If creases appear on items being ironed: Stop the roller and pull the item back slightly. Smooth it out and if necessary dampen it with a wet cloth. Try to use the full width of the roller to help the roller cover maintain its shape. -
Page 12: Notes
Notes Moving the ironer Damping down The ironer is fitted with four rollers. The laundry needs to be sufficiently damp so that when it is passed through the rotary ^ Hold the ironer by the handle to push it or ironer at the correct temperature it comes to pull it towards you. -
Page 13: Safety Mechanism During A Power Cut
Notes Safety mechanism during a power If there is a power cut during ironing the heater plate must be disengaged from the roller to prevent articles singeing. The ironer has a built-in safety mechanism to do this: ^ Press down heavily at the back of the foot control bar. -
Page 14: Cleaning And Care
(M.Nr) of your ironer. These are given on the data plate. The special ironer cleaning cloth and wax should only be ordered from the Miele Spare Should you require spare parts ensure Parts Department. that you only use genuine original Miele... -
Page 15: Explanation Of Symbols On The Data Plate
Explanation of symbols on the data plate 1 Model 2 Serial number 3 Article number 4 Material number 5 Voltage/Frequency 6 Mains fuse rating 7 Drive motor 8 Drum data* 9 Drum diameter/Drum depth* 10 Spin speed* 11 Drum volume/laundry dry weight* 12 Kinetic energy* 13 Run-up time* 14 Braking time*... -
Page 16: Notes For The Installer
Notes for the installer When the machine is delivered Unpack the ironer carefully and make sure it has not suffered any damage during transportation. It is has, details must be documented and the supplier notified. Setting up the machine The machine must be transported on its wooden base to its installation site. -
Page 17: Electrical Connection
Electrical connection Electrical connection Connection should be made via a suitable isolator which complies with local and This machine conforms to IEC 335-1 and national safety regulations and which is IEC 335-2-44. easily accesible for disconnecting the machine from the electricity supply. The electrical connection may only be Provision must be made on site to switch off carried out by a suitably qualified technician... - Page 18 M.-Nr. 07 799 370...
- Page 19 M.-Nr. 07 799 370...
- Page 20 M.-Nr. 07 799 370 / 00 Alteration rights reserved/5009...
Need help?
Do you have a question about the HM 21-100 and is the answer not in the manual?
Questions and answers