Advertisement
GRANDVIEW REPRODUCING GENUINE COLORS
Grandview Crystal Screen Canada Ltd.
#11- 3751 North Fraser Way,
Marine Way Business Centre,
Burnaby, BC, Canada V5J 5G4
Tel: 1-604-412-9777
Fax: 1-604-412-9796
Website: www.grandviewscreen.ca
Guangzhou Grandview Crystal Screen Co., Ltd.
P.O. 511400 Federal Ind. Zone No. 363, Yushan West Road,
Shiqiao, Panyu District, Guangzhou, Guangdong, China
Tel: +8620-8489-9499 Fax: +8620-8480-3343
Website: www.grandviewscreen.com
www.grandviewscreen.com.cn
GRANDVIEW REPRODUCING GENUINE COLORS
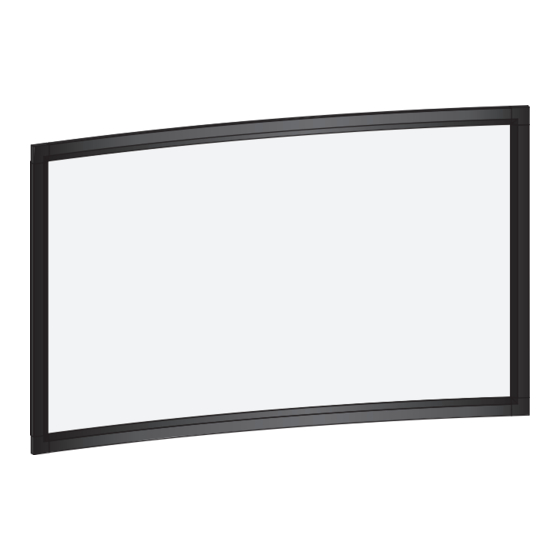
Large-Flat series Prestige Concave Permanent Cinema Screen
Model:LF-PHxx(DY)
Before use, please read instructions carefully. After installation, store instructions for future reference.
ISO9001:2000
International Certification
Installation Guide for
Thank you for purchasing a Grandview projection screen.
Advertisement
Table of Contents

Subscribe to Our Youtube Channel
Related Manuals for Grandview LF-PHxx(DY)


Summary of Contents for Grandview LF-PHxx(DY)
- Page 1 Fax: 1-604-412-9796 Website: www.grandviewscreen.ca Guangzhou Grandview Crystal Screen Co., Ltd. Thank you for purchasing a Grandview projection screen. P.O. 511400 Federal Ind. Zone No. 363, Yushan West Road, Before use, please read instructions carefully. After installation, store instructions for future reference.
- Page 3 Warning Description When installing, make sure it is facing forward. The back of the screen will be labeled with a sticker. Illustration Please read the following as any damage to the screen surface will affect the quality of the picture: 1.The frame is made with lightweight aluminum.
-
Page 4: Specifications
Installation Specifications 1. Lay the two side bars and two concave bars on a horizontal ground, building the shape of a rectangle. ( Figure 1 ) Viewing area Screen dimension Bracket margin Net weight Specification Format Model C (mm) (kg) (In) W (mm) H (mm) - Page 5 Installation Turn over frame with its back upward, set it on clean desktop or ground, expand fabric per Fasten the concave bar brackets to the on-wall top and down installation bar slots. ( Figure 14-15 ) below instruction and lay on the frame, and moving the fabric to ensure it is located in the centre of the frame.
- Page 6 Screen Installation 3. The top and bottom installation bars have been linked in factory and the length in between is pre-set. Fix the top 1. Each screen is equipped with 4 brackets labelled 1,2,3,4; and thus the concave frame has relevant marks of 1, 2, 3, 4. installation bar at horizontal level and the bottom bar will go parallel as a result of gravity.
Need help?
Do you have a question about the LF-PHxx(DY) and is the answer not in the manual?
Questions and answers