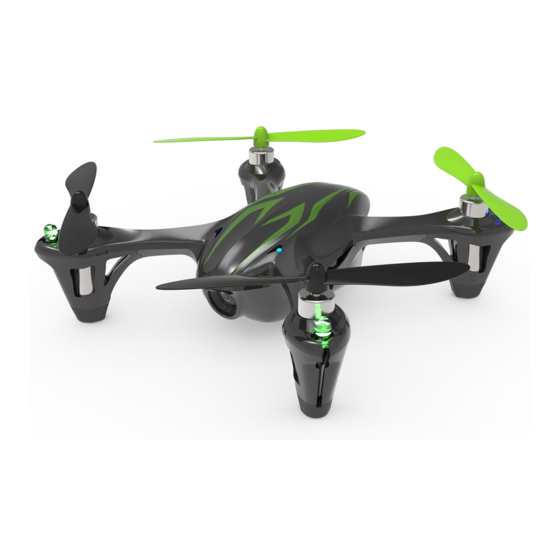
Hubsan X4 Installation Instructions Manual
Hide thumbs
Also See for X4:
- Instruction manual (64 pages) ,
- Manual (40 pages) ,
- Installation instructions manual (24 pages)
Summary of Contents for Hubsan X4
- Page 1 ® THE HUBSAN X4 2.4GHZ RC SERIES 4 CHANNEL THE HUBSAN X4 2.4GHZ RC SERIES 4 CHANNEL...
-
Page 2: Safety Notes
To avoid risk of re or damage, never recharge your battery while it is inserted in the X4. If you do not plan to fly the X4 for a week or more, store the battery approximately 50% charged to maintain battery performance and life. - Page 3 Never charge the LiPo battery that has been punctured or damaged. 4) If the X4 still drifts to one side, add a few sheets of paper (the number of sheets will vary depending on the amount of drift) to the side of the X4 that drifts. The paper will help After a crash, inspect the battery pack for the sign of damage.
-
Page 4: Safety Check Before Flying
Be careful to keep your body and loose clothing away from the blades. Never take your eyes o the (1) Replace the motor. X4 or leave it unattended while it is turned on. Stop operating immediately if the X4 ies out of your (2) Resolder any broken motor connections. -
Page 5: Charging The Li-Po Battery
(1) Battery voltage is too low. (2) Pair the X4 with the transmitter again. (3) Land the X4 with the throttle stick in the full down position for 3 seconds and then take o again. 5. X4 won't perform ips. -
Page 6: Exploded View
Exploded View 5 TRANSMITTER 5.1 Identi cation and Functions of the Main Menu Main Menu Battery voltage Battery voltage display display Data display Data display Throttle trim Elevator trim Throttle trim Elevator trim Expert mode Expert mode Expert Expert Rudder trim Aileron trim Rudder trim Aileron trim... -
Page 7: Input Key Function
Input Key Function Mode/ Control Function Move the stick forward or backward to increase or decrease speed . Move MODE 1 the stick left or right to make the quadcopter roll left or right to initiate Throttle /Aileron Stick a banked turn. Move the stick forward or backward to make the quadcopter nose point MODE 1 up or down. -
Page 8: Transmitter Stick Calibration
Remove the propellers. Position the cover’s four holes with the motors. Press each of them onto the motors, then re-install the propellers in their correct positions on the X4 . When removing the protection cover, remove the propellers rst as in the above steps, and pinch the protection cover from each motor. -
Page 9: Replacing Propellers
The X4’s propellers are not identical. Each propeller is labeled with an A or B. When installing 6.1.2 Power on the transmitter and the red LED will replacement propellers, be certain to install as shown below. The X4 will not y, and will ip and blink. Do not move any other stick or trim before the crash if the propellers are not installed correctly. - Page 10 6.1.5 LED Indications the center after the ip. After a “beep”, the red LED on the transmitter turns green, and the 6 lights on the X4 light steadily, indicating successful pairing. Press the lower throttle trim for about 2 seconds to turn the LEDs on or o .
- Page 11 Press the Throttle stick again to exit Flip Mode, indicated by one "beep". Left Right For proper flip execution, make sure the X4 is close to level, within a 30° angle with the ground, and add throttle to climb before you perform a ip. NOTE:...
-
Page 12: Advanced Performance Setup
7.2 Normal and Expert Flight Modes The X4 is factory set for Normal Mode ying, and it will always power up in Normal Mode. Though fast and responsive in Normal Mode, the X4 has even greater performance capability when Expert Mode is activated.


Need help?
Do you have a question about the X4 and is the answer not in the manual?
Questions and answers