Advertisement
Quick Links
Advertisement

Related Manuals for Kodak RVG 6100


Summary of Contents for Kodak RVG 6100
- Page 1 Quick Start Guide KODAK RVG 6100 Digital Radiography Systems...
-
Page 2: Warnings And Safety Instructions
• Always use the sensor with a hygienic barrier. Change of barrier between each patient. • After each patient, the RVG 6100 sensor must be thoroughly disinfected. Remove the hygienic protective sheath and thoroughly clean the sensor with a disinfecting wipe. -
Page 3: Acquiring An Image
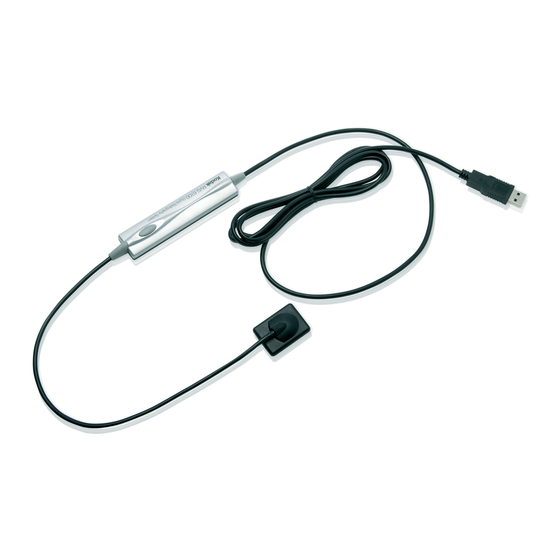
Acquiring an image Open the patient file in Kodak Dental Imaging Software. To launch an RVG image acquisition, click RVG Acquisition on the toolbar. Check that the RVG icon in your toolbar is red. If the icon is not red, check that the sensor is properly connected to the computer. - Page 4 Select the timer parameters for your generator. The table below provides you with guidelines for exposure times for an average generator at 70 kV and 8 mA. These are approximative values. Adjust the values for your specific generator. Adult with RVG # 1 or # 2 Child with RVG # 0 Tips! Suggested...
- Page 5 Position the sensor and its positioner in the patient’s mouth. NOTE For more details on the type of positioners, see further in “Different positioning systems”.in the User’s Guide. For a mandibular image: 1 Have the patient draw the tongue towards the back of the mouth. Insert the sensor holding it horizontally.
- Page 6 Position the beam indicated device as close as possible to the patient. Activate the sensor. The sensor activation can be done by : either clicking on pressing using the button the RVG on the sensor on F2 on icon on the the keyboard remote software...
- Page 7 Enhancing the digital image The RVG digital images contains a vast quantity of information. To explore the images fully, use the tools in teh Kodak dental imaging software. Image contrast Filters and main tools Managing image contrast The contrasts can be managed, after image acquisition, in a simple and automatic way using the “Perio”, “Endo”...
- Page 8 Using the filters and main tools • Sharpness filter: to emphasize a radiological feature that could go Sharpness unnoticed in the pure image (lateral ducts or small fissures). Filter To confirm the interpretation, always remove the Sharpness Filter and use a contrast tool such as the Highlight. •...
- Page 9 Sharing images Images can be easily shared in their native format or any standard format. Click in the toolbar, in File/Send To. To share the images in their native format, please send to the Kodak dental imaging software viewer (File/Send Viewer).
- Page 10 Our customer representatives are available to guide and help you in choosing the imaging solution best suited to your dental practice. Please feel free to contact us at your earliest convenience. © Eastman Kodak Company, 2006. KODAK, RVG are trademarks of Eastman Kodak Company.
Need help?
Do you have a question about the RVG 6100 and is the answer not in the manual?
Questions and answers