
Related Manuals for Uniden BW130


Summary of Contents for Uniden BW130
- Page 1 BW130 Baby Audio Monitoring System For more exciting new products please visit our website: Australia: www.uniden.com.au...
-
Page 2: Important Safety Instructions
IMPORTANT SAFETY INSTRUCTIONS This manual contains important information about this product’s operation. If you are installing this product for others, you must leave this manual or a copy with the end user. When using your equipment, always follow basic safety precautions to reduce the risk of fire, electric shock and injury to persons, including the following: This unit is NOT WATERPROOF. - Page 3 Do not use the cable to pull the AC adaptor plug out of • the socket. Disconnect the AC adaptor plug from the mains when the • device is not in use. The device and the AC adaptor should not come into •...
-
Page 4: Table Of Contents
CONTENTS WhAT’S IN ThE BOx? ............5 GETTING STARTED ............6 Baby Unit...................... 6 Parent Unit....................7 INSTALLATION ..............9 Baby Unit......................9 Parent Unit....................10 SETTINGS ................11 TROUBLEShOOTING ............13 SPECIFICATIONS ..............15 WARRANTY ...............16... -
Page 5: What's In The Box
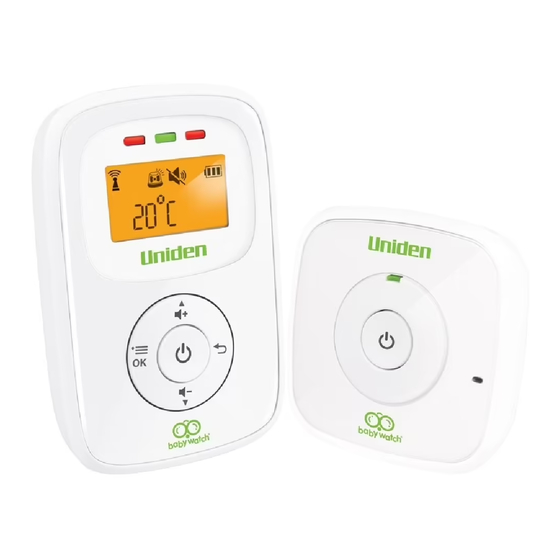
WhAT’S IN ThE bOX? BW130 Baby Unit BW130 Parent Unit Not Pictured: • AC Adaptors (x2) • NiMH Rechargeable Batteries for the Parent Unit (x2) • Owner’s Manual If any item is missing or damaged, contact your place of •... -
Page 6: Getting Started
GETTING STARTED baby Unit baby Unit Power LED - Lights up to indicate the unit has been powered on. Power ON/OFF button - Press and hold to turn on/off the unit. Microphone - Receives sounds from the area near the Baby Unit, and transmits the sound to the Parent Unit. -
Page 7: Parent Unit
Parent Unit Sound level light display - Lights up to indicate the sound intensity. Link/Power LED - Lights up to indicate the unit has been powered on and paired to the Baby Unit. LCD display Volume Up/Volume Down button - You can adjust the volume up to 5 levels on the unit by pressing the but- tons. - Page 8 Speaker - Produces the sound transmitted from the Baby Unit. 10 Battery compartment Parent Unit - LCD display Displays when the Parent Unit is on and linked to the Baby Unit. Flashes when there is no link or not in range. Displays when the sound alert is enabled.
-
Page 9: Installation
INSTALLATION baby Unit The Baby Unit powers on with the AC adaptor. 1. Insert the AC adaptor power plug into the Baby Unit’s DC socket (at the back of the unit). 2. Connect the other end into a 240 volt AC (standard indoor) power outlet. -
Page 10: Parent Unit
Parent Unit Points to note when installing the Parent Unit: The Parent Unit is designed in such a way that it can be • operated only with batteries inserted. The battery must be charged for at least 16 hours • before the unit can be first used independently of the AC adaptor. -
Page 11: Settings
MENU SETTINGS LCD Language You can choose the language to be displayed on the LCD. Press when the Parent Unit is on standby. • Press to scroll to the option, Language. • Press to choose your desired language for the •... - Page 12 Reset The adjustable settings can be restored back to their original factory settings. Press when the Parent Unit is on standby. • Press to scroll to the option, Reset, and then • press . A message, ‘Confirm?’, displays on the LCD. Press •...
-
Page 13: Troubleshooting
TROUbLEShOOTING Problems Possible Solutions Power LED does not Check to ensure that: light up after switch- • the AC adaptor is properly plugged in. • the batteries are full. Check if the rechargeable battery needs charging or is damaged (Parent Unit). - Page 14 The signal is weak, • If another device such as a the connection keeps microwave is in the area between breaking up or there the parent and baby units, remove is interference. the device or switch it off. • Check whether other factors (such as trees etc) are in the path of the two devices, and change the position of the devices until the...
-
Page 15: Specifications
SPECIfICATIONS Radio Frequency DECT technology Frequency 1.8GHz frequency No. of Channels 120 digital channels Unobstructed 300m Effective Range Power Supply Baby Unit: (6 V DC/450 mA) Parent Unit: NiMH battery (2 x 1.2 V/400 mAh) and supplied AC Adaptor (6 V DC/450 mA) Operating 5ºC to 45ºC Temperature... -
Page 16: Warranty
498. Terms of Warranty: Uniden Aust warrants to the original retail purchaser only that the BW130 (“the Product”), will be free from defects in materials and craftsmanship for the duration of the warranty period, subject to the limitations and exclusions set out below. - Page 17 Product, together with satisfactory evidence of your original purchase (such as a legible copy of the sales docket) to Uniden. Please refer to the Uniden website for address details. You should contact Uniden regarding any compensation that may be payable for your expenses incurred in making a warranty claim.
- Page 20 ©2016 Uniden Australia Pty Ltd Printed in PRC...
Need help?
Do you have a question about the BW130 and is the answer not in the manual?
Questions and answers