
Subscribe to Our Youtube Channel
Related Manuals for Uniden BW4351


Summary of Contents for Uniden BW4351
- Page 1 BABY MONITOR BW4351 For more exciting new products please visit our website: Australia: www.uniden.com.au OWNER’S MANUAL...
-
Page 2: Important Safety Precautions
IMPORTANT SAFETY INSTRUCTIONS This manual contains important information about this product’s operation. If you are installing this product for others, you must leave this manual or a copy with the end user. When using your equipment, always follow basic safety precautions to reduce the risk of fire, electric shock and injury to persons, including the following: •... - Page 3 Clean only with a dry cloth. Failure to follow the instructions in this operating manual will void the warranty. Uniden assumes no liability for damages to property or injury to persons caused by improper handling or failure to comply with these safety instructions.
-
Page 4: Table Of Contents
CONTENTS IMPORTANT SAFETY PRECAUTIONS ........2 CONTENTS ..................4 WHAT’S IN THE BOX? ..............5 GETTING STARTED ..............6 INSTALLATION ..............10 General Placement Considerations ........10 Powering the Camera ............11 Powering the Monitor .............. 12 SYSTEM MENUS .............13 Monitor Function Settings ............13 Camera Settings .. -
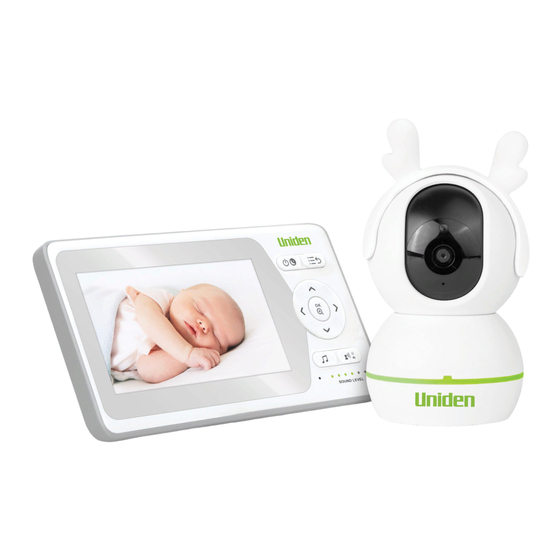
Page 5: What's In The Box
Image may vary slightly from the actual product. • If any item is missing or damaged, contact your place of purchase immediately. Never use damaged products! • Need help? Get answers at our website: www.uniden.com.au for Australian model. All trademarks are registered trademarks of their respective owners. -
Page 6: Getting Started
GETTING STARTED CAMERA... - Page 7 Item What it does Light sensor: Measures light intensity on the camera side. Camera lens. Microphone: Receives sounds for the area near the camera, and transmits sound from the camera to the monitor. Circle Light: 1. Press and hold the "music/ light" button on the monitor to turn on/off it.
- Page 8 MONITOR...
- Page 9 Item What it does Antenna: Receives video and audio signals from the camera. POWER: Press and hold to switch on/off the monitor. Press once to wake up/ turn off the screen. MENU/BACK: Press to display the menu options. In menu, press to return to previous page.
-
Page 10: Installation
INSTALLATION General Placement Considerations The camera can be placed on a shelf or other flat surface. • The camera included is NOT weatherproof; it is an indoor camera. • The clearest line-of-sight between the camera and the monitor is best. Walls, especially brick and concrete, can affect connection quality. -
Page 11: Powering The Camera
Powering the Camera 1. Insert one end of the micro USB cable to the micro USB port on the camera (at the back of the camera). 2. Connect the other end of the USB cable into the USB power adaptor. 3. -
Page 12: Powering The Monitor
Powering the Monitor 1. Place the monitor in a location with clear reception from your camera(s). 2. If you are using the monitor as a stand-alone unit, flip out the stand on the back of the monitor and extend the antenna. 3. -
Page 13: System Menus
SYSTEM MENUS Monitor Function Settings Functions of the Babysitter is user definable, to best satisfy your demands. Temperature alerts may offer automatic notification to you. This chapter will introduce the user-definable settings item by item. Access Monitor Menu In states of live view, press MENU button on the monitor can enter into MENU list;... -
Page 14: Camera Settings
Camera Settings (camera pairing and deletion) Add camera 1. Select Camera, and press OK to enter the function. 2. Select the channel to be paired, and press OK to confirm. Then select “Add Camera” and press OK to confirm. OK:Select MENU:Return OK:Select MENU:Return... - Page 15 Delete camera To replace any camera, the old camera must be deleted first before adding a new camera. 1. Select Camera, and press OK to enter the function. 2. Select the channel to be deleted, and press OK to confirm. Then select “Delete Camera”...
-
Page 16: Alert Settings
VOX Sensitivity settings VOX (Voice Activation) allows you to set the sound sensitivity for the camera. This function identifies the volume of the baby’s sound or crying. When it is above the set threshold, the monitor screen will lit up when it is in Eco mode or the screen is in standby mode. -
Page 17: System Settings
Timer Alerts Settings You can set the a timer to prevent you from forgetting to feed your baby as busy or for other reasons, which may remind you. 1. Select Alert Settings, press OK to enter the settings page and select “Alerts”... - Page 18 Language selection Switch language displayed on the monitor. 1. Select Settings, and press OK to enter the settings page. 2. Select Language Settings, and press OK to enter the settings page. Select a language you need and press OK to confirm. 3.
- Page 19 Restore to default settings Restore the monitor to default settings. 1. Select Settings, and press OK to enter the settings page. 2. Select Restore to Default Settings, and press OK to enter the settings page. 3. The device will prompt “Restore to default settings?”. Select YES and press OK to confirm.
-
Page 20: Troubleshooting
TROUBLESHOOTING If you have problems with the system, there is often a quick and simple solution. Please try the following: • There is no picture checking all connections to the camera. Make from the camera sure the adaptor is plugged in. •... -
Page 21: Specifications
SPECIFICATIONS GENERAL Camera Monitor Operating Frequency Range 2.400 ~ 2.4835GHz TX Power 15dBm RX Sensitivity –81dBm Type of Spread Spectrum FHSS Used Type of Modulation Used GFSK Communication Range up to 150m Line of Sight CAMERA Image Sensor 1/6.5” Color CMOS Video Resolution 640 x 480 Viewing Angle... -
Page 22: Two-Year Limited Warranty
BW4351 Important: Satisfactory evidence of the original purchase is required for warranty service. Please refer to our Uniden website for any details or warranty durations offered in addition to those contained below. Warrantor: The warrantor is Uniden Australia Pty Limited ABN 58 001 865 498 (“Uniden Aust”). - Page 23 Product does not conform with this warranty, you should deliver the Product, together with satisfactory evidence of your original purchase (such as a legible copy of the sales docket) to Uniden at the address shown below. You should contact Uniden regarding any compensation that may be payable for your expenses incurred in making a warranty claim.
- Page 24 ©2020 Uniden Australia Pty Ltd Printed in PRC v1.0...
Need help?
Do you have a question about the BW4351 and is the answer not in the manual?
Questions and answers