Table of Contents
Advertisement
Quick Links
Advertisement
Table of Contents

Related Manuals for StarTech.com PS1100A


Summary of Contents for StarTech.com PS1100A
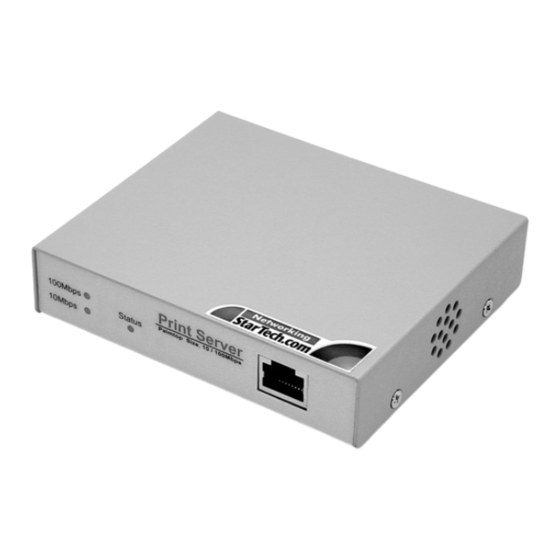
- Page 1 Ethernet Print Server 1 Port 10/100-Mbps Print Server Installation Manual PS1100A...
-
Page 2: Getting Started
• Multiprotocol support for both Novell IPX/SPX and TCP/IP (including fixed IP address and DHCP) • Compact size Getting Started This section is designed to help you prepare the PS1100A for installation. Please read through this section carefully before attempting to install the card. Unpacking the PS1100A This package should contain:... - Page 3 • Add the network port of the print server to your PC. After the installation, perform the standard “Add Printer” procedure and choose the print server’s “Network Port” in the “Available Ports” list. You can test printing from the Administrator’s PC to the print server as you local printer. The Administrator Installation can be performed on Windows 95/98/Me/NT/2000 with the same user interface.
- Page 4 d) Choose the “Print Server’s Network Port” which was created by the administrator installation process, Click “Next”. e) Complete the rest of the questions to finish the network printer setup. Client Installation and Setup The Client Installation Program executes a wizard-driven procedure which performs the following tasks: •...
- Page 5 4. Select your new print server from the displayed list and press <Enter>. The name listed will be the same as the Device Name printed on the rear of the print server. 5. The quick installation program will create and setup related objects on the file server, A list of the defaults will be displayed.
Need help?
Do you have a question about the PS1100A and is the answer not in the manual?
Questions and answers