
Subscribe to Our Youtube Channel
Related Manuals for StarTech.com PM1115UMF


Summary of Contents for StarTech.com PM1115UMF
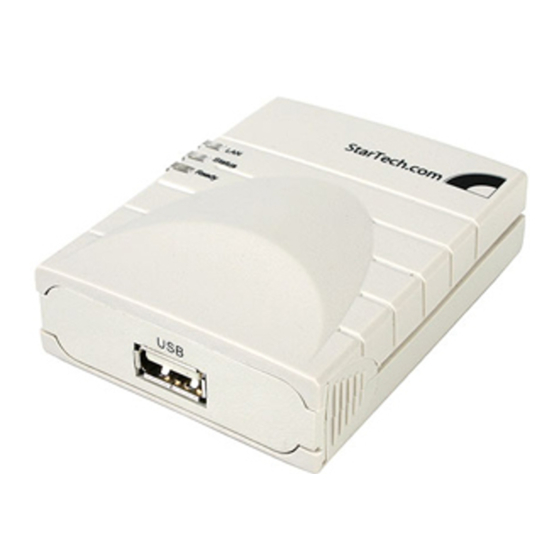
- Page 1 USB Device Server 1 Port USB 10/100 Mbps Device Server PM1115UMF Instruction Manual Actual product may vary from photo...
- Page 2 StarTech.com. Where they occur these references are for illustrative purposes only and do not represent an endorsement of a product or service by StarTech.com, or an endorsement of the product(s) to which this manual applies by the third-party company in question.
- Page 3 T T a a b b l l e e o o f f C C o o n n t t e e n n t t s s Introduction ........... . .1 Features .
- Page 4 Thank for purchasing a StarTech.com USB Multifunction Printer Server. Offering seamless integration of multifunction, all-in-one or standard printers for use on a network, PM1115UMF allows each user to share print, scan, card reader and fax functions throughout the network as though connected directly to each individual computer.
- Page 5 H H a a r r d d w w a a r r e e I I n n s s t t a a l l l l a a t t i i o o n n Notes: 1. Please ensure that the power adapter included with PM1115UMF is the only power adapter used with this product, as any variation could damage the Print Server.
- Page 6 Configuring the Server for use with a multifunction printer 1. After selecting Yes, I want to configure the MFP Server now, the MFP Server List will automatically search for and display MFP Servers on the network, as shown in Figure 1-1. Select the server you want to configure and click Next to continue.
- Page 7 MFP Server Utilities After installing the necessary software, please verify that the installation folder contains the following utilities: 1. MFP Server Control Manager - Allows you to manage the connection between the multifunction Printer and your computer, for sharing MFP functions. 2.
- Page 8 Please do so, to complete installation and begin using the Multifunction Print Server. U U s s i i n n g g t t h h e e m m u u l l t t i i f f u u n n c c t t i i o o n n p p r r i i n n t t e e r r - - W W i i n n d d o o w w s s X X P P / / 2 2 0 0 0 0 0 0 Following the necessary software installation and configuration, the multifunction printer is now ready for use.
- Page 9 Sharing the multifunction printer 1. To locate the installed printer, please open Printers and Faxes, as illustrated in Figure 1-12. 2. Once the Printers and Faxes window opens, please ensure that the printer is listed as being installed. Right-click on the icon that represents the printer, and select Set as Default Printer.
- Page 10 Idle Timeout – This setting allows administrators to setup idle timeout, preventing idle connections to the MFP. By default, no idle timeout is set. When you click on the MFP in the Server List, information will be listed on the right hand side, including Status, Computer Name and Contact Information.
- Page 11 Connected indicates that you are connected to the MFP server. Busy indicates that the MFP is in use. Idle indicates that the MFP is available for use. Connect - If the MFP is free to use, Connect will be available to click in order to connect to the server.
- Page 12 Setup - Clicking on the Setup icon, the configurable properties of the selected server will be displayed on the right side of the window, as shown in Figure 1-18. Double click on one of the icons to set up the selected MFP Server. A screen will pop up to verify the User Name (admin) and Password (1234).
- Page 13 System Configuration - Double Click the System icon to bring up the configuration window. The System configuration page allows you to see all available printing protocols and upgrade firmware for the MFP Server. You can use the Upgrade Firmware tool to update to the newest firmware of the MFP Server.
- Page 14 W W e e b b M M a a n n a a g g e e m m e e n n t t Through Local Area Network, the Internet, an administrator can easily configure and manage the MFP Server’s main functions via a web browser.
- Page 15 Advanced Settings TCP/IP Printing - This MFP Server supports the TCP/IP network protocol and LPR/IPP printing protocols. By default these protocols are enabled. MFP Idle Timeout - To avoid users unnecessarily occupying the MFP, administrators can enable the Idle Timeout feature. It is used to disconnect the current connection after the MFP is idle for a specified period of time.
- Page 16 L L P P R R P P r r i i n n t t i i n n g g LPR Printing (Line Printer Remote technology) allows users to connect to MFPs or printers via TCP/IP for print sharing. Computers running Windows 98SE, ME, NT 2000 XP or 2003 operating systems can use the protocol to share printing on the network.
- Page 17 I I P P P P P P r r i i n n t t i i n n g g IPP (Internet Printing Protocol) Printing provides a convenient way of printing remotely using TCP/IP. The MFP Server supports IPP printing in Windows 2000/XP/2003 by default.
- Page 18 M M F F P P S S e e r r v v e e r r I I n n s s t t a a l l l l a a t t i i o o n n i i n n W W i i n n d d o o w w s s 9 9 8 8 S S E E / / M M E E / / N N T T PM1115UMF supports the TCP/IP network protocol, as well as IPP and LPR printing protocols, and can be used as a normal print server when used with Windows 98SE, ME, NT, 2000, XP, 2003, Unix/Linux and MAC OS.
- Page 19 MFP Server Configuration 1. The MFP Server List will auto search the MFP Servers in the network, as depicted in Figure 1-25. Select the MFP Server you want to setup and click Next to continue. 2. Set the Alias Name and the MFP Server as illustrated in Figure 1-26.
- Page 20 Uninstall – Program designed to remove all installed Print Server software. A A d d d d i i n n g g a a p p r r i i n n t t e e r r i i n n W W i i n n d d o o w w s s 9 9 8 8 S S E E / / M M E E / / N N T T After adding a Network Port from the MFP Server to your computer, you can follow the procedure described below to add a printer to the Window.
- Page 21 6. Choose the suitable Print Server Network Port and click Next. 7. Please enter the new name for the printer or click Next to keep the default printer name. 8. Once the next screen appears, please select Yes (Recommended) when asked if you want to print a test page, and click Finish.
- Page 22 doing the following BOOTP configuration. To rebuild the NIS map, please refer to your system documentation. To configure the IP address data for the BOOTP server, you will need to log in the host of BOOTP server as the super-user (root). Perform the following steps to add address entries, 1.
- Page 23 3. The printer name (or queue name) on the remote host should be lpt1, lpt2 or lpt3, the name of the printer port on the MFP Server. To configure your Unix host for printing, you will need to perform the tasks below, logged in as the super-user (root): 1.
- Page 24 Instruction Manual M M F F P P S S e e r r v v e e r r I I n n s s t t a a l l l l a a t t i i o o n n i i n n M M a a c c O O S S LPR Printing (Line Printer Remote technology) allows Macintosh computers to connect to MFPs or printers via TCP/IP.
- Page 25 5. Enter the Printer Type, Printer Address and Queue Name and select the Printer Model to setup the MFP Server. Click Add to continue. 6. Once the MFP Server is installed completely, you can see it in the Printer List. 7.
- Page 26 Limitation of Liability In no event shall the liability of StarTech.com Ltd. and StarTech.com USA LLP (or their officers, directors, employees or agents) for any damages (whether direct or indirect,...
- Page 27 Visit www.startech.com for complete information about all our products and to access exclusive interactive tools such as the Parts Finder and the KVM Reference Guide. StarTech.com makes it easy to complete almost any IT solution. Find out for yourself why our products lead the industry in performance, support, and value.
Need help?
Do you have a question about the PM1115UMF and is the answer not in the manual?
Questions and answers