
Subscribe to Our Youtube Channel
Related Manuals for StarTech.com PM1000IPNDS


Summary of Contents for StarTech.com PM1000IPNDS
- Page 1 Ethernet Print Server Single Port 10Mbps Print Server Installation Manual PM1000IPNDS...
-
Page 2: Getting Started
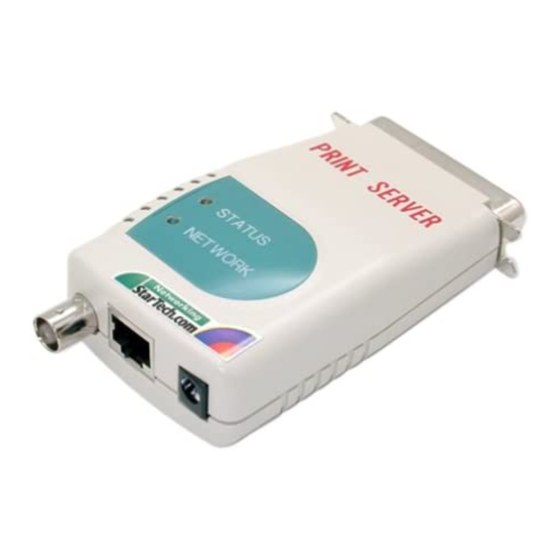
Overview Save precious time and space with the compact StarTech.com 1 Port 10 Mbps Print Server. No need for a printer-dedicated computer, this adapter will have your printer connected to your Network in about 5 minutes. Included in the package is installation management software to customize each server port to the printers’... -
Page 3: Administrator Installation And Setup
Print Server. Click “Next” and the “Choose Print Server” dialogue box will be displayed. Note: If this is the first time you are configuring the print server, the “Print Server Name” is the same as the “Device Name” printed at the rear side of the print server. -
Page 4: Client Installation And Setup
“Client Installation” procedure on all client’s sides of the network. On the other hand, if you want to print from this administrator’s PC to the print server, all you need to do is to perform Windows' standard “add Printer” procedure as described bellow/ 1. - Page 5 3. Execute Start, Program, PrintServer Utilities, NetWare Quick Setup to start the installation. 4. Select your new print server from the displayed list and press “Enter”. The name listed will be the same as the Device Name printed on the label on your print server.
- Page 6 CX command to change them before starting installation. 6. The quick installation program will setup the print server, and when the setup is complete, it will also create a file called PRINTSIR.BAT that you can run after logging into the file server to redirect print commands to the new print server.
Need help?
Do you have a question about the PM1000IPNDS and is the answer not in the manual?
Questions and answers