Table of Contents
Advertisement
Quick Links
NOTE:
Please read all
instructions carefully
before using this product
Table of Contents
Safety Notice
Important Assembly
Information
Care and Maintenance
Parts List
Warranty
Ordering Parts
Model
PM-10110
Retain This
Manual for
Reference
150604
OWNER'S
MANUAL
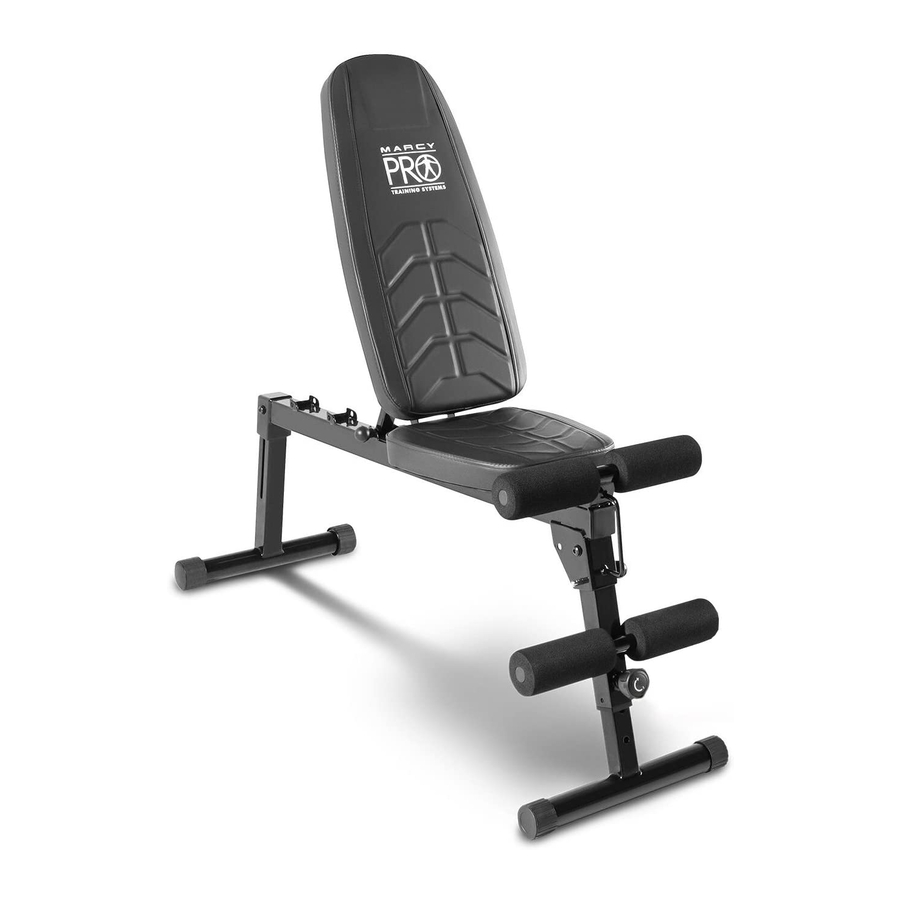
MULTI PURPOSE
UTILITY BENCH
IMPORTANT:
Please read this manual before commencing
assembly of this product.
2801 South Towne Avenue, Pomona, California 91766
Tel: (800) 999-8899 Fax: (626) 961-9966
MARCY PRO
PM-10110
®
IMPEX
INC.
www.impex-fitness.com
support@impex-fitness.com
Advertisement
Table of Contents

Related Manuals for Marcy PM-10110


Summary of Contents for Marcy PM-10110
- Page 1 NOTE: Please read all instructions carefully before using this product MARCY PRO MULTI PURPOSE Table of Contents UTILITY BENCH Safety Notice PM-10110 Important Assembly Information Care and Maintenance Parts List Warranty Ordering Parts Model PM-10110 Retain This Manual for Reference...
-
Page 2: Table Of Contents
EXPLODED DIAGRAM……………………………………………………………………… WARRANTY....................…………… ORDERING PARTS..................…………. BEFORE YOU BEGIN Thank you for selecting the MARCY MULTI PURPOSE UTILITY BENCH ® PM-10110 by IMPEX INC. For your safety and benefit, read this manual carefully before using the equipment. As a manufacturer, we are committed to provide you with complete customer satisfaction. -
Page 3: Important Safety Notices
IMPORTANT SAFETY NOTICE This exercise equipment is built for optimum safety. However, certain precautions apply whenever you operate a piece of exercise equipment. Be sure to read the entire manual before you assemble or operate your equipment. In particular, note the following safety precautions: 1. -
Page 4: Exercise Guidelines
EXECISE GUIDELINES Building Muscle and Gaining Weight Unlike aerobic exercise, which emphasizes endurance training, anaerobic exercise focuses on strength training. A gradual weight gain can occur while building the size and strength of muscles. While developing muscle mass, your body adapts to the stress placed upon it. You can modify your diet to include foods such as meat, fish and vegetables. - Page 5 Beginning a Strength Building Program Warming Up To begin strength training, it is important to stretch and perform light exercise for 5 to 10 minutes. This helps prepare the body for more strenuous exercise by increasing circulation, raising your body temperature and developing more oxygen to your muscles.
-
Page 6: Warning Label Placement
WARNING LABEL PLACEMENT The warning and caution labels are shown here have been placed on the Front Support, Rear Support, and Main Seat Support. If the labels are missing or illegible, please call customer service at 1-800-888-8899 for replacements. Apply the labels in the location shown. ©IMPEX INC. -
Page 7: Important Assembly Information
IMPORTANT ASSEMBLY INFORMATION Tools Required for Assembling the Bench: Two Adjustable Wrenches and Allen Wrenches. NOTE: It is strongly recommended that this equipment be assembled by two or more people to avoid possible injury. Ensure Carriage Bolts are inserted through the SQUARE holes on components that need to be assembled. -
Page 8: Care And Maintenance, Weight Capacity, Dimensions
CARE AND MAINTENANCE 1. Lubricate moving parts with WD-40 or light oil periodically. 2. Inspect and tighten all parts before using the equipment. 3. The equipment can be cleaned using a damp cloth and mild non-abrasive detergent. DO NOT use solvents. 4. - Page 9 BENCH COMPONENTS 1. Remove all components from carton. 2. Inspect each component and check with below component list. 3. Please contact customer service if damaged or missing component occurred. COMPONENT LIST PART NO. DESCRIPTION QUANTITY Bench Foam Tube Foam Roll Lock Knob Lock Pin ©IMPEX INC.
-
Page 10: Bench Set Up
BENCH SET UP Bench should be placed on flat surface. The incline or decline of surface should be limited to 3% or less for best performance and safety. UNFOLD FRONT SUPPORT A.) Pull out the Lock Pin (#18). B.) Pull Front Support (#7) forward. C.) Insert back the Lock Pin completely to Front Support. - Page 11 LOCKING BACKREST BOARD AND LEG SUPPORT A.) Pull out Lock Pin (#18). Flip up Backrest Board (#9). B.) Place the end of Incline Support onto selected slot; insert Lock Pin (#18) completely through the hole on slot and end of Incline Support to lock Incline Support safely to the slot. C.) Insert the two Lock Knobs (#12) to lock Main Seat Support and Leg Support Frame into position.
- Page 12 FOAM ROLL INSTALLATION A.) Insert Foam Tube (#8) into the opening on Main Seat Support (#1). Slide two Foam Rolls (#11) onto the Tube from each end. B.) Slide two Foam Rolls onto the tube on Leg Support Frame from each end. C.) Loosen the Lock Knob (#12) on Leg Support Frame, select height of Front Support and fasten the Lock Knob to securely lock Front Support in position at selected height.
- Page 13 SET UP AS SLANT BOARD Push Rear Support all the way into the Main Seat Support until the orange color line reach the edge of the locking block on Main Seat Support. SET UP AS FLAT BENCH A.) Loosen the Lock Knob (#12) on the Main Seat Support (#1). B.) Pull out the Rear Support (#3) from Main Seat Support (#1).
- Page 14 BACKREST AND FRONT SUPPORT INCLINE ANGLES 1. Backrest Board Incline angle ranges from -15 to 67 2. Front Support incline angle ranges from 17 to 21 TRANSPORT 1. Flatten the Backrest Board and Rear Support. 2. Fold the Front Support. 3.
-
Page 15: Parts List
PM-10110 PARTS LIST PART DESCRIPTION SIZE QUANTITY Main Seat Support Front Support Rear Support Left Backrest Support Right Backrest Support Incline Support Leg Support Frame Foam Tube Backrest Board Seat Pad Foam Roll Lock Knob Rear Support Roller Cap Sleeve 1 ¾”... -
Page 16: Exploded Diagram
PM-10110 EXPLODED DIAGRAM ©IMPEX INC. www.impex-fitness.com... -
Page 17: Warranty
® IMPEX INC. LIMITED WARRANTY ® IMPEX Inc. ("IMPEX ") warrants this product to be free from defects in workmanship and material, under normal use and service conditions, for a period of two years on the Frame from the date of purchase. This warranty extends only to the original purchaser.
Need help?
Do you have a question about the PM-10110 and is the answer not in the manual?
Questions and answers