Table of Contents
Advertisement
Quick Links
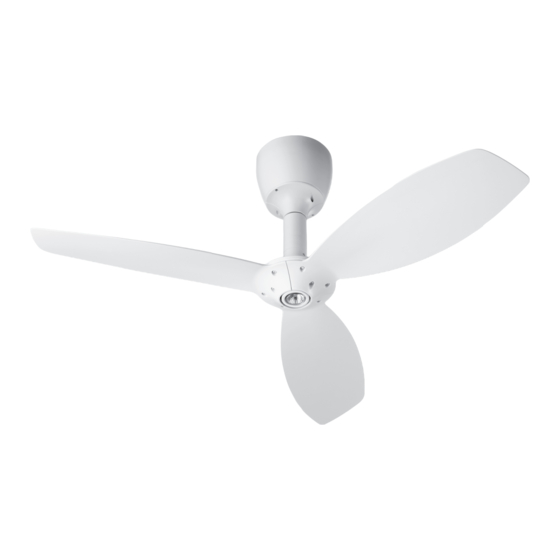
THE ALPHA CEILING FAN
INSTALLATION INSTRUCTIONS
Please read and save these instructions
These instructions are to be used in
the installation of the following
QUORUM INTERNATIONAL fans...
The Alpha
© 2013 Quorum International. All Rights Reserved.
P.O. Box 961008 • Fort Worth, TX 76161 • (817) 626-5483 • FAX (817) 626-5540
I0217-11/13
Advertisement
Table of Contents

Related Manuals for Quorum The Alpha


Summary of Contents for Quorum The Alpha
- Page 1 These instructions are to be used in the installation of the following QUORUM INTERNATIONAL fans... The Alpha © 2013 Quorum International. All Rights Reserved. P.O. Box 961008 • Fort Worth, TX 76161 • (817) 626-5483 • FAX (817) 626-5540 I0217-11/13...
-
Page 2: Warranty & Service
Complete and mail the enclosed (RGA) prior to returning the defective box and packaging. Quorum will not bear warranty card within 10 days to ensure unit or part. Call (817) 626-5483 - responsibility for any shipping damage. -
Page 3: Safety Rules
Blade attachment hardware (Screws/lock washers, decorative nuts and Allen wrench) IF YOU FIND THAT PARTS ARE MISSING. CONTACT YOUR DEALER FOR REPLACEMENT, OR CALL QUORUM DIRECTLY AND WE WILL MAIL REPLACEMENTS TO YOU IMMEDIATELY. -
Page 4: Mounting Options
Hanger Ceiling Joist Ceiling Joist Support Bar 5. To hang the fan in locations where no ceiling joist is available, a hanger support bar may be required (Figure 3). Quorum distributes approved hanger support bars and outlet boxes. Outlet Boxes... -
Page 5: Hanging Your Fan
4. HANGING YOUR FAN WARNING -Turn off the power! Fig. 4 Fig. 6 fasten the blades to the fan until it DO NOT is assembled and hanging from the ceiling. To do so now will likely damage the blades Mounting plate and almost certainly cause wobble. -
Page 6: Electrical Connections
If your junction box has a ground Use ONLY wall controls approved by when making connections. Secure the wire (green or bare copper), connect Quorum. Use of unapproved wall connectors with electrical tape and make the transmitter's ground wire to it. controls will cause unacceptable... - Page 7 6. COMPLETING INSTALLATION Make sure the wiring is safely inside the Fig. 8 Fig. 10 outlet box as instructed in Step 5 - Electrical Connections. 1. Attaching the Motor Assembly (Fig. 8) Match the four holes at both ends of the Screw mounting bracket with the four screws on the mounting plate, secure the motor...
- Page 8 7. INSTALLING THE WALL CONTROL REMEMBER -Turn off the power! Fig. 12 3. (Fig. 12) Carefully tuck the wire Hook up in "series only" do not connect connections inside the junction box. the hot and neutral wires of electric Secure the wall control with the two circuit to the transmitter wall switch - screws provided.
- Page 9 9. FAN OPERATION AND CARE 1. A ceiling fan is an environmentally 3. Clean you fan periodically using only Fig. 15 smart choice to cool as well as to help a cloth dampened with a mild detergent warm your home or office. Adjust your solution for all hardware - never use HVAC thermostat during fan use to save solvents.
-
Page 10: Troubleshooting
A full range of genuine replacement the canopy, possibly vibrating while the of the room. spare parts are available at reasonable fan is on. cost directly form Quorum International. Please call us at (817) 626-5483. Monday through Friday from 8:00 A.M. to 5:00 P.M. CST.
Need help?
Do you have a question about the The Alpha and is the answer not in the manual?
Questions and answers