Table of Contents
Advertisement
Quick Links
Advertisement
Table of Contents

Related Manuals for OWC RACK PRO MINI-SAS


Summary of Contents for OWC RACK PRO MINI-SAS
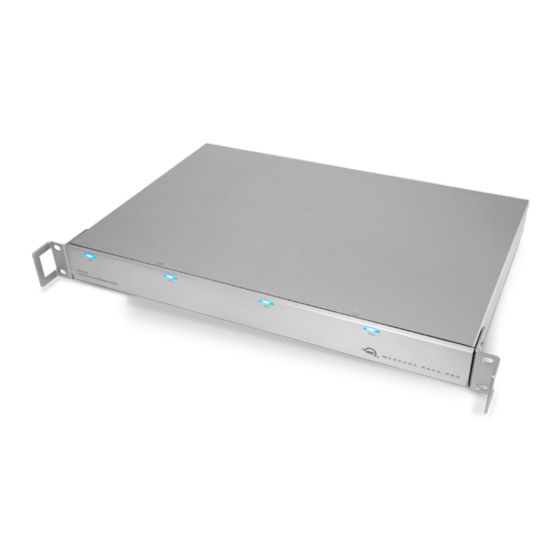
- Page 1 R A C K P R O M I N I - S A S Assembly Manual & User Guide...
-
Page 2: Table Of Contents
1.6 About RAID modes Device Setup ....................2.1 Drive Installation 2.2 Connections 2.3 Replacing Drives 2.4 Desktop Conversion Support Resources .................. 3.1 Formatting 3.2 Unmounting Drives 3.3 Troubleshooting 3.4 About Data Backup 3.5 Contacting Technical Support OWC Rack Pro mini-SAS Table of Contents... -
Page 3: Introduction
The images and descriptions may vary slightly between this manual and the unit shipped. Functions and features may change depending on the firmware version. Please visit the product web page for the most recent product specifications. OWC Rack Pro mini-SAS Introduction... -
Page 4: Rear View
Blue = Power on (all 4 drive bays) of the enclosure, behind the access door (pictured below). Drive Access Flashing Red = Drive being accessed Array Rebuild Blinking Red = Rebuilding RAID array Solid Red = Faulty drive OWC Rack Pro mini-SAS Introduction... -
Page 5: About Raid Modes
1.6 About RAID Modes The Mercury Rack Pro mini-SAS does not ship with built-in RAID capabilities, however many mini-SAS PCIe cards have RAID controller functionality built into them. The number and type of RAID modes available are entirely dependent upon the card you use. -
Page 6: Device Setup
If you physically eject or remove a drive from the Rack Pro without powering off the unit first, any mounted disks will improperly unmount from the computer. OWC Rack Pro mini-SAS Device Setup... -
Page 7: Connections
CAUTION: always have a separate backup of your data when using non-redundant modes like RAID 0! Consult your RAID controller documentation for additional steps that may be required to preserve data and replace drives, when using different RAID modes. OWC Rack Pro mini-SAS Device Setup... -
Page 8: Desktop Conversion
2.4 Desktop Conversion The OWC Mercury Rack Pro can be converted from a rack mounted enclosure to a desktop unit by removing the rack handle from the sides of the enclosure and attaching the included rubber feet. To remove the rack handles simply remove the four Phillips screws on the side of the rack and the rack handle will come off, as shown below. -
Page 9: Support Resources
Many problems can be traced to power or connectivity issues. Begin troubleshooting by verifying that the Rack Pro mini-SAS is connected to power. If connected to a power strip, make sure that it is switched on and that there are no bad outlets on the strip. -
Page 10: About Data Backup
To ensure that your files are protected and to prevent data loss, we strongly suggest that you keep two copies of your data: one copy on your OWC Rack Pro mini-SAS and a second copy on either your internal drive or another storage medium, such as an optical backup, or on another external storage unit. - Page 11 Page intentionally left blank...
- Page 12 OWC, its parent, partners, affiliates, officers, employees, and agents assume no liability resulting from errors or omissions in this document, or from the use of the information contained herein. OWC reserves the right to make changes or revisions in the product design or the product manual without reservation and without obligation to notify any person of such revisions and changes.
Need help?
Do you have a question about the RACK PRO MINI-SAS and is the answer not in the manual?
Questions and answers