Advertisement
Quick Links
Advertisement

Related Manuals for ImaxRC X150 AD


Summary of Contents for ImaxRC X150 AD
- Page 1 X150 Manual...
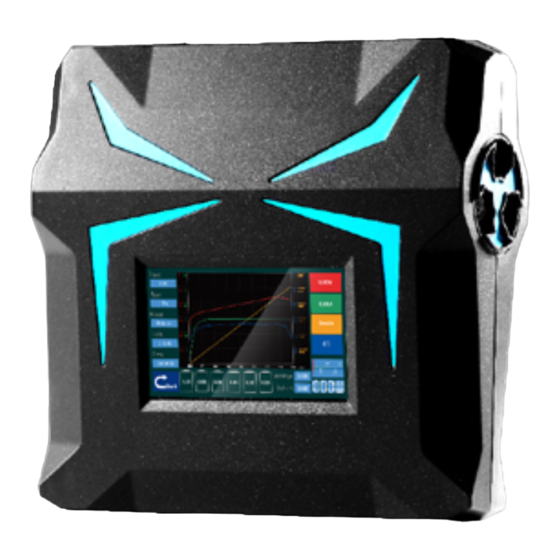
- Page 2 New Charger X150 Released www.imaxrc.com/X150.html AC Function DC Function Touch Screen Operation 3.0 inch touch screen make the operation more convenient 3.0 inch display screen 3.0 inch TFT display screen, WQVGA(400*240),65 thousand resolution iM · OS V2.15 A whole new OS system for X150 professional charger with...
- Page 3 · OS System iM · OS System www.imaxrc.com/X150.html www.imaxrc.com/X150.html LiPo Lipo Battery,Single Nominal Voltage: 3.7V,Charge cut- off voltage 4.2V,Discharge cut-off voltage 3.0V Type Current Cells Mode LiIon X150 support Input / Output LiXX 1-6S Fast Charge LiIon Battery,Single Nominal Voltage: 3.6V,Charge...
- Page 4 1/10 of the setting current when finished charging. Warning: The voltage can not balance even connecting X150 Fundamental Function the balance port when using LiPo battery. www.imaxrc.com/X150.html Storage Charging and discharging the battery voltage to a certain numerical for easy storage. This function only for LiPo battery which need connecting the balance port.
- Page 5 5. iMaxRC will not be responsible for any personal injuries and fire disaster caused by incorrect operation. I have read this agreement carefully and give up all legal.
-
Page 6: Information Bar
Sarting X150 startup X150 to enter the main interface ( Image 1 ). Image 3 V2.15 【NOTE】 Please read Disclaimer before doing anything. Image 1 Enter into main interface after accepting( Image 4 ). Start to Showing“Warning and Disclaimer” 2 seconds and will know the charge and discharge according to the different battery. - Page 7 Example 1:Choose a set of LiPo battery charging,please Step 2: Touch ‘Mode’ icon( Image 7 ) to enter into Mode interface. follow the below steps: Please choose battery charge mode ( Image 8 ) and go back to main interface to continue setting. Step 1: Touch Type( Image 5 ) Enter into the “Type interface”, and then Touch :LiPo ( Image 6 ) will Enter into main interface go on the next step.
- Page 8 Step 3: Touch Cells icon ( Image 9 ) to enter into Cells interface. Step 4: Touch Current icon ( Image 11 ) to enter into Current inter- Please set battery packs by sliding ( Image 10 ). Touch OK to go back face.
- Page 9 Step 5: If you often use the same battery, please touch Save icon ( Step 6: You could load your previous data according to X150’s Image 13 ) to enter into Save interface. Touch Unused icon to save load function. Touch Load icon ( Image 15 ) to enter into Load inter- the data and it will be easy for you to charge next time.
- Page 10 Step 7: Touch Start icon ( Image 17 ) to enter into Start interface. 【NOTE】The charger will pop-up window when the battery is fully The system will check battery status automatically. If everything is charged. Touch OK to finish charging process ( Image 19 ). OK, the charger will begin to charge.( Image 18 ) Image 19 Image 17...
- Page 11 Example 2: If you want to charge a pack of NiMh battery, Step 2: Touch Mode icon ( Image 23 ) to enter into Mode interface. please execute the operation as follows: Touch Charge icon ( Image 24 ) to go back to main interface and continue setting.
- Page 12 Step 3: Touch Cells icon to enter into Cells interface. Please set Step 4: Touch Current icon ( Image 27 ) to enter into Current NiMh battery packs by sliding ( Image 25). Touch OK to go back to interface. Please set charge current by sliding ( Image 28 ). Touch main interface and continue setting ( Image 26).
- Page 13 Step 5: Touch Start icon ( Image 29 ) to enter into Start interface. 【NOTE】The charger will pop-up window when the battery is The charger will check battery status automatically. If everything is fully charged. Touch OK to finish charging process ( Image 31 ). OK, the charger will begin to charge ( Image 30 ).
- Page 14 Example 3: If you want to charge a pack of Pb battery, please Step 2: Touch Mode icon ( Image 34 ) to enter into Mode inter- execute the operation as follows, face. Touch Charge icon ( Image 35 ) to go back to main interface and continue setting.
- Page 15 Step 3: Touch Cells icon ( Image 36 ) to enter into Cells inter- Step 4: Touch Current icon ( Image 38 ) to enter into Current in- face. Please set Pb battery packs by sliding ( Image 37 ). Touch terface.
- Page 16 Step 5: Touch Start icon ( Image 40 ) to enter into Start interface. 【NOTE】The charger will pop-up window when the battery is The charger will check battery status automatically. If everything fully charged. Touch OK to finish charging process ( Image 42 ). is OK, the charger will begin to charge.
- Page 17 SYSTEM is brand-new software of charger which was done, it will turn back to interface ( Image 47 ), then you can go on Independently research and develop by iMaxRC. It is the first operation system in the world especially to support touch screen with setting of other features.
-
Page 18: Important Notice
Cut off Low Input Cycle Time Cut off Cycle Range of setting:10-24V. Lowest cut off input voltage, Range of setting: 1-6 times. Times Input charger will stop charging/discharging when input voltage is lower than setting value. Backlight Level Backlight Level Range of setting: 1-10, Brightness level. -
Page 19: Safety Precautions And Warnings
OR create a high probability of superficial injury. responsible part of our guarantee. IMAXRC will not be held directly responsible for those damage if they were caused by improper using of user. Proper Operation Pls put X150 charger on flat operating platform. - Page 20 150 AD All specifications and figures are subject to change without notice. Printed in China © 2013...
Need help?
Do you have a question about the X150 AD and is the answer not in the manual?
Questions and answers