Sign In
Upload
Download
Table of Contents
Contents
Add to my manuals
Delete from my manuals
Share
URL of this page:
HTML Link:
Bookmark this page
Add
Manual will be automatically added to "My Manuals"
Print this page
×
Bookmark added
×
Added to my manuals
Manuals
Brands
Baumatic Manuals
Washer
BWR1005
Instruction manual
Baumatic BWR1005 Instruction Manual
Fully integrated
Hide thumbs
1
2
Table Of Contents
3
4
5
6
7
8
9
10
11
12
13
14
15
16
17
18
19
20
21
22
23
24
25
26
27
28
29
30
31
32
33
34
35
36
37
38
39
40
41
42
43
44
page
of
44
Go
/
44
Contents
Table of Contents
Troubleshooting
Bookmarks
Table of Contents
Table of Contents
Environmental Note
Important Safety Information
Specifications
Product and Aperture Dimensions
Product Specifications
Description of the Appliance
Control Panel
Detergent Drawer
Preparing the Wash Cycle
Preparing Your Garments for Washing
A Selection of Wash Care Symbols
Detergents and Conditioners
Program Table
Wash Program Guidance
Selecting a Wash Program
At the End of a Wash Cycle
Pausing a Wash Program
Cancelling a Wash Program
Spin Selection Button
Temperature Selection Button
Soak Option Button
Extra Rinse Option Button
Delay Start Button
Child Lock
Maintenance and Cleaning
In Daily Use
Control Panel and Washing Machine Cabinet
Detergent Drawer
The Washing Machine Drum
Door
Error Code Failure System
General Troubleshooting
Poor Wash Results
Removing Stains
Stain Removal Rules
Stain Removal Guide
Cleaning the Drain Pump Filter
Installation
Unpacking and Removing the Transit Bolts
Positioning and Levelling the Appliance
Fitting the Décor Strip
Connecting to the Mains Water Supply
Water Outlet
Fitting the Furniture Door
Power Supply
Before First Use Maintenance Wash
Contact Details
Advertisement
Quick Links
1
Product and Aperture Dimensions
2
Detergent Drawer
3
Error Code Failure System
4
General Troubleshooting
5
Cleaning the Drain Pump Filter
Download this manual
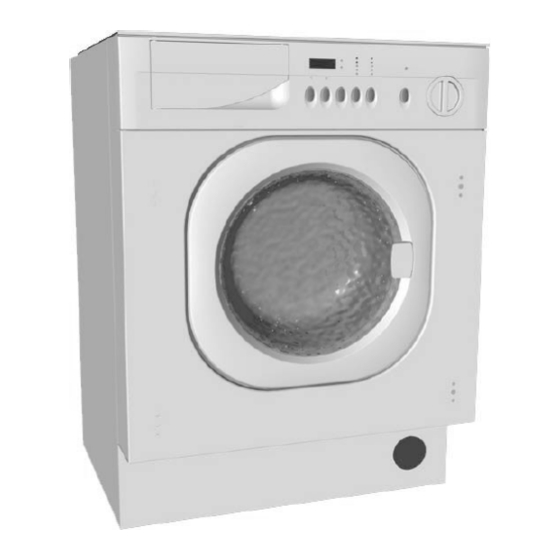
BWR1005/BWR1206
Fully integrated
washing machine
Table of
Contents
Previous
Page
Next
Page
1
2
3
4
5
Advertisement
Table of Contents
Need help?
Do you have a question about the BWR1005 and is the answer not in the manual?
Ask a question
Questions and answers
Related Manuals for Baumatic BWR1005
Washer Baumatic BWF1106SS User Manual
Baumatic bwf1106ss: user manual (40 pages)
Washer Baumatic BWD12 Instruction Manual
Fully integrated full height washing machine (48 pages)
Washer Baumatic BWMI1206 Instruction Manual
Fully integrated washing machine (40 pages)
Washer Baumatic BWMI1206 Instruction Manual
(40 pages)
Washer Baumatic BWM5001 Instruction Manual
Top loading washing machine 5 kg & 7 kg (40 pages)
Washer Baumatic BWM50 Instruction Manual
5 kg, 7 kg top loading washing machine (36 pages)
Washer Baumatic BWMI1206.1 Instruction Manual
Fully integrated washing machine (44 pages)
Washer Baumatic BWM1216W Instruction Manual
60 cm 6 kg freestanding washing machine (36 pages)
Washer Baumatic BWMI1262DN1 Instructions For Use Manual
(36 pages)
Washer Baumatic BWM1409W Instruction Manual
(40 pages)
Washer Baumatic BWMI1216 Instruction Manual
(44 pages)
Washer Baumatic BWR1206 Instruction Manual
Fully integrated (44 pages)
Washer Baumatic BWM1417W Instruction Manual
60 cm 7 kg (40 pages)
Washer Baumatic BWM55 Owner's Manual
Full automatic electric washing machine (11 pages)
Washer Baumatic BWP8 User Manual
(21 pages)
Washer Baumatic BWP9 User Manual
(21 pages)
This manual is also suitable for:
Bwr1206
Table of Contents
Print
Rename the bookmark
Delete bookmark?
Delete from my manuals?
Login
Sign In
OR
Sign in with Facebook
Sign in with Google
Upload manual
Upload from disk
Upload from URL


Need help?
Do you have a question about the BWR1005 and is the answer not in the manual?
Questions and answers