Table of Contents
Advertisement
Quick Links
Advertisement
Table of Contents

Related Manuals for Optika LAB-1


Summary of Contents for Optika LAB-1
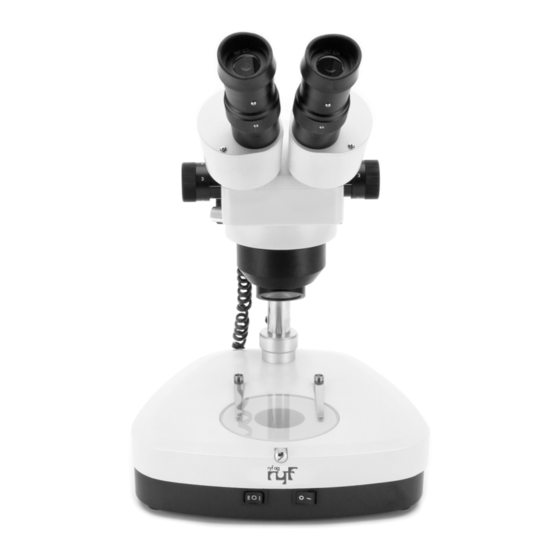
- Page 1 Optika LAB-1 / LAB-2 stereo-microscope Instruction Manual Optika LAB-1 & LAB-2...
- Page 2 Unpacking and assembling of the microscope The components for series stereo Ryeco LAB-1 and LAB-2 are shipped detached for protection. open the Styrofoam packing with care and do not leave any components attached to the packing being removed. Do not discard any of the packing materials until all components have been located.
-
Page 3: Knowing Your Microscope
Optika LAB-1 / LAB-2 stereo-microscope Alignment and operation Interpupillary distance Move the two eyepiece tubes until only one circular field can be seen through the two eyepieces. lf two circles appear the interpupillary distance is too big, and f 2 overlapped circles appear the interpupillary distance is too small. - Page 4 Optika LAB-1 / LAB-2 stereo-microscope Cleaning and care of the microscope Changing the bulb Before changing the bulb, make sure that the power switch is off and the Power cord has been disconnected from the main supply. For Incident light, unscrew the lamp collector piece out, remove the old light bulb from the socket, and carefully plug the new bulb in, screw the collector piece back after changing the bulb.
Need help?
Do you have a question about the LAB-1 and is the answer not in the manual?
Questions and answers