Table of Contents
Advertisement
Quick Links
Advertisement
Table of Contents

Subscribe to Our Youtube Channel
Related Manuals for Lasertec H1R


Summary of Contents for Lasertec H1R
- Page 1 H1R Red Rotary Laser INSTRUCTION MANUAL...
- Page 2 SAFETY Please read this instruction manual before operating this product. Please store this instruction manual in the carry case for future reference. CAUTION: Class 2 Laser Product Do not stare directly into the laser beam from apertures. Do not disassemble the instrument or attempt to perform any internal servicing as this will void your warranty.
-
Page 3: Item Checklist
ITEM CHECKLIST Please ensure the following items are included with your laser. If anything is missing please contact your retailer. INCHES Laser glasses LED Detector and clamp Laser target Lasertec H1R Carry case Batteries... -
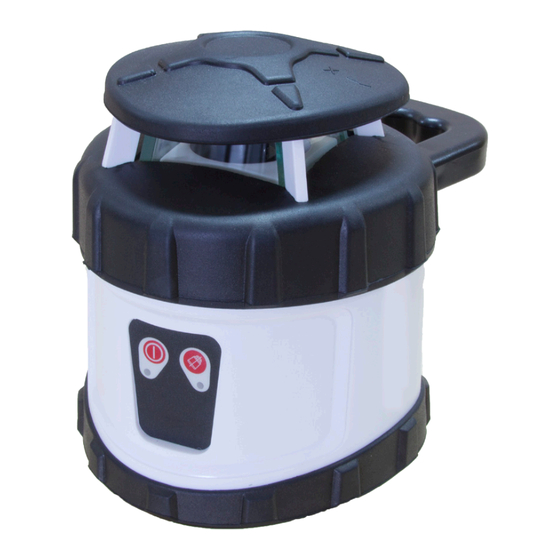
Page 4: Product Overview
PRODUCT OVERVIEW Protective lighthouse Rotating laser port Control panel... -
Page 5: Control Panel
CONTROL PANEL Tilt alarm Power Power indicator Tilt alarm indicator... - Page 6 DETECTOR CONTROL PANEL LED Lights Sound on / off Laser sensor Coarse / fine mode Power Speaker...
-
Page 7: Using Your Laser
USING YOUR LASER Power Supply The Lasertec H1R is powered by four AA alkaline batteries. Setting Up ‣ Select a place as close as practical to the work site. Ensure the location is clear of traffic. ‣ Attach the laser to a tripod or place on a level surface. - Page 8 Tilt Alarm ‣ Once the unit has been levelled off the tilt alarm can be enabled by pressing the tilt alarm button. The tilt alarm indicator light will flash for approximately 15 seconds. Once the light is constant the alarm is enabled. ‣...
- Page 9 Using your detector ‣ Switch the detector on by pressing the power button. The speaker will beep once indicating the unit is operating. ‣ To change between coarse and fine mode press the coarse / fine mode button. ‣ Move the detector into the path of the laser beam. ‣...
-
Page 10: Checking Calibration
CHECKING CALIBRATION Before doing any precision levelling it is advised to check the calibration of the unit. ‣ Set up the laser on a tripod at about 30m facing a wall or staff with a detector. ‣ Allow the unit to level. ‣... -
Page 11: Troubleshooting
TROUBLE SHOOTING Laser does not turn on ‣ Check the batteries. They may be in the wrong way or need replacing. ‣ Check the battery compartment for signs of damage. Ensure they are clean and not bent. Laser turns on but does not rotate ‣... - Page 12 Detector does not turn on ‣ Check the batteries. They may be in the wrong way or need replacing. ‣ Check the battery compartment for signs of damage. Ensure they are clean and not bent. Detector does not detect the laser beam ‣...
-
Page 13: Care And Maintenance
‣ The operator should check the H1R for accuracy before precision levelling is attempted. ‣ Although the H1R has an IP65 rating always ensure to clean the instrument with a dry, soft cloth after use on dusty, damp or wet conditions before storing. -
Page 14: Warranty
WARRANTY The Lasertec H1R comes with a 1 year manufacturers warranty. Our goods come with guarantees that cannot be excluded under the Australian Consumer Law. You are entitled to a replacement or refund for a major failure and for compensation for any other reasonably foreseeable loss or damage. You are also entitled to have the goods repaired or replaced if the goods fail to be of acceptable quality and the failure does not amount to a major failure. -
Page 15: Specifications
SPECIFICATIONS Specifications Lasertec H1R Product code 90012 Warranty 1 Year Accuracy ±3mm at 30m Range 250m Levelling range ±9% / ±5° Laser class 2 Red Battery life 20 hours Battery type 4x AA IP rating Weight (kg) 1.25 Dimensions (mm) - Page 16 www.spoton.com.au...
Need help?
Do you have a question about the H1R and is the answer not in the manual?
Questions and answers