Solo 456 Operator's Manual
Hide thumbs
Also See for 456:
- Original instructions manual (10 pages) ,
- Instruction manual (7 pages) ,
- Translation of the original instructions (80 pages)
Advertisement
Table of Contents
OperatOr's Manual & parts list 456, 457, 456F
If you are missing parts, instructions or have questions, DO nOt take this unit back to the store.
STOP
Call 1300 798 022. Solo will send the missing parts/information to you promptly.
Warranty
Solo backpack sprayers are covered by Solo's wARRANTy
(2 years for models 456, 457, 456F). Solo manufactured parts which fail
due to defective material or workmanship will be repaired or replaced
without charge. Refer to warranty sections for consumer and commercial
use, of this Owners Manual, for full details.
saFety preCautiOns
•
Do not exceed 3 bar (45 psi) pressure.
•
Do not fill with, use or spray flammable
materials.
•
Do not use gasoline, acid, acetone, caustic or
potentially injurious chemicals.
•
At the time of manufacture of this sprayer,
we are not aware of any approved plant
protection chemicals which would adversely
affect this sprayer when applied in their usual
concentration.
Observe the recommendations of the
•
chemical manufacturer.
•
Prior to removing any part of the sprayer pull the pressure relief
valve to release any pressure in the tank.
•
Wear rubber gloves, safety goggles and appropriate protective
clothing.
•
After pumping be sure handle is in the locked down position.
•
Individuals should be trained in the proper use of this sprayer. Where
training is not available, individuals should study and follow the
procedures detailed in this manual.
•
Do not use acetone based chemicals.
WarninG
Chemicals can be harmful to individuals and the environment if
improperly used. In addition, some chemicals are caustic, corrosive,
or poisonous and should be avoided. Read warnings and chemical
manufacturer's instructions. Solo high density polyethylene sprayers
are fitted with Viton® seals which are resistant to a wide variety of
agricultural, industrial and household chemicals; however, care should
be exercised to ensure that sprayer components are clean, functioning
properly, and in a good state of repair before and during use. If in doubt
about a particular chemical, check with manufacturer.
CustOMer serViCe COMMitMent FrOM sOlO's serViCe DepartMent: In the event the sprayer you have purchased has missing or damaged parts,
please call 1300 798 022, 9:00am – 5:00pm Mon-Fri. In order to assist your service representative, please have the following information available: sprayer model number,
part description and part number. A parts list is included in your operator's manual. Solo is committed to your satisfaction and is continuing its efforts to earn your future business.
Visit us on the web at www.soloaustralia.com.au troubleshooting and parts ordering available on-line.
If you suspect or observe indications that the material may be unsafe
in a Solo sprayer... STOP! Do Not Use or Apply Chemical. ALWAYS
WEAR RUBBER GLOVES, SAFETY GOGGLES AND APPROPRIATE
PROTECTIVE CLOTHING.
Read and follow operating instructions.
•
Do not fill sprayer over maximum fill mark. Releasing pressure in an
overfill condition can cause harmful venting of sprayer contents.
•
Relieve pressure only with sprayer upright and while standing on
the side of the sprayer opposite the pressure relief valve. Venting of
sprayer contents can occur if liquid is over bottom of relief valve.
•
CAUTION: To prevent injury from ejected pump assembly and/or
solution, never stand with face or body over the top of the tank when
pumping, or loosening pump.
•
Do not modify sprayer or pressure relief valve.
•
Never spray in the direction of humans, animals or property which
might be injured or damaged by spray formula.
•
Do not use disinfectants, solvents or impregnating agents unless first
tested to ensure they are not harmful to the environment and sprayer.
•
Do not use liquids with a temperature above 45°C.
•
Remember that a sprayer with liquid is a significant amount of weight
(1kg per litre). Use caution when bending, leaning or walking. Bend
only at the knees and support yourself as required to ensure personal
safety.
•
Do not inflate sprayer without liquid in the tank.
•
Do not climb on ladders, trees or other unsteady or potentially unsafe
structures.
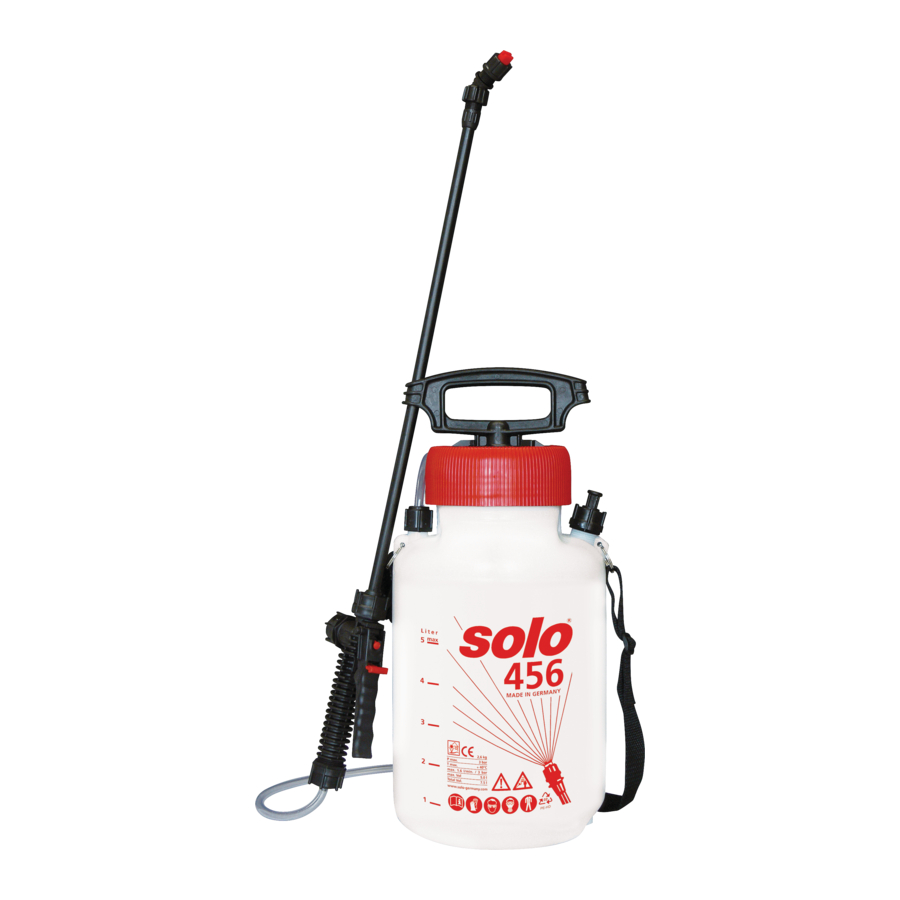
asseMbly instruCtiOns FOr WanD
1. Ensure that the O-ring is on the
non-threaded end of the wand.
2. Insert the non-threaded end of the
wand into the O-ring into the open
end of the shut- off valve.
3. Tighten the screw cap.
1
Advertisement
Table of Contents

Related Manuals for Solo 456


Summary of Contents for Solo 456
- Page 1 1300 798 022, 9:00am – 5:00pm Mon-Fri. In order to assist your service representative, please have the following information available: sprayer model number, part description and part number. A parts list is included in your operator’s manual. Solo is committed to your satisfaction and is continuing its efforts to earn your future business.
-
Page 2: Removing The Nozzle
reMOVinG the nOzzle CleaninG Unscrew the nozzle cap (1) from the nozzle body (3). This is best • Carefully clean sprayer after every use. accomplished while the retaining nut (2) is fastened tightly to the elbow • Pour or spray all remaining chemical out of sprayer. (5). - Page 3 OperatinG Features Nozzles – Your Solo sprayer has available the following nozzle arrangements, to provide a variety of spray patterns. Item Application Part Flat spray nozzle Row treatment 40 742 631 Jet stream nozzle Spot & longer range 40 74 755...
- Page 4 • tank lip damaged • repair or replace tank aCCessOries The following accessories are not standard. Order them from your SOLO dealer. Pressure Control Gauge (49 00 356) Displays spraying pressure so operator can maintain desired pressure level. Brass adjustable nozzle (49 00 207), Plastic (49 00 527) Affords operator a full range of sprays from fine to jet stream.
- Page 5 nOzzle tip speCiFiCatiOn Spray Volume Pressure Description Order number Angle Applications 1/min. gal/min. atu atm Flat Spray Nozzle 40 74 2631 0.88 area and row treatment 120° 1.25 120° 1.53 120° Flat Spray Nozzle 40 74 501 0.65 0.172 80° yellow 0.80 0.211...
-
Page 6: Parts Breakdown
Warranty iteMs nOt COVereD by Warranty Solo Australia warrant the product from the date of purchase, for a period Provisions of the Warranty will not apply to the following: of 2 years. The warranty covers manufacturer’s defects in material or Normal service requirements arising during the warranty period, such as workmanship. -
Page 7: Order Form
OrDer FOrM Order parts and accessories from your Solo dealer. If there is no local dealer, use this form to order from Solo. Part No. Item Names/Description Retail Price Qty. Total Nozzles 49 00 527 Plastic Adjustable Nozzle $7.95 49 00 207 Brass Adjustable Nozzle $12.95... - Page 8 We cannot process your credit card purchase without a signature and expiration date. Email: PLEASE PRINT: Name Address City State P/Code Mail or Fax to: solo australia, 24 healey road, Dandenong south, ViC 3175 Phone: 1300 798 022 • Fax: 03 9706 9533 Order Online: www.soloaustralia.com.au e-mail: sales@soloaustralia.com.au...
Need help?
Do you have a question about the 456 and is the answer not in the manual?
Questions and answers