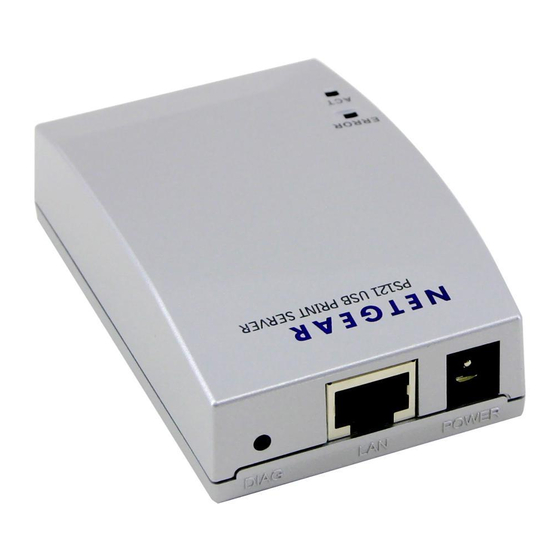
NETGEAR PS121v2 Installation Manual
Usb multifunction print server
Hide thumbs
Also See for PS121v2:
- User manual (50 pages) ,
- Product data (2 pages) ,
- Installation manual (2 pages)
Advertisement
USB Multifunction Print Server Model PS121v2
These setup instructions assume that you will connect to an access point, wireless router,
or wired router.
Estimated Completion Time: 20 minutes for each printer; 10 minutes for each computer.
Overview
When you finish the installation, your network will resemble the following illustration.
Router
Print Server
PS121
Printer
Computers
Resource CD
What is on the Resource CD?
•
A setup wizard
•
Software utilities you use for controlling your print server and printer
•
The installation guide and user manual
Note: Do not connect the USB Print Server until you are prompted to do so by the wizard
on the CD.
Installation
First, Set Up the Print Server and a Single PC
1.
Insert the Resource CD.
If the wizard screen does not appear, double
click autorun.exe on the CD.
2.
Use the Smart Wizard to set up the print server.
a.
Click Install and Set Up the Print Server
with This PC.
The Smart Wizard installation assistant opens the print server manager wizard.
b.
Follow the onscreen instructions, and click Next when you are ready to proceed.
c.
Follow the step-by-step instructions to set up the PC connection to the printer via
the print server. In the Finalize Setup stage, click Print Test Page to confirm that
the installation was successful.
d.
Click Finish. The SmartWizard window opens
to show the print server that you just set up.
e.
Check that the
NETGEAR PS121v2
SmartWizard icon is in the System tray.
Now, Set Up Additional PCs
1.
Insert the Resource CD in an additional PC.
If the wizard screen does not appear, double click autorun.exe on the CD.
2.
Use the Smart Wizard to set up the PC.
a.
Click Set Up This PC to Use an Installed Print Server.
The installation program attempts to detect the print server.
b.
Follow the on-screen instructions, and click Next when you are ready to proceed.
c.
Follow the step-by-step instructions to complete setting up the PC to use the
printer you just set up on the print server.
d.
Verify connectivity to the printer.
Scanning, Copying, or Faxing with the Print Server
Before performing a task that requires manual intervention, such as scanning, copying, or
faxing, use the SmartWizard to make the printer available to other PCs in your network.
1.
Click the
icon in the System tray to open the SmartWizard.
2.
Click the Reserve button.
3.
Then scan/copy/fax from your application as you would to a directly connected
printer.
4.
When you have finished, click Release to make the printer available to other PCs in
your network.
Advertisement
Table of Contents

Summary of Contents for NETGEAR PS121v2
- Page 1 Scanning, Copying, or Faxing with the Print Server Before performing a task that requires manual intervention, such as scanning, copying, or faxing, use the SmartWizard to make the printer available to other PCs in your network. Click the icon in the System tray to open the SmartWizard.
-
Page 2: Troubleshooting Tips
The router is using a DHCP server, and the Print Server gets an IP Address conflict This can happen if the PS121v2 is set to a static IP Address in the range used by the DHCP server. Make sure that you reserve the PS121v2 IP address in your router. If you are using a NETGEAR router, see the Reference Manual on the Resource CD.


Need help?
Do you have a question about the PS121v2 and is the answer not in the manual?
Questions and answers