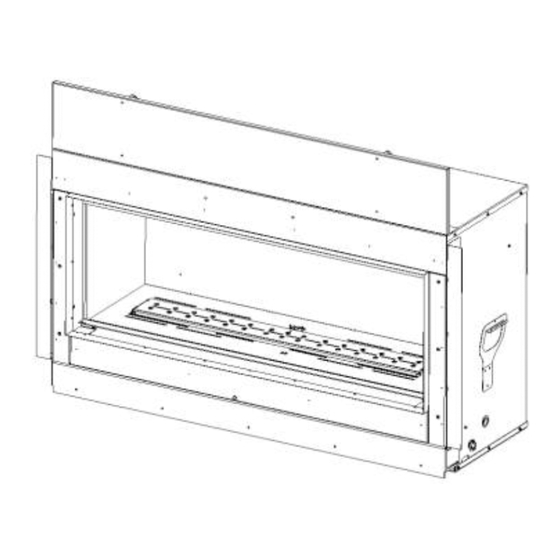
Mendota ML47 Installation Instructions Manual
Hide thumbs
Also See for ML47:
- Installation instructions (5 pages) ,
- Installation and operating instructions manual (97 pages) ,
- Assembly, installation and operating instructions (90 pages)
Advertisement
Quick Links
ML47 PANORAMIC LINER AND FLOOR
PANEL SET -
LIST OF PARTS INCLUDED
QTY.
1
PANORAMIC LINER
2
FLOOR PANEL
Other materials required but not included: GLASS CLEANER
SOLUTION FOR CLEANING REFRACTORY FINISH.
Open this package and identify the parts included with the Panoramic Liner and Panel Kit. If any parts are missing,
contact your Mendota Dealer before proceeding with this installation and obtain the missing parts.
Note: This kit contains a One-Piece Panoramic Liner and a matching color Floor Panel coated with porcelain. Be Careful
not to scratch, crack, or chip the panels!
CAUTION: The Panoramic Liner should be considered as Glass and should be handled with care to prevent
cracking or chipping.
Page 1 of 6
85-03-00924
INSTALLATION INSTRUCTIONS
DESCRIPTION
General Cleaning & Maintenance: Spray a glass
cleaner solution on a dry soft cloth and wipe the
Panoramic panel surfaces to remove any dirt and
finger prints from the surface. DO NOT use an
abrasive cleaner or a cleaner that contains ammonia.
TOOLS REQUIRED
Door Removal Tool
(Supplied with fireplace)
¼" HEX DRIVER
PILOT
CLEARANNCE
CUTOUT
Installation Instructions
Advertisement

Subscribe to Our Youtube Channel
Summary of Contents for Mendota ML47
- Page 1 Open this package and identify the parts included with the Panoramic Liner and Panel Kit. If any parts are missing, contact your Mendota Dealer before proceeding with this installation and obtain the missing parts. Note: This kit contains a One-Piece Panoramic Liner and a matching color Floor Panel coated with porcelain. Be Careful...
-
Page 2: To Remove Door
ML47 PANORAMIC LINER AND FLOOR PANEL SET - INSTALLATION INSTRUCTIONS Instructions TO REMOVE DOOR 1. Use the glass latch tool to disconnect the spring latches from the glass frame. Insert tool into hole in latch, pull towards you and Rotate 90 degrees to disengage top latches. Remove tool. There are two spring latches on top of this gas fireplace. - Page 3 ML47 PANORAMIC LINER AND FLOOR PANEL SET - INSTALLATION INSTRUCTIONS After removing the Door, Place the Floor Panel over the Burner, with cutout toward the back for the Pilot Assembly. Page 3 of 6 85-03-00924 Installation Instructions...
- Page 4 ML47 PANORAMIC LINER AND FLOOR PANEL SET - INSTALLATION INSTRUCTIONS Remove the Light Cover Bracket and (2) Screws that hold it in, before installing the Panoramic Liner. Once the Light Cover Bracket is removed, the Panoramic Liner is ready to be installed.
- Page 5 ML47 PANORAMIC LINER AND FLOOR PANEL SET - INSTALLATION INSTRUCTIONS Slide the Panoramic Liner in halfway then tilt the backside up to clear the Pilot Assembly. Slide Liner all the way to the back. Take extreme care not to damage pilot hood, sparker rod or flame sensor hook.
-
Page 6: To Replace Door
ML47 PANORAMIC LINER AND FLOOR PANEL SET - INSTALLATION INSTRUCTIONS TO REPLACE DOOR 1Identify small tabs that protrude downward on the bottom left and right corners of glass frame. Identify a rectangle slot on the bottom right and left corners of firebox opening sides.


Need help?
Do you have a question about the ML47 and is the answer not in the manual?
Questions and answers