Table of Contents
Advertisement
Quick Links
Advertisement
Table of Contents

Related Manuals for Akai CE2000


Summary of Contents for Akai CE2000
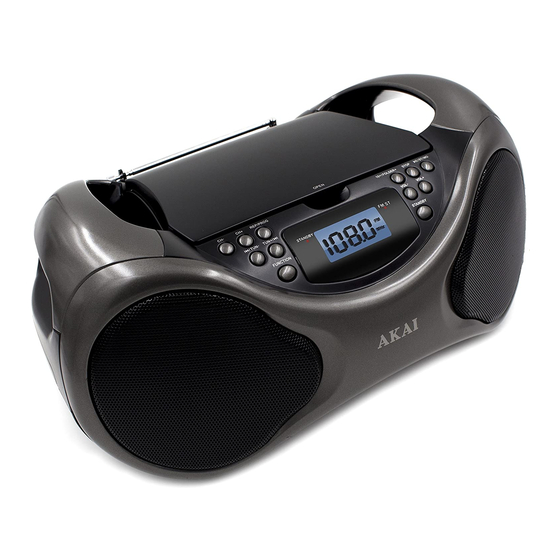
- Page 1 CD Boombox with AM/FM Digital Readout Radio INSTRUCTION MANUAL CE2000 Thank you for purchasing this CD Boombox. Please read this instruction manual carefully before using this product to ensure proper use. Keep this manual in a safe place for future reference.
-
Page 2: What's In The Box
WHAT’S IN THE BOX Contents 1. CE2000 CD Boombox 2. AC Power Cord 3. Instruction Manual 4. Warranty Card If you are missing any parts above, please contact ADT Digital LLC. Tel: 561 922 6886 Fax: 561 922 6159... - Page 3 ICES-3(b). unit Cet appareil numérique de la classe B est conforme à la norme NMB-3(b) du Canada.
- Page 4 FCC AND CANADIAN ICES NOTE: This equipment has been tested and found to comply with the limits for a Class B digital device, pursuant to part 15 of the FCC Rules. These limits are designed to provide reasonable protection against harmful interfer- ence in a residential installation.
- Page 5 WARNINGS: • To reduce the risk of fire or electric shock, do not expose this apparatus to rain or moisture. Avertissement: pour réduire le risque d’incendie ou de choc électrique, ne pas exposer cet appareil sous la pluie et l’humidité. •...
-
Page 6: Control Location
CONTROL LOCATION FRONT VIEW ROD ANTENNA CD DOOR DISPLAY OPEN AREA (Positive LCD) SPEAKER SPEAKER (Right Side) (Left Side) CONTROL PANEL POWER INDICATOR FM ST. INDICATOR PROGRAM BUTTON PLAY / PAUSE BUTTON BASS SWITCH STOP BUTTON REPEAT BUTTON SKIP BUTTONS... -
Page 7: Rear Side View
CONTROL LOCATION REAR SIDE VIEW BATTERY LEFT SIDE VIEW RIGHT SIDE VIEW... -
Page 8: Power Connection
POWER CONNECTION Connecting AC Power Connect the small end of AC cord to the socket at the back of the main unit and insert the plug of AC cord into standard AC wall outlet. Caution: The unit is designed to operate from mains supply of AC 120V~60Hz. If the plug of AC cord does not fit properly, try to turn it over and try again. -
Page 9: Battery Precautions
BATTERY PRECAUTIONS The precautions below should be followed when using batteries in this device: 1. Use only the size and type of batteries specified. 2. Be sure to follow the correct polarity when installing the batteries as indicated in the battery compartment. -
Page 10: Main Operation
MAIN OPERATION Switching On for the first time Plug into AC power or install batteries by following instructions on the previous Power Connection section. Slide the FUNCTION switch to RADIO or CD/AUX position The POWER indicator will be lighted up. Switching between different sources (Radio –... -
Page 11: Stop Playback
3. Hold the CD disc by its edge with CD graphical side facing up and put it onto the CD compartment after the CD door is opened. Make sure that the disc label is facing up. 4. Close the CD door and make sure no AUX-in device is plugged. CD playback After loading the disc, the disc will begin spinning and the total number of the tracks on the disc will be shown on the display. -
Page 12: Radio Operation
Programmed CD playback This unit can be programmed to play up to 20 tracks in CD mode. Load the music CD disc onto the CD compartment (without pressing the “PLAY/PAUSE”button) 1. Press PROGRAM button once in the stop mode. “P01” will be shown on the display and blinking. -
Page 13: Aux In Operation
AUX IN OPERATION Setting up (AUX IN) connection AUX IN jack will allow you to connect external music player or external sound source to the main unit. 1. Slide the FUNCTION switch on the side of the unit to select CD/AUX mode. 2. -
Page 14: Care And Maintenance
CARE AND MAINTENANCE Carrying for Compact Discs 1. Treat the disc carefully. Handle the disc only by its edges. Never allow your fingers to come in contact with the shiny, unprinted side of the disc. 2. Do not attach adhesive tape, stickers, etc. to the disc label. -
Page 15: Troubleshooting
TROUBLE SHOOTING If a fault occurs, first check the points listed below before taking the set for repair. If you are unable to remedy a problem by following these hints, consult your dealer or service center. WARNING: Under no circumstances should you try to repair the set yourself, as this would invalidate the guarantee.
Need help?
Do you have a question about the CE2000 and is the answer not in the manual?
Questions and answers