
Related Manuals for Clarke BC125


Summary of Contents for Clarke BC125
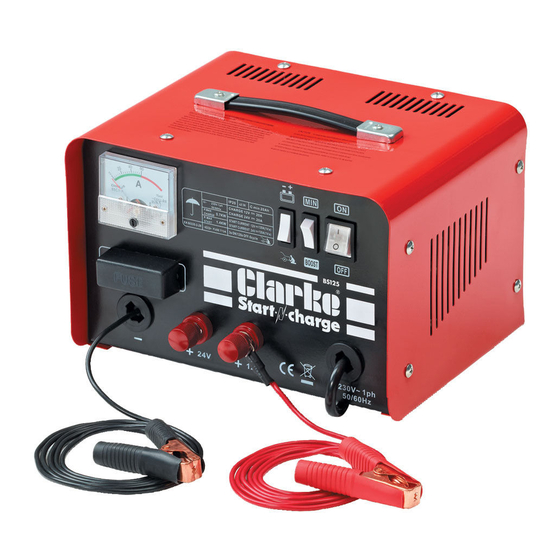
- Page 1 BATTERY STARTER/CHARGER MODEL NO: BC125, BC190 PART NO: 6210125, 6210200 OPERATION & MAINTENANCE INSTRUCTIONS LS0714...
-
Page 2: Environmental Recycling Policy
Battery Charger will give you long and satisfactory service. GUARANTEE This CLARKE product is guaranteed against faulty manufacture for a period of 12 months from the date of purchase. Please keep your receipt as proof of purchase. -
Page 3: Safety Precautions
SAFETY PRECAUTIONS WARNING: BECAUSE HIGHLY INFLAMMABLE HYDROGEN GAS IS RELEASED IN THE PROCESS OF BATTERY CHARGING, ALWAYS REMEMBER TO SWITCH OFF FIRST AND SO AVOID SPARKING, WHICH WILL OCCUR WHEN CONNECTING OR DISCONNECTING LIVE LEADS. WARNING: CERTAIN TYPES OF SEALED OR MAINTENANCE-FREE BATTERIES NEED EXTRA CARE WHEN CHARGING. -
Page 4: Electrical Connections
ELECTRICAL CONNECTIONS WARNING: READ THESE ELECTRICAL SAFETY INSTRUCTIONS THOROUGHLY BEFORE CONNECTING THE PRODUCT TO THE MAINS SUPPLY. Before switching the product on, make sure that the voltage of your electricity supply is the same as that indicated on the rating plate. This product is designed to operate on 230VAC 50Hz. -
Page 5: Specifications
OVERVIEW SPECIFICATIONS BC125 BC190 Input Voltage 230V AC @ 50 Hz 230V AC @ 50 Hz Max Rated Output Current Charging 20 Amps Charging 38 Amps Starting 120 Amps Starting 180 Amps Open Circuit Voltage 12V/24V 10.05 / 22.54 Volts 10.63 / 23.76 Volts... -
Page 6: To Charge The Battery
TO CHARGE THE BATTERY NOTES ON CHARGING PROCEDURE WARNING: NEVER ATTEMPT TO RE-CHARGE NON-RECHARGEABLE BATTERIES. CAUTION: When charging a car battery in situ, we recommend that the non earthed lead on the battery is disconnected prior to charging (On most vehicles, this would be the RED, Positive lead - but check the vehicle handbook if you are unsure). -
Page 7: Connecting To The Battery
CONNECTING TO THE BATTERY 4. Connect the RED clamp to the positive (+) terminal. 5. Connect the BLACK clamp to the chassis (or a suitable engine bolt) away from the battery and fuel line. WARNING: IF THE LEADS ARE CONNECTED TO THE WRONG TERMINALS, A FLASH WILL OCCUR WHEN THE SECOND CLAMP IS CONNECTED. -
Page 8: Procedure For Engine Starting
PROCEDURE FOR ENGINE STARTING NOTE: Make sure that the battery cells are filled with electrolyte to the correct level by adding distilled water. We recommend that before attempting to boost start, you charge the battery for 10-15 minutes. This will improve the chance of a first time start, particularly with bigger engines. -
Page 9: Declaration Of Conformity
DECLARATION OF CONFORMITY Parts & Service: 020 8988 7400 / E-mail: Parts@clarkeinternational.com or Service@clarkeinternational.com... -
Page 10: Parts Diagram
PARTS DIAGRAM Parts & Service: 020 8988 7400 / E-mail: Parts@clarkeinternational.com or Service@clarkeinternational.com... -
Page 11: Parts List
PARTS LIST ESCRIPTION Rubber Feet WW (Model No) 01 Front And Back Casing WW (Model No) 02 Piezo-resistor WW (Model No) 03 Resistor WW (Model No) 04 Transformer WW (Model No) 05 Rubber WW (Model No) 06 On-off Switch WW (Model No) 07 Switch WW (Model No) 08 Plug Wire...
Need help?
Do you have a question about the BC125 and is the answer not in the manual?
Questions and answers