Table of Contents
Advertisement
Quick Links
Thank you for purchasing this Clarion product.
∗ Please read this Owner's manual and Installation manual in its entirety before proceeding with wire
connection and installation.
∗ After reading this manual, be sure to keep it in a handy place (e.g., glove compartment).
If you sell the motor vehicle, please leave the manual in it so that the new owner can use it.
∗ Read the contents of the enclosed warranty card and keep it with this manual.
Contents
1. PRECAUTIONS .............................................................................................................................. 2
2. FEATURE ........................................................................................................................................ 3
3. CAUTIONS ON HANDLING ............................................................................................................ 4
Cleaning .......................................................................................................................................... 4
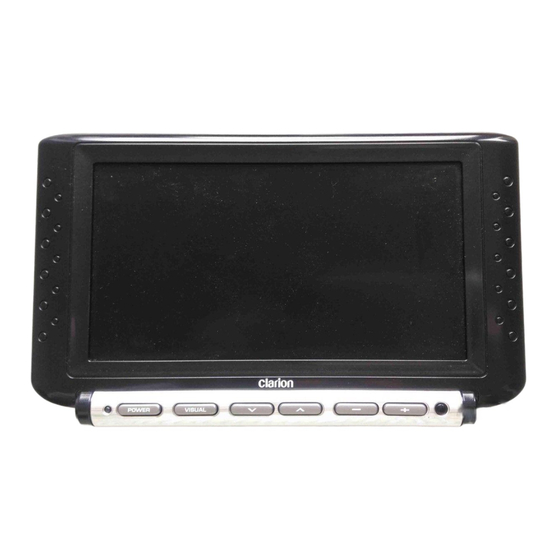
4. NAMES OF PARTS AND THEIR FUNCTIONS .............................................................................. 5
Display Unit ..................................................................................................................................... 5
5. OPERATIONS ................................................................................................................................. 6
Turning the power ON/OFF ............................................................................................................. 6
Adjusting the volume of the monitor speaker .................................................................................. 6
Changing settings ............................................................................................................................ 6
6. TROBLESHOOTING ....................................................................................................................... 9
7. SPECIFICATIONS ......................................................................................................................... 10
1. PRECAUTIONS
1. This set is for use in DC 12V, negative
ground vehicles. Be sure to consult your
store of purchase or a Clarion-designated
service outlet before installing it on DC 24V
cars.
2. Do not operate the set in ways other than
described in this manual. Doing so may
damage it.
3. For your safety, the driver should not watch
the TV or operate the controls while driving.
Please note that watching and operating the
TV while driving are prohibited by law in
some countries. Also, while driving, keep the
volume to a level at which external sounds
can be heard.
4. Be careful not to run down the car battery
while using the set with the car stopped.
5. Do not disassemble or modify the set. Doing
so may damage it.
6. Keep drinks and water drops from umbrellas
away from the set. Water may damage the
internal circuitry.
2
VMA643
7. Do not let lit cigarettes or other hot objects
touch the set. Doing so may damage or
deform the cabinet.
8. Do not let the set become hot. If the
temperature in the car is high or if the set
has been exposed to direct sunlight and is
hot, lower the temperature before using it.
(The LCD panel will work properly within a
temperature range of 0°C to 40°C.)
9. In extremely cold temperatures, the
movement of the picture may be slow and
the picture may be dark, but this is not a
malfunction. The set will work normally once
the temperature increases.
10. Small black and shiny dots inside the liquid
crystal panel are normal for liquid crystal
products.
Advertisement
Table of Contents

Subscribe to Our Youtube Channel
Related Manuals for Clarion VMA643


Summary of Contents for Clarion VMA643
-
Page 1: Velcro Tape A
Thank you for purchasing this Clarion product. ∗ Please read this Owner’s manual and Installation manual in its entirety before proceeding with wire connection and installation. ∗ After reading this manual, be sure to keep it in a handy place (e.g., glove compartment). -
Page 2: Feature
MONITOR AND TUNER MUST BE INSTALLED AND USED ONLY IN ACCORDANCE WITH THESE INSTRUCTIONS. FAILURE TO DO SO MAY CAUSE DAMAGE TO THE VEHICLE OR THE MONITOR, MAY RESULT IN AN ACCIDENT, AND MAY VIOLATE THE LAW. CLARION DISCLAIMS ANY LIABILITY FOR ANY DAMAGES THAT MAY RESULT FROM A FAILURE TO INSTALL AND USE THIS UNIT AS STATED IN THESE INSTRUCTIONS. -
Page 3: Cautions On Handling
Do not use benzine, paint thinner, car cleaner, etc., as these substances may damage the cabinet or cause the paint to peel. Also, leaving rubber of plastic products in contact with the cabinet for long periods of time may cause stains. VMA643... -
Page 4: Self-Tapping Screws
• Each press of this button toggles between control. the screen modes. NAVI • Holding down this button for about one second turns the setup screen ON and OFF. (search) buttons Selects the setting item in the setup screen. VMA643... -
Page 5: Turning The Power On
• BRIGHT This item can be adjusted for each of the NAVI and VTR modes. • HUE/COLOR This item can be adjusted only when the parking break is pulled up when the screen is in the VTR mode. VMA643... - Page 6 TV screen in the F.WIDE mode, part of the periphery of the image may not be visible or may appear deformed. Images can be viewed as originally intended by the producer in the NORMAL mode. VMA643...
- Page 7 WIDE mode Images at the left and right sides of the screen are elongated horizontally. VMA643...
-
Page 8: Trobleshooting
A probable cause is influence from cars, trains, high- appear in images. voltage lines, or neon signs. Change the location, and then check again. No sound Insufficient volume adjustment A probable cause is that the volume is set to minimum. Check the volume level again. VMA643... -
Page 9: Specifications
7. SPECIFICATIONS General Display Unit (with TV stand) Model No.: VMA643 Liquid crystal panel : 6.5" Type : Liquid crystal color monitor unit Screen dimensions : Width: 146.7 mm (5-13/16") Power supply voltage : Height: 79.1 mm (3-1/8") DC 13.2V (exclusively for a 12V car) Diagonal display size: 167 mm (6.5") -
Page 10: Table Of Contents
If you drop anything benzine, or alcohol, etc. For tough dirt, apply into the unit during installation, consult your a little cold or warm water to a soft cloth and dealer or an authorized CLARION service wipe off the dirt gently. centre. VMA643... -
Page 11: Installation
• Bend the stand base so that it contact-fits the profile of the attachment surface. Gaps in the attachment may cause the stand base to come away from the attachment surface. • Do not remove the peel-off sheet from the attachment surface. VMA643... - Page 12 • Before attaching the stand base, be sure to wipe the attachment surface clean. adjustment screw, and • After attaching the stand base, press down adjust the front/ hard so that the stand base is firmly attached to the attachment surface. back and left/ right angles. VMA643...
- Page 13 Align Velcro tape A and Velcro tape B, and fasten the control box in place. Control Box Note: • Vibration sometimes causes the monitor stand screws to become loose. Periodically inspect and re-tighten any loose screws. Velcro tape A Velcro tape B VMA643...
-
Page 14: Wire Connections
Illumination power lead ACC Power source input lead (DC 12V) CCA 389 Use a 3A fuse only sold separatery Display unit Note: DVD changer • When CCA389 is used for wiring, do not use the VCZ628, etc. VISUAL terminal. VMA643... - Page 15 2 Connect the crimp-style connector to the the parking brake connection lead. power source side lead of the parking brake switch. Pass through up to this point Parking brake connection Power source side parking lead (light green) brake switch lead VMA643...
-
Page 16: Cautions On Wiring
4. To replace the fuse, release the catch on the main unit side, remove the old fuse and insert the new one. Fuse Fuse holder * Power supply lead for the main unit: 3A FUSE VMA643...
Need help?
Do you have a question about the VMA643 and is the answer not in the manual?
Questions and answers