Table of Contents
Advertisement
Quick Links
Advertisement
Table of Contents

Related Manuals for Formax AutoSeal FD 2052


Summary of Contents for Formax AutoSeal FD 2052
- Page 1 FD 2052 AutoSeal ® OPERATOR MANUAL FOURTH EDITION 12/2007...
-
Page 2: Table Of Contents
TABLE OF CONTENTS DESCRIPTION SPECIFICATIONS UNPACKING AND SET-UP 1 - 2 CONTROLS OPERATION CUSTOM FOLDS 3 - 4 Measuring Fold Lengths Custom Fold programming BATCH COUNTING 4 - 5 DAILY MAINTENANCE TROUBLESHOOTING 6 - 7 DETERMINING FOLD TYPE TEST SHEET OPTIONAL CONVEYOR INSTALLATION... -
Page 3: Description
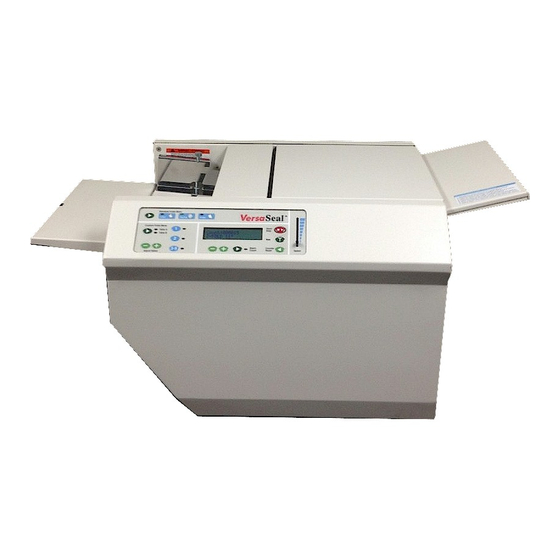
DESCRIPTION Top Cover Upper Fold Plate Paper Side Guides Feed Table Lower Fold Plate Side Cover Optional 18” Conveyor FUNCTION The 2052 folds and seals pressure sensitive forms with pre-applied glue lines into mail-ready pieces. Numerous folds using several different paper sizes can be processed to meet your needs. For configurations and paper sizes, see specifications. -
Page 4: Controls
LOWER FOLD TABLE UPPER FOLD TABLE Figure 2a Figure 2b 5. Install the lower fold table and plug the cord (figure 2a) into the fold plate receptacle. 6. Install the upper fold table and plug the cord (figure 2b) into the fold plate receptacle. 7. -
Page 5: Operation
OPERATION 1. Plug in cord and turn power on. 2. Lift load handle. 3. Load neatly stacked and squared paper into the hopper. 4. Adjust the side guides until they make light contact with the squared paper edges. 5. Make sure covers are closed properly. 6. -
Page 6: Custom Fold Programming
Select the custom fold number you want to program. Press the green button next to the Table A and Table B lights. Note: The display will read “Tbls A: #.## B: #.## CUSTOM #”. Table A adjusts the upper fold plate. Table B adjusts the lower fold plate. -
Page 7: Daily Maintenance
2. If toner builds up on the metal sealer rollers, clean the rollers with a lint-free cloth dampened sparingly with a mild household cleaner. 3. Clean in-feed wheels and fold rollers with Formax recommended roller cleaner & rejuvenator to remove paper dust and toner. A damp cloth with water is the best alternative. CAUTION: Do not use any chemicals... -
Page 8: Troubleshooting
TROUBLESHOOTING A. Clearing Paper Jams and Fault Signals on the Display Panel: WARNING: Turn off machine and unplug cord from its receptacle. 1. If a jam occurs in a fold table, unplug and remove the fold table and remove paper. Reinstall and plug in fold table and then press the counter reset button on the control panel to clear the fault signal. - Page 9 D. Machine Plugged in, no Power: 1. Turn machine on. 2. Check wall outlet. 3. Press the circuit breaker (figure 5). 4. If the display screen on the control board is not on, then check the green power light on the power board. To view the green power light, open the operator side cover and look though the air slots in view of the power board.
-
Page 10: Determining Fold Type
DETERMINING FOLD TYPE Two Standard Folds 11” “Z” & 11” “C” Refer to Operator Manual for custom fold setup. Leading glue edge Glue Glue 11” “Z” Fold 11” “Z” Fold Leading glue edge Glue Glue 11” “C” Fold 11” “C” Fold... -
Page 11: Test Sheet
Leading Edge Make copies of this page on copy paper for fine tuning folds Instruction For Lining Up Folds 1. Place a stack of these sheets into the feeder and fold one (1) or two (2) sheets. Fold “A” Fold “B”... -
Page 12: Optional Conveyor Installation
OPTIONAL CONVEYOR INSTALLATION To install the 18” conveyor, follow these steps: 1. Unplug the 2052 from the wall outlet. 2. Remove the catch tray from machine. 3. Remove the upper fold table. 4. Plug the power cord into the underside of the conveyor. 5.
Need help?
Do you have a question about the AutoSeal FD 2052 and is the answer not in the manual?
Questions and answers