Table of Contents
Advertisement
Quick Links
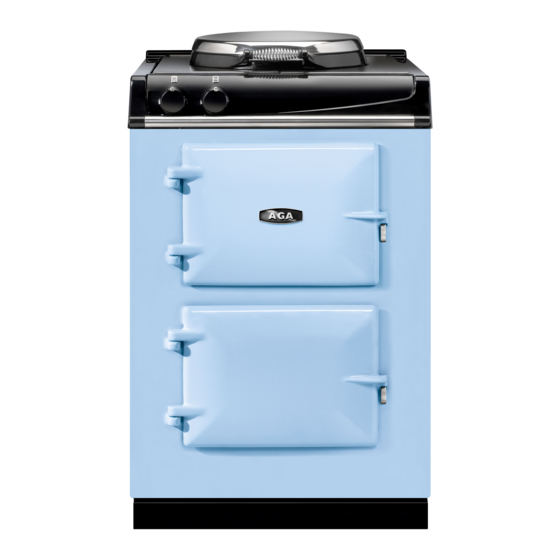
AGA CITY60 (CONTEMPORARY)
AGA CITY60 (TRADITIONAL)
AGA CITY60 CONTEMPORARY
AGA CITY60 TRADITIONAL
Installation
uide
REMEMBER: when replacing a part on this appliance, use only spare parts that
you can be assured conform to the safety and performance specification that we
require. Do not use reconditioned or copy parts that have not been clearly autho-
rised by AGA.
PLEASE READ THESE INSTRUCTIONS BEFORE COMMENCING SITE SURVEY
OR INSTALLING THIS APPLIANCE.
For use in Australia
05/15 EINS 516941
Advertisement
Table of Contents

Related Manuals for AGA CITY60 CONTEMPORARY


Summary of Contents for AGA CITY60 CONTEMPORARY
- Page 1 AGA CITY60 (CONTEMPORARY) AGA CITY60 (TRADITIONAL) AGA CITY60 CONTEMPORARY AGA CITY60 TRADITIONAL Installation uide REMEMBER: when replacing a part on this appliance, use only spare parts that you can be assured conform to the safety and performance specification that we require.
-
Page 2: Table Of Contents
CONTENTS SECTION PAGE HEALTH AND SAFETY INSTALLATION REQUIREMENTS REMOVAL FROM PALLET AND COOKER INSTALLATION 4 - 5 APPLIANCE DIMENSIONS CLEARANCES 7 - 8 POWER SUPPLY MAINS CABLE ROUTING CONTROL KNOB AND HANDRAIL CONNECTION WIRING DIAGRAM AGA CITY60 CHECKLIST... -
Page 3: Health And Safety
PLEASE READ THE ACCOMPANYING WARRANTY Any alteration that is not approved by AGA could invalidate the approval of the appliance, operation of the warranty and could also affect your statutory rights. INSTALLATION REQUIREMENTS THIS APPLIANCE MUST ONLY BE INSTALLED BY COMPETENT ENGINEERS WHO HAVE BEEN SPECIFICALLY FACTORY TRAINED ON THE PRODUCT AND WHO HAVE THE APPROPRIATE EQUIPMENT. -
Page 4: Removal From Pallet And Cooker Installation
REMOVAL FROM PALLET AND COOKER INSTALLATION Removing of transit brackets - Unscrew 4 screws and NOTE: Care must be taken not to trap mains cable. remove brackets, from front and two screws from rear. MAINS CABLE Appliance to be removed from rear of pallet only. - Page 5 REMOVAL FROM PALLET AND COOKER INSTALLATION Appliance can now be pushed back on its wheels into Levelling of appliance - Use 13mm socket to adjust desired position. wheel mechanism for FINE adjustment on both sides at rear of the appliance. NOTE: Care must be taken not to trap mains cable.
-
Page 6: Appliance Dimensions
APPLIANCE DIMENSIONS - AGA CITY60 Fig. 9 DESN 516872 APPLIANCE WEIGHT (Excludes Packaging) Model: AGA CITY60 - 223kg... -
Page 7: Clearances
Side Clearances If you are installing a AGA City60 in a new kitchen or have the opportunity to set the width between kitchen units, it is advisable to include an additional small gap each side of 3mm to assist with installation and prevent damage when moving the product. -
Page 8: Clearances
Combustible Rear Walls Since this appliance can be used continuously, please take note of the IMPORTANT INSTRUCTIONS. Where the rear wall is constructed of combustible materials (such as all-timber or stud wall partitions and batoned plasterboard) these will require special wall heat protection measures. Non-combustible insulation board as a protective cladding can be used behind the cooker of at least 15mm thick, such as Monolux or equivalent. -
Page 9: Power Supply
POWER SUPPLY WARNING: THIS APPLIANCE MUST BE EARTHED. THIS APPLIANCE IS DESIGNED FOR THE VOLTAGE STATED ON THE RATING PLATE, WHICH IS SITUATED BEHIND THE PLINTH COVER. A 1PH 32 amp 230V or 3PH 400V minimum 16A per phase ~ 50 Hz fused electrical supply is required adjacent to the appliance. -
Page 10: Mains Cable Routing
MAINS CABLE ROUTING SECURE MAINS CABLE USING ‘P’ CLIPS FOR LEFT HAND OR RIGHT HAND CABLE MANAGEMENT NOTE: If timer kit is fitted use the cable tie provided in timer kit to secure timer cable to mains cable. Fig. 10 DESN 516873 WORKTOP THE MAINS SUPPLY MUST BE WITHIN THE ZONES SHOWN... -
Page 11: Control Knob And Handrail Connection
Control Knob Location Ensure control knobs are located onto spindles correctly, as shown in Fig 12. Handrail Location - AGA City 60 (Traditional) Locate handrail onto spindle, lock into position with grub screws (located on the inside of the bracket). -
Page 12: Wiring Diagram
WIRING DIAGRAM Fig. 13... -
Page 13: Aga City60 Checklist
AGA CITY60 CHECKLIST SERIAL No. Tick Box Check hotplate lid and setting Check oven door seals, adjust door alignment if necessary. Simmering oven rope seals MUST have a gap between the door hinges. The Roasting Oven is fitted with a continuous seal. - Page 16 With AGA Rangemaster’s policy of continuous product improvement, the Company reserves the right to change specifications and make modifications to the appliance described and illustrated at any time Manufactured by AGA Rangemaster Station Road Ketley Telford Shropshire TF1 5AQ England www.AGAaustralia.com.au...
Need help?
Do you have a question about the CITY60 CONTEMPORARY and is the answer not in the manual?
Questions and answers