Table of Contents
Advertisement
Quick Links
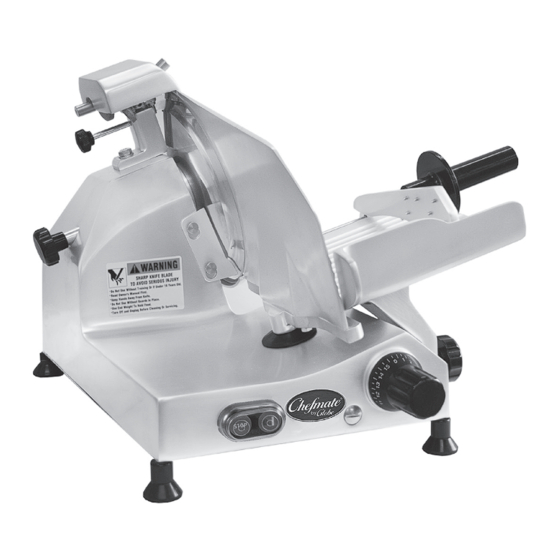
Instruction Manual for Globe Slicer
Models:
For Service on Your Slicer:
1. Visit our website at www.globefoodequip.com
2. Or call the Globe Service Department at 937-299-8625 and ask for contact
information for your local service company.
Visit our website for information on additional products available from Globe.
www.globefoodequip.com
Slicers, Mixers, Countertop Cooking Equipment, Meat Choppers & Scales
- IMPORTANT SAFETY NOTICE -
This manual contains important safety instructions that
must be strictly followed when using this equipment.
WARRANTY REGISTRATION
SCAN THE QR CODE WITH YOUR MOBILE DEVICE OR GO TO
WWW.GLOBEFOODEQUIP.COM
TO FILL OUT AND SUBMIT YOUR WARRANTY REGISTRATION.
www.globefoodequip.com/support/warranty-registration-form
Model C12
C9, C10, and C12
Model #:
Serial #:
2010
Advertisement
Table of Contents


Need help?
Do you have a question about the C9 and is the answer not in the manual?
Questions and answers