
Related Manuals for JBL Control 12C-VA


Summary of Contents for JBL Control 12C-VA
-
Page 1: Installation Guide
Control 10C-VA Series Ceiling Loudspeakers Control 12C-VA, Control 14C-VA, and Control 16C-VA Owner’s Manual & Installation Guide Rev A... -
Page 2: Table Of Contents
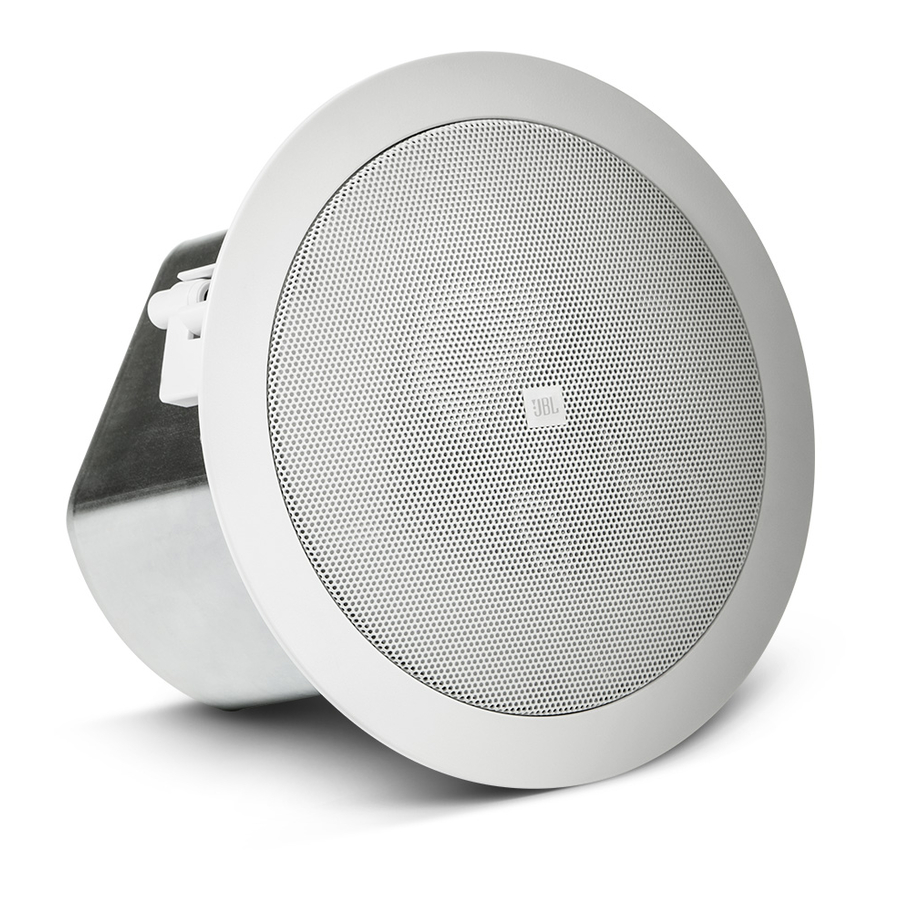
EN54-24 certi ed ceiling loudspeakers utilize innovative design and materials to provide premium level performance from compact in-ceiling speakers. CONTROL 12C-VA – A 3” (75 mm) full-range driver to provide high- delity full-range sound over an extremely wide coverage area. -
Page 3: Installation Preparations
Control 16C-VA MTC-26NC MTC-26MR (typically gypsum board) ceiling, JBL’s optional pre-installation brackets can be installed before the sheetrock is installed. pre-installation bracket provides a bracket to which wiring can be tied behind the sheetrock. It can function as a cutout tem-... - Page 4 Additional Suspended Ceiling Installation Information Step 1 – Cut the Hole in the Ceiling Material. Cut- Tile Rails: e tile rails are designed to t either standard out the circular hole to the cutout hole size listed above. Pull 24-inch wide tiles or 600-mm wide tiles. e tile rail piec- the wiring through the cutout hole.
- Page 5 Make sure the gland nut tting is a xed and tightened in the proper knock-out location (add a second gland nut to the other knock-out location if two glands nuts are desired). Slide the wire through the gland nut (do not tighten the gland nut onto the wire yet).
- Page 6 Step 6 – Insert Speaker into Ceiling & Tighten– Step 5 – Re-attach Terminal Cover Plate and sert the speaker into the ceiling as far as it goes, until the front Tighten Gland Nut Slide the wire through the gland nut ba e rim touches the ceiling.
-
Page 7: Painting The Speaker
Painting the Speaker A tab is provided on the back of each speaker for connection to an independent secondary support point. Some construc- tion codes require using this secondary support point, which For EN54 Applications -- Painting is not allowed for EN54 requires connecting a support line to a separate secure support applications, under the general requirements for EN54-certi ed point on the building structure. -
Page 8: Safety Agency Compliance
3. Listed UL1480-6 Speakers for Fire Protective Signaling Systems. SUITABLE FOR USE IN AIR HANDLING SPACES. Warranty & Contacting JBL e C-VA models -- Control 12C-VA, Control 14C-VA and Con- trol 16C-VA are certi ed per EN54-24 ese products are designed and backed by JBL Professional, the world leader in sound reinforcement. -
Page 9: Product Speci Cations
Contribution of Each One- ird Octave Frequency Band when Speaker is Driven Control 12C-VA at Full Volume, measured at 4 meter dis- Components: 76 mm (3 in) full-range driver tance (req’ d in this manual by EN54-24) Frequency Range...
Need help?
Do you have a question about the Control 12C-VA and is the answer not in the manual?
Questions and answers