Table of Contents
Advertisement
Quick Links
Advertisement
Table of Contents

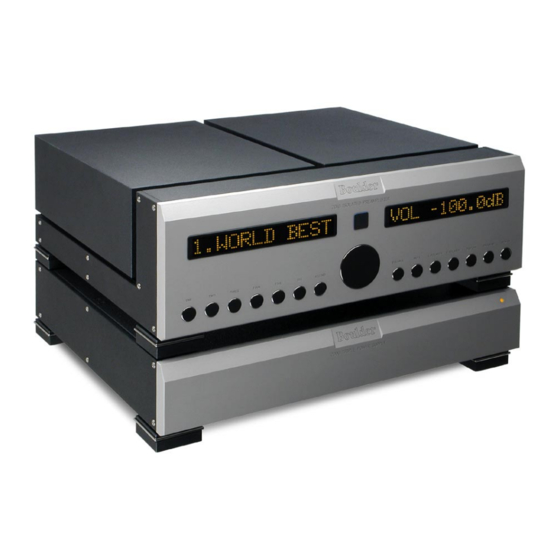
Summary of Contents for Boulder 2010
- Page 2 Boulder 2010 Isolated Preamplifier Owners Manual V1.1 1/15/98...
-
Page 3: Table Of Contents
Placement of the 2010 Preamplifier ........ - Page 4 PROGRAMMING Inputs ..............4-1 Volume Control .
-
Page 5: Getting Started
GETTING STARTED PLACEMENT OF THE 2010 PREAMPLIFIER Your Boulder 2010 Preamplifier is designed to reduce interference from external magnetic and radio fields (RF). While placement is not critical, known magnetic fields should be avoided. Line of sight from the listening position is necessary for the remote control to function properly. -
Page 6: Connecting The Power Supply To The Main Chassis
CONNECTING THE POWER SUPPLY TO THE MAIN CHASSIS Your Boulder 2010 Preamplifier is supplied with a Boulder 2000 Triple Power Supply. Each of the three sup- plies is independent of the others except for the front panel LED which confirms correct power supply operation of all three supplies. -
Page 7: Connecting To The Mains Outlet
CONNECTING TO THE MAINS OUTLET Your 2000 Power Supply is supplied with a mains cord suitable to the loca- tion where it was purchased. One of the features of the 2000 is its universal automatic voltage-selecting power supply. Simply plug it into any standard outlet. (Exact voltage and fre- quency compatibility is stated in the specifications section.) GETTING STARTED... -
Page 8: Connecting A Balanced Source
CONNECTING A BALANCED SOURCE To fully realize the sonic potential of your 2010 Preamplifier, use balanced connections whenever possible. Balanced cables reduce interference from magnetic and RF sources to an absolute minimum. The Boulder series XXXX Balanced Cables will give the best performance possible. -
Page 9: Connecting An Unbalanced Source
(pin 3) wired to ground at the RCA phono connec- tor. This brings the minus input reference of the 2010 to the unbalanced source ground, thus reducing ground loops to a minimum for an unbalanced source. -
Page 10: Connecting To A Balanced Input Amplifier
CONNECTING TO A BALANCED INPUT AMPLIFIER With your 2010 Preamplifier’s balanced output driving a balanced input power amplifier, you can take sonic advantage of short speaker cables and cor- respondingly longer input cables. With the 2010’s low output impedance, dis-... -
Page 11: Connecting To An Unbalanced Input Amplifier
CONNECTING TO AN UNBALANCED INPUT AMPLIFIER The Boulder series XXXX Output Adapting Cables may be used to connect the balanced preamplifier outputs to an unbalanced amplifier input. This cable connects pin 1 to the shield and pin 2 to the center pin. It leaves the out- put pin 3 unconnected. -
Page 12: Powering Up
OPERATION POWERING UP With all your connections made, you are ready to listen to your Boulder 2010 Preamplifier. Push on the upper portion of the rocker switch on the rear panel of the 2000 Triple Power Supply. The indicator on the supply will first turn red, then amber. -
Page 13: Input Selections
INPUT SELECTIONS Select an input by pressing one of the pushbuttons labeled ONE through SIX. The respective input will be displayed in the left display and that signal will be routed to the main output. For example, if input one is chosen, “1. INPUT 1”... -
Page 14: Volume
VOLUME Because the precise feel of the Boulder 2010’s volume control may be differ- ent than you are used to, we recommend starting the source device so that an audio signal is fed to the 2010 before increasing the volume. -
Page 15: Balance
BALANCE To change the level balance, press the BALANCE pushbutton. “BAL CEN- TERED” will show in the right display. Now rotating the center control will change the balance instead of the volume for as long as “BAL...” is displayed. Turning the control counterclockwise (left) will cause an indication such as “BAL R -1.8dB”... -
Page 16: Mute
0 to 360 degrees, the correct term of polarity is preferred to indicate the 180° phase change, or inversion, available in the 2010 Preamplifier. To activate a polarity change only in one channel, start by pressing either the L POLARITY or R POLARITY pushbuttons.


Need help?
Do you have a question about the 2010 and is the answer not in the manual?
Questions and answers