Table of Contents
Advertisement
Quick Links
806-1551-10.doc Page 1 Friday, July 9, 1999 4:23 PM
™
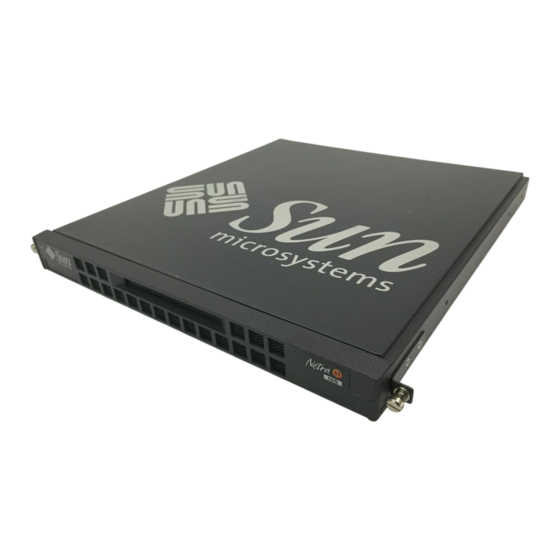
Netra
Guide
Part 1
Safety Precautions
For your protection, observe the following safety precautions when
setting up your equipment:
•
Follow all cautions and instructions marked on the equipment.
•
Never push objects of any kind through openings in the equipment.
Dangerous voltages may be present.
Conductive foreign objects can produce a short circuit that could cause
fire, electric shock, or damage to your equipment.
Symbols
The following symbols may appear in this poster:
Caution – There is a risk of personal injury and equipment
!
damage. Follow the instructions.
Caution – Harzardous voltages are present. To reduce the risk
of electric shock and danger to personal health, follow the
instructions.
Modifications to Equipment
Do not make mechanical or electrical modifications to the equipment.
Sun Microsystems is not responsible for the regulatory compliance of a
modified product.
t1 Model 105 Installation
Advertisement
Table of Contents

Related Manuals for Sun Microsystems Netra t1 105


Summary of Contents for Sun Microsystems Netra t1 105
-
Page 1: Safety Precautions
Caution – Harzardous voltages are present. To reduce the risk of electric shock and danger to personal health, follow the instructions. Modifications to Equipment Do not make mechanical or electrical modifications to the equipment. Sun Microsystems is not responsible for the regulatory compliance of a modified product. - Page 2 806-1551-10.doc Page 2 Friday, July 9, 1999 4:23 PM Setup * Contents may vary...
-
Page 3: Rack Mounting
806-1551-10.doc Page 3 Friday, July 9, 1999 4:23 PM Rack Mounting 1, 3 1 Slacken the M4 nuts on the left bracket. 2 Adjust the bracket to fit the rack. The ends of the bracket must be outside the rack. 3 Move the brackets so that the studs are in suitable slots and tighten the nuts. - Page 4 806-1551-10.doc Page 4 Friday, July 9, 1999 4:23 PM 6 Slide the unit into the rack. 7 Fasten the screws on the left side of the unit. 8 Adjust the bracket on the right side of the unit. 9 Fasten the screws on the right side of the unit.
-
Page 5: Connecting The System
806-1551-10.doc Page 5 Friday, July 9, 1999 4:23 PM Connecting the System On – Applies AC power to the system. Standby – The On/Standby switch is in the standby position. Safety status of I/O connections comply to SELV requirements. 1 Connect the Netra t1 Model 105 AC power cord. 2 Connect the two Ethernet devices. -
Page 6: Power Cord Connection
806-1551-10.doc Page 6 Friday, July 9, 1999 4:23 PM Power Cord Connection Caution – Sun products are designed to work with single-phase power systems having a grounded neutral conductor. To reduce the risk of electric shock, do not plug Sun products into any other type of power system. -
Page 7: Installing Options
806-1551-10.doc Page 7 Friday, July 9, 1999 4:23 PM Installing Options Electrostatic Discharge This system contains electronic parts that are extremely sensitive to static electricity. Do not touch any metal parts. Wear a wrist strap. 1 Shut down Solaris™ from the console. 2 Turn the power supply switch off. 3 Disconnect the AC power cord. - Page 8 806-1551-10.doc Page 8 Friday, July 9, 1999 4:23 PM Caution – Do not operate Sun products without the top cover in place. Failure to take this precaution may result in personal injury and system damage. 1 Remove the cover screw using a Phillips No. 2 screwdriver. 2 Remove the rack brackets, if fitted.
-
Page 9: Installing Pci Cards
806-1551-10.doc Page 9 Friday, July 9, 1999 4:23 PM Installing PCI Cards See panel 9 for an illustration of all removable parts. 1 Remove the system from the rack (see panel 4). 2 Remove the cover (see panel 4). 3 Push the slide in the mid-baffle away from the edge of the PCI card and lift out the baffle. -
Page 10: Installing Additional Memory
806-1551-10.doc Page 10 Friday, July 9, 1999 4:23 PM Installing Additional Memory There is one memory board in the shipped system. You can upgrade it and install an additional memory board. See panel 9 for an illustration of all removable parts. 1 Remove the system from the rack (see panel 4). -
Page 11: Installing Disk Drives
806-1551-10.doc Page 11 Friday, July 9, 1999 4:23 PM Installing Disk Drives Drive 0 Drive 1 1 Remove the front bezel by pressing the latch at either end. 2 Lever the grilles out. 3 Slide the disk drive(s) in to the front of the system. 4 Replace the grilles and front bezel. - Page 12 Please include the part number of your document in the subject line of your email. Copyright 1999 Sun Microsystems, Inc. All rights reserved. Use is subject to license terms. Third-party software, including font technology, is copyrighted and licensed from Sun suppliers. Sun, Sun Microsystems, the Sun Logo, Ultra, AnswerBook, ShowMe How, and Solaris are trademarks or registered trademarks of Sun Microsystems, Inc.
Need help?
Do you have a question about the Netra t1 105 and is the answer not in the manual?
Questions and answers